Decoding Kit Home Plans: Your Blueprint to Building Bliss (or Bust!)
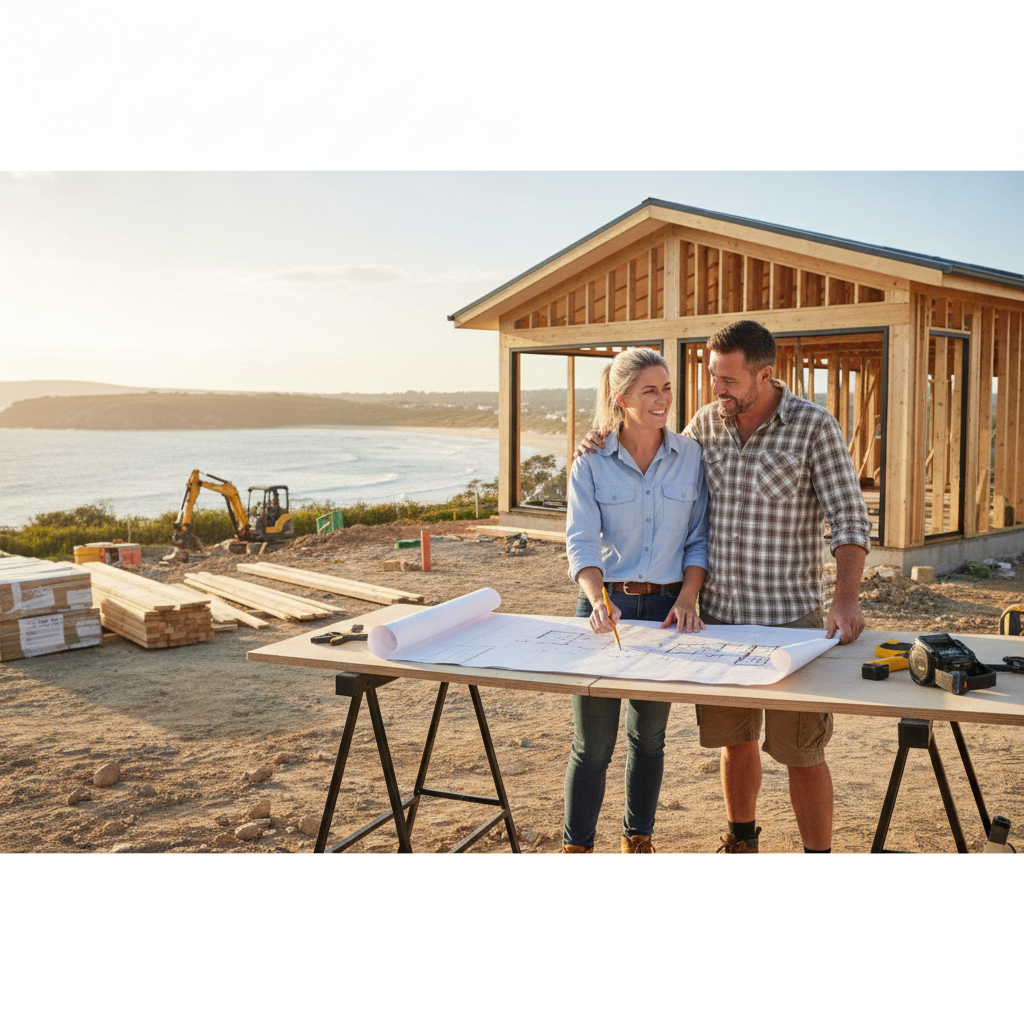
Buying a kit home, especially for a rural block, isn't like picking a loaf of bread. There are details. Heaps of details. And if you don't get 'em right, well, that dream shed house or homestead could turn into a headache faster than a snake in a sleeping bag. Last Tuesday night at 11pm, there you were again - pinching and zooming on floor plans while the kettle boiled for the third time. You want to build it yourself, fair enough. But the first step, before you even look at concrete trucks or power poles, is properly sussing out the plans and specifications. This ain't just a pretty picture; it's the instruction manual for your biggest project.
Why Bother With the Fine Print?
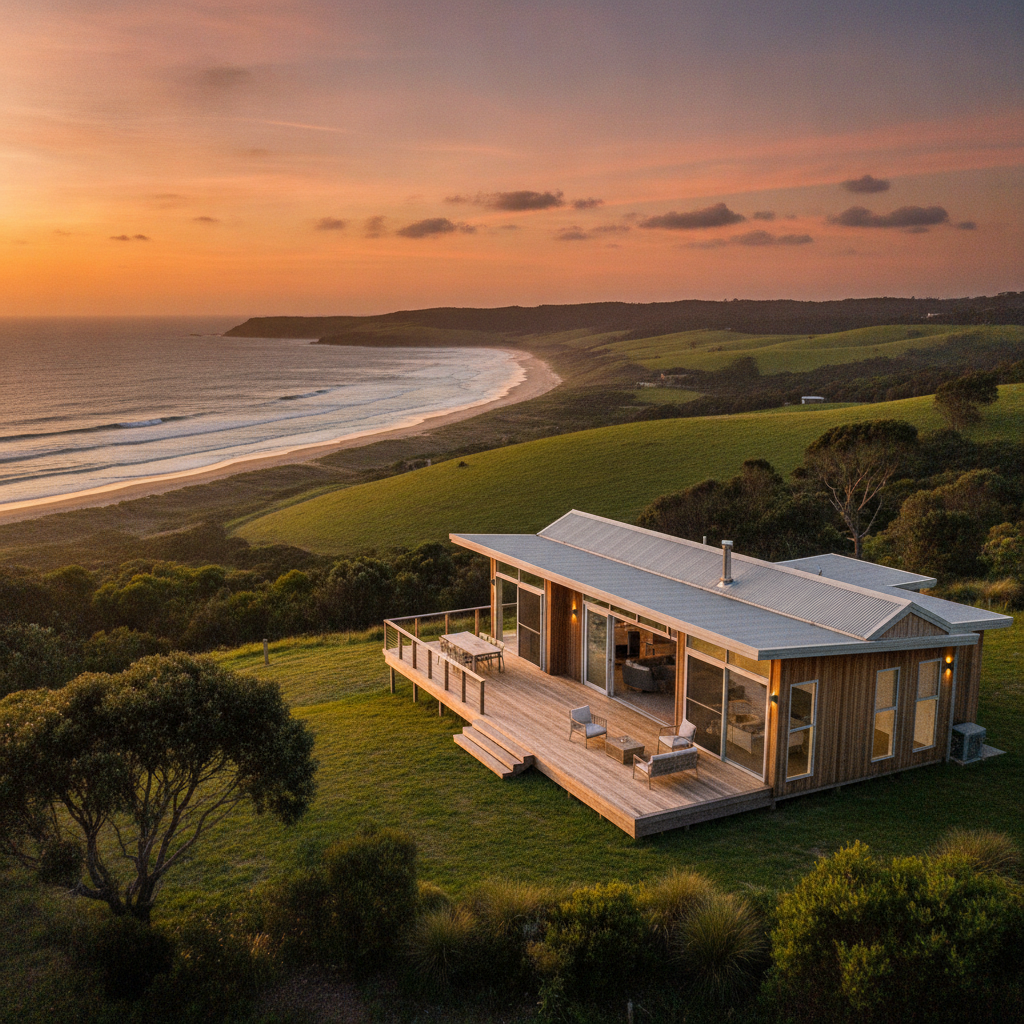
Look, I get it. You see the glossy render, the big open-plan living, the verandah wrapping around. And you think, 'Yeah, that's the one.' But the pretty picture won't tell you the roof pitch, or the gauge of the COLORBOND steel, or if that window in the bathroom is obscure glass or clear as day. The drawings and the spec sheet are your bible. They spell out exactly what's included in your kit, what you're responsible for, and how the thing goes together. Miss something here, and you're up for extra costs and delays later. And delays, out in woop-woop, can be a real killer.
It's not just about what comes in the kit either. The plans are critical for council approval, for getting accurate quotes from local tradies like plumbers and sparkies, and for ordering your slab. You show up to a concreter with a vague idea, and you'll get a vague quote - probably too high. Give 'em proper stamped plans, and you'll get a decent price. Simple as that.
Start With the Basics: The Site Plan and Floor Plan
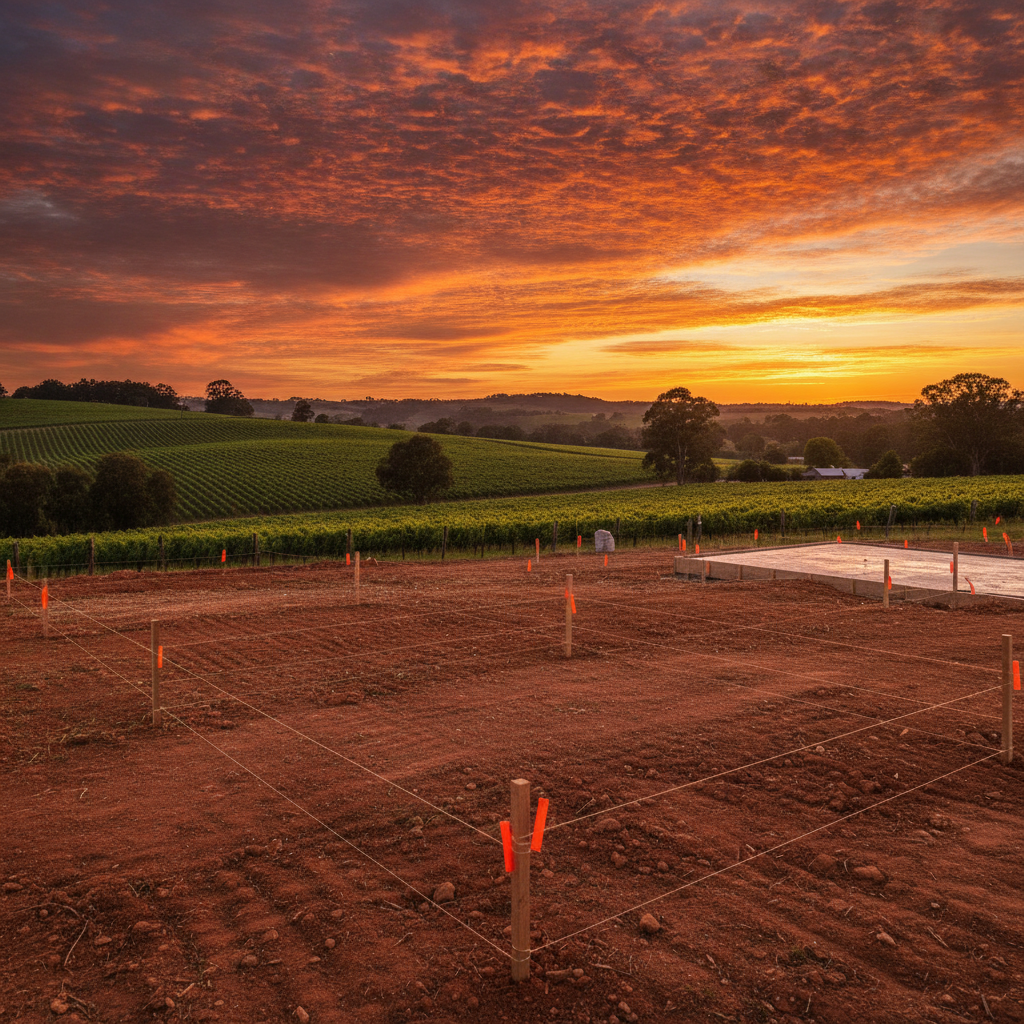
First up, you'll usually get a site plan. This shows where the house sits on your block. Sounds simple, but it's important. It'll show setbacks from boundaries, the driveway, sometimes even where the septic might go. For rural blocks, think about orientation - where's the sun coming from in summer? Where's the prevailing wind? You don't want your verandah baking in the afternoon sun if you're trying to escape it. Then there's the floor plan. This is the one everyone looks at first. Bedrooms, bathrooms, kitchen, living. Check the dimensions. Don't just look at the overall size; check the actual room sizes. Is that master bedroom big enough for your super king? Will the fridge fit next to the pantry? Will your washing machine actually squeeze into the laundry nook?
Look for things like window and door swings. Do they open into a walkway? Will a cupboard door clash with the bathroom door? These are the little things that annoy you every single day once you're living in the place. Also, pay attention to symbols. They might look like squiggles, but they mean things. Arrows usually show traffic flow. Dashed lines often represent overhead bulkheads or beams. Read the legend, if there is one. Most good plans will have a legend explaining what all the symbols mean.
Elevation Drawings: See Your Home From Every Angle
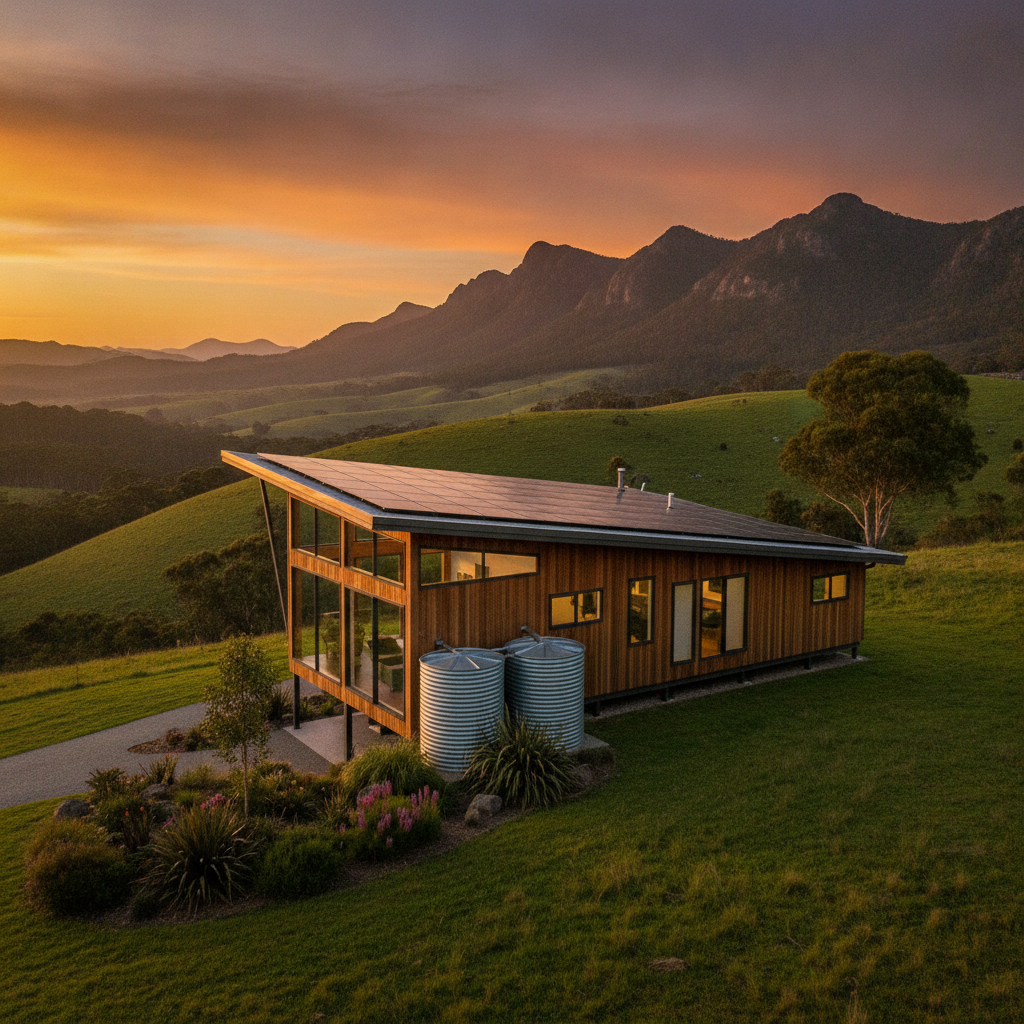
After the floor plan, you'll get elevations. These are basically what your house looks like from each side - front, back, left, right. These are crucial for understanding the external appearance, yes, but also for things like roof pitch. A steeper pitch sheds water better, but might be harder to build on and more expensive for roofing materials. It also affects the overall feel of the house. A low pitch is more modern, a high pitch more traditional.
The elevations will show where windows and doors are placed, the height of the walls, and the roofline. They'll give you an idea of the cladding materials - whether it's corrugated iron, fibre cement, or something else. This is where you can start visualising the exterior. Think about how the house will sit on your block's contours. If your block slopes, a single-storey kit home might need extra foundational work, which isn't part of the kit. The elevations help you spot these issues early on.
Sections: Peeling Back the Layers
Section drawings are like slicing through the house with a giant knife and looking at the inside. They're often overlooked, but they tell you heaps about the internal structure. You'll see things like wall heights, ceiling heights, roof trusses, and how different levels connect if it's a split-level design. These drawings show you the bones of the building.
For owner-builders, these are gold. They show how the roof structure ties into the wall frames, or how a verandah roof connects to the main house. You can see the insulation going in, or the different layers of flooring and roofing. They help you understand the structural integrity and the sequence of construction. Don't skim over these; they contain vital information for the build itself.
The Specifications List: Your Shopping List and Ruleset
This is arguably the most important document, alongside the plans. The 'specs' list out every single component included in your kit, right down to the brand and type. We're talking about:
- Steel Frame Details: If it's a steel frame kit, like ours, it'll tell you the gauge of the TRUECORE steel, the profiles used (e.g., C-section, top hat battens), and if it's pre-punched for services. Pre-punched frames save heaps of time for electricians and plumbers, a real bonus.
- Roofing: Brand (like COLORBOND), profile (corrugated, trimdeck), colour, and usually the gauge. Don't just assume it's all the same.
- Cladding: What it is (e.g., horizontal COLORBOND custom orb, vertical fibre cement panels), thickness, and attachment method.
- Windows and Doors: Sizes, types (sliding, awning, fixed), frame material (aluminium usually), and glass type (clear, obscure, toughened). Make sure those window sizes match what you actually want.
- Insulation: Type (batts, sarking), R-value, and where it goes (walls, roof, ceiling). This is huge for comfort and energy efficiency, especially in extreme rural climates.
- Fasteners and Brackets: Believe it or not, even the screws and bolts should be listed. It shows attention to detail.
The specs will also usually detail what's NOT included. This is just as important. For a kit home, this almost always means things like the concrete slab, internal linings (plasterboard), kitchen and bathroom fit-out, electrical and plumbing fixtures, internal doors, painting, and flooring. Knowing what you don't get upfront saves you nasty shocks later on when you're trying to wrangle tradies.
Regulatory Bits: Bushfire, Wind, and Other Fun Stuff
Rural blocks, particularly, come with their own set of challenges. The plans and specs will address these. Look for:
- Bushfire Attack Level (BAL) Rating: If your block is in a bushfire prone area, the plans will specify materials and construction methods to meet your BAL rating. This might mean thicker glass, metal screens on windows, or specific cladding. Ignoring this isn't an option.
- Wind Region: Australia has different wind regions. Your kit needs to be engineered for yours. Stronger winds mean stronger tie-downs and bracing. The plans will confirm the engineering for your region.
- Energy Efficiency Ratings: Most plans will include details on how the home achieves its required energy rating, often through insulation, glazing, and sealing. This matters for comfort and power bills.
These aren't optional extras. These are requirements under the National Construction Code (NCC) and local council rules. If your plans don't adequately address them, you'll hit a brick wall with council approval.
Tips for the Owner-Builder Reading Plans
- Get a Scale Ruler: Don't just eyeball it. A scale ruler lets you measure actual dimensions on the plan. One in 100, one in 50 - grab one.
- Print Them Out: Staring at a screen is one thing, but having physical plans to mark up, fold, and stick post-it notes on is another.
- Cross-Reference Everything: Does the window schedule match the windows shown on the floor plan and elevations? Does the roof pitch on the elevation match the section drawing? Inconsistencies mean problems.
- Walk Through the Space (Mentally): Imagine walking from room to room. Where's the light switch? Where will the couch go? Can you open the wardrobe door fully?
- Ask Questions: If something looks confusing, or you're unsure, ask the kit home supplier. Don't just assume. There are no dumb questions when you're about to spend this much money and effort.
- Show Them to Your Tradies: Before committing, get copies of the plans and specs to your potential concreter, plumber, and electrician. Get their input. They might spot something you missed, or offer a better solution.
So, What's the Gist?
Reading kit home plans and specifications isn't just a formality. It's your insurance policy against headaches, cost blowouts, and a house that doesn't quite work. These documents are the culmination of expert engineering and design, detailing every piece of the puzzle. Take your time, really dive into them. Understand what you're getting, what you're not getting, and how it all fits together. Because once that truck pulls up with your kit, the real work starts, and you want to be sure you've got the right blueprint in your hand. Trust me, putting in the effort now saves you a whole lot of grief, and possibly money, later down the track when you're building your dream rural home.