Taking the Reins as an Owner Builder
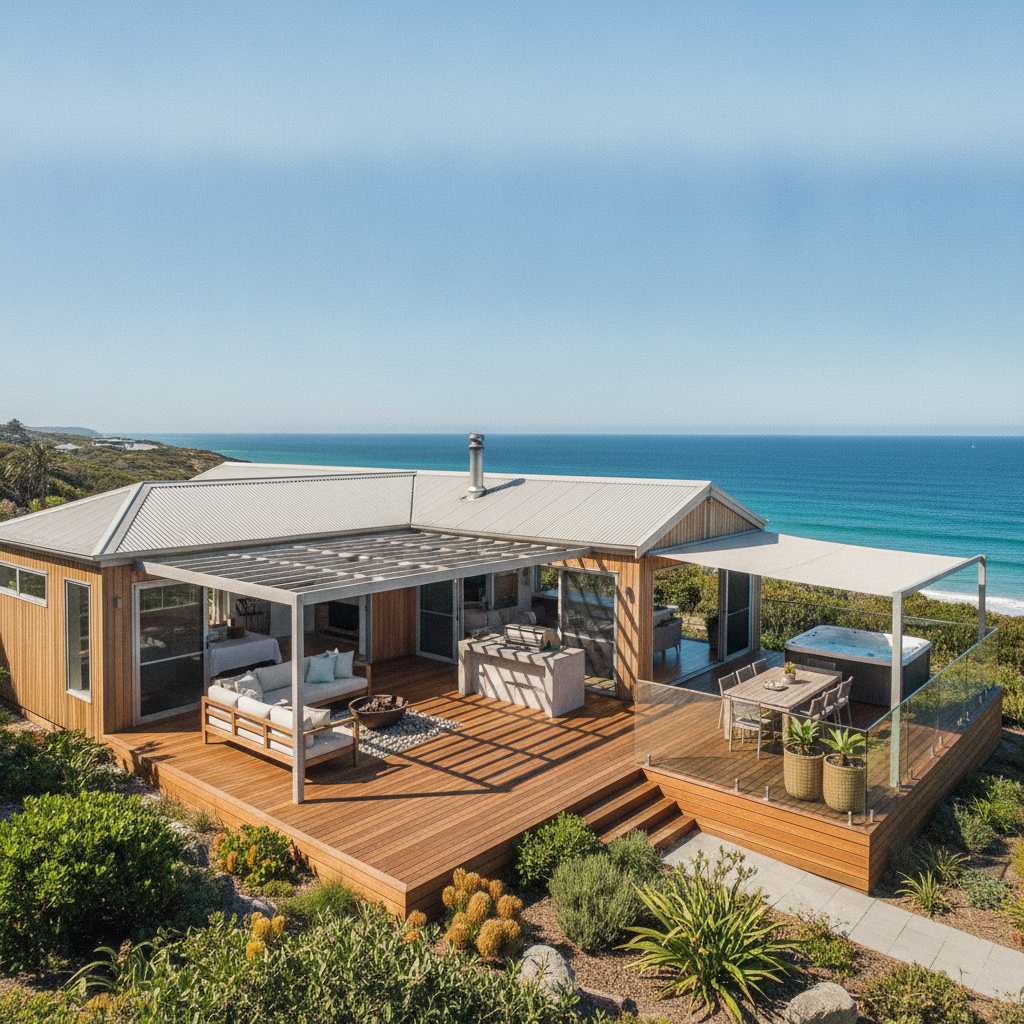
Building your own home gives you a level of pride that is hard to find elsewhere. In Australia, the owner-builder path is a well-worn track, but it requires plenty of organization and a clear head. Instead of hiring a single head contractor, you take on that management role yourself. This means you are responsible for the site, the safety, and the quality of the finish. Using a kit home system can make this process a lot more manageable because the structure arrives as a set of components ready to be put together. However, you still need a solid plan to move from a bare block of land to a finished house.
This checklist is designed to help you stay on top of the workflow. We will walk through the steps needed to get your project moving, from the initial legal requirements to the moment you get your keys. By understanding the sequence of events, you can avoid common delays and keep your tradies moving when they arrive on site.
Phase 1: Legal Requirements and Education
Before you even think about ordering a kit, you need to be legally allowed to run the site. In most Australian states, if the value of the work exceeds a certain amount, you must obtain an Owner-Builder Permit. This usually involves completing a short course that covers your legal obligations, site safety, and basic project management. You will also need to get your White Card (General Construction Induction Training), which is mandatory for anyone working on a construction site in Australia.
Check with your state building authority, such as the QBCC in Queensland or Fair Trading in NSW, to find out the specific requirements for your area. These permits are vital because they allow you to take out necessary insurances. You should look into Construction Works Insurance and Public Liability Insurance before any work starts. These protect you if someone gets hurt on your site or if the half-finished structure is damaged by a storm.
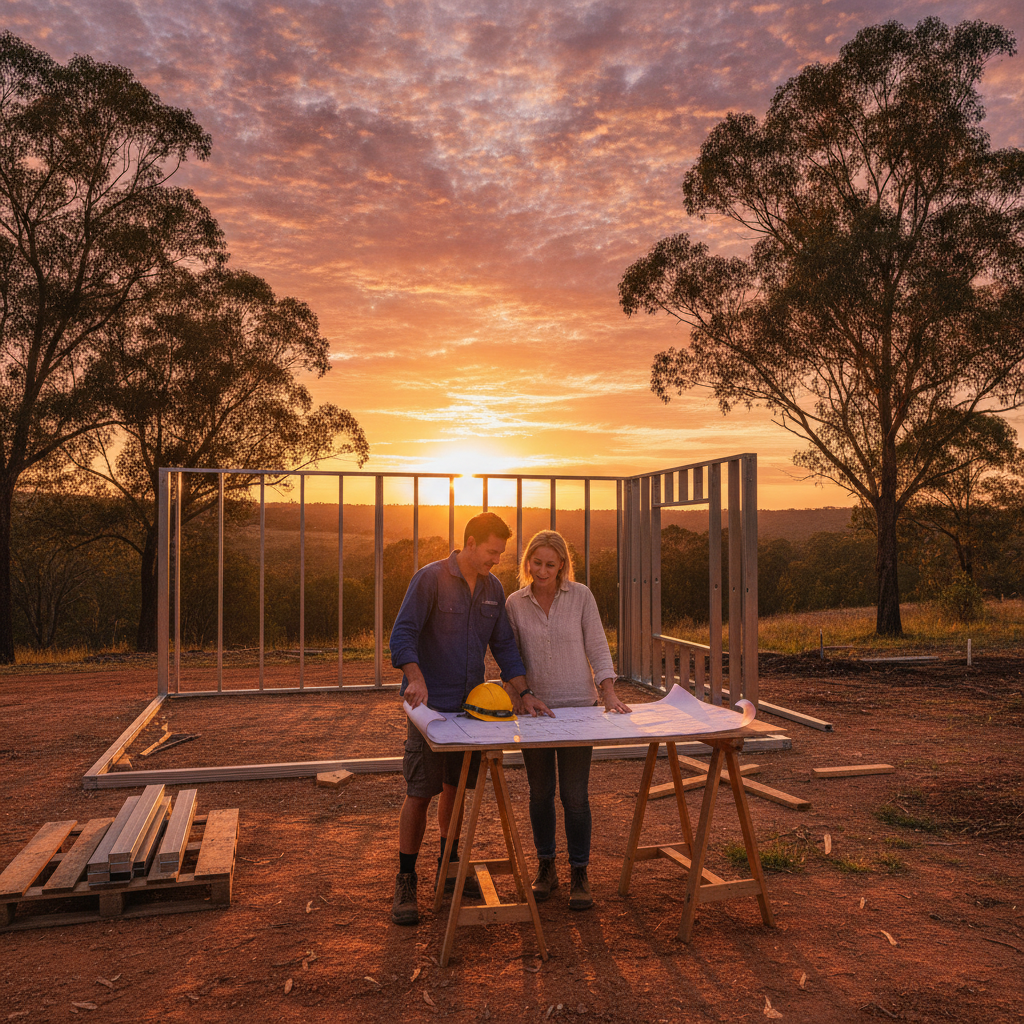
Phase 2: Council Approvals and Site Planning
Your local council has the final say on what you can build. You will need to submit a Development Application (DA) or a Complying Development Certificate (CDC), followed by a Construction Certificate (CC) or relevant building permit. This process requires detailed site plans showing where the house will sit on the block, along with drainage plans and engineering specifications for the soil type on your land.
A big part of this phase is the BASIX or NatHERS assessment, which looks at the energy efficiency of your design. Kit homes are great for this because you can easily include high-quality insulation and choose orientations that make the most of the sun. Once the council gives you the green light, you will be assigned a Private Certifier or a Council Building Inspector. They will visit the site at different stages to sign off on the work. You cannot skip these inspections, so make sure you know exactly when they need to be called out.
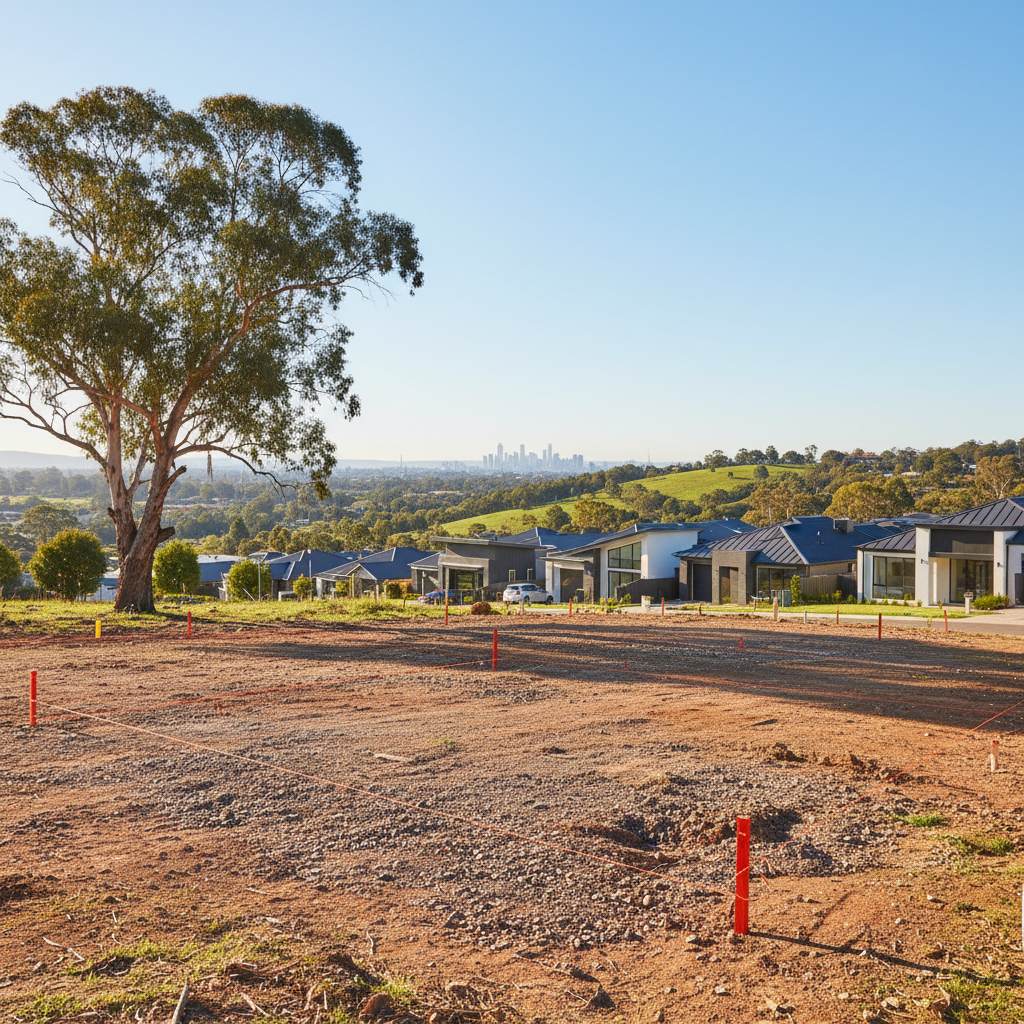
Phase 3: Preparing the Land and Services
Once you have your permits, it is time to get the ground ready. This starts with earthworks. You will need to hire an excavator to clear the house pad and level the site. If your block is sloping, this might involve cut-and-fill work or the construction of retaining walls. This is also the time to think about access. A large truck will eventually deliver your kit, so you need a clear, firm driveway that can handle a heavy load without getting bogged.
At the same time, you need to organize your services. This includes getting a temporary power pole (a 'builders pole') installed and connecting water to the site. Your plumber will also need to come in at this stage to do the 'rough-in' for the drainage under the slab. They will lay the pipes that will eventually connect to your kitchen, bathroom, and laundry. Getting this right is a must, as once the concrete is poured, moving those pipes is a massive headache.
Phase 4: The Foundation and Slab
Most kit homes in Australia are built on a concrete slab or a raised floor system. If you are going with a slab, you will hire a concreter to set up the formwork, lay the vapour barrier, and place the steel reinforcement. This is one of the most important days on site. The slab must be perfectly square and level to ensure your steel frames fit correctly later on.
After the reinforcement is in, the building inspector will check the site before the concrete is poured. Once the slab is finished, it needs time to cure. While it sets, you can finalize the delivery date for your kit components. Using a steel-framed system means you do not have to worry about the slab moisture as much as you would with some traditional materials, but giving it a week to harden is usually the smart move.
Phase 5: Receiving Your Kit Delivery
When the truck arrives with your kit, the project starts to feel very real. Your kit should include the steel frames, roofing materials, cladding, windows, doors, and insulation. Since we use BlueScope Steel TRUECORE, the frames will be straight, true, and termite-proof. This makes the assembly much easier for an owner-builder compared to traditional timber framing which can warp or bow.
Take an inventory as soon as the parts arrive. Check that every window and door matches the sizes on your plans. Store your materials off the ground and cover any items that could be damaged by rain, like your internal doors or insulation batts. Having a tidy, organized site makes the build go faster and keeps things safe for everyone involved.
Phase 6: Standing the Frames and Roofing
Now the structure starts to climb. Standing the steel frames is like putting together a giant puzzle. Because the frames are pre-assembled to your engineering specs, they usually just bolt together. You will start with the wall frames, ensuring they are braced and plumb. Once the walls are up, the roof trusses or rafters go on top. Steel frames are lightweight, which is a huge benefit for owner-builders who might be doing some of the heavy lifting themselves.
After the frames are braced and secured, you can install the roofing. This involves laying down the roof sarking (a reflective foil layer), then fixing your corrugated steel sheets. Once the roof is on, the site stays a lot drier, and you can start working even when the weather turns. This is often the point where you feel the biggest sense of progress.
Phase 7: Lock-Up Stage
Reaching 'lock-up' is a major milestone. This means the house is weatherproof and can be secured. You will install the windows and external doors, followed by the wall cladding and external trims. Before the cladding goes on, make sure your wall wrap is installed correctly to provide a moisture barrier. Working with steel frames makes it easy to get a professional finish on your cladding because the studs are perfectly straight.
Once the doors are locked, you can start storing more expensive tools and materials inside the house. This is also the time to call the plumber and sparky back. They will do the 'top-out' or internal rough-in, running all the wires and pipes inside the wall cavities before you close them up with plasterboard.
Phase 8: Internal Fit-Out and Trades
With the electrical and plumbing lines in place, you can install your insulation batts and start the internal lining. Many owner-builders hire professional plasterers for the ceiling and walls to get that smooth, trade-quality finish. Once the plasterboard is up, the rooms really take shape. You can then move on to the 'wet areas' like the bathroom and laundry.
Tiling and waterproofing are tasks that require a lot of attention. In Australia, waterproofing must be done to a specific standard, and you will often need a certificate from a licensed waterproofer to pass your final inspection. After the tiling is done, your kitchen cabinets can be installed, and your plumber and electrician can return for the 'fit-off'—installing the taps, toilets, lights, and power points.
Phase 9: Final Inspections and Completion
The final stretch involves the finishing touches: painting, floor coverings, and skirtings. While these seem like small jobs, they take time to do well. Once the interior is complete and the site is cleaned up, you will call your building inspector for the final walk-through. They will check that everything meets the National Construction Code and the conditions of your permit.
If everything is up to scratch, you will be issued an Occupation Certificate. This is the official document that says the house is safe and legal to live in. It is a long road from that first permit course to the final inspection, but by following a clear checklist and taking it one step at a time, you can build a high-quality home that will stand for decades. Using strong materials like steel frames ensures your home is built on a solid foundation, giving you peace of mind for the future.