Taking the Reins: Your Journey as an Owner Builder
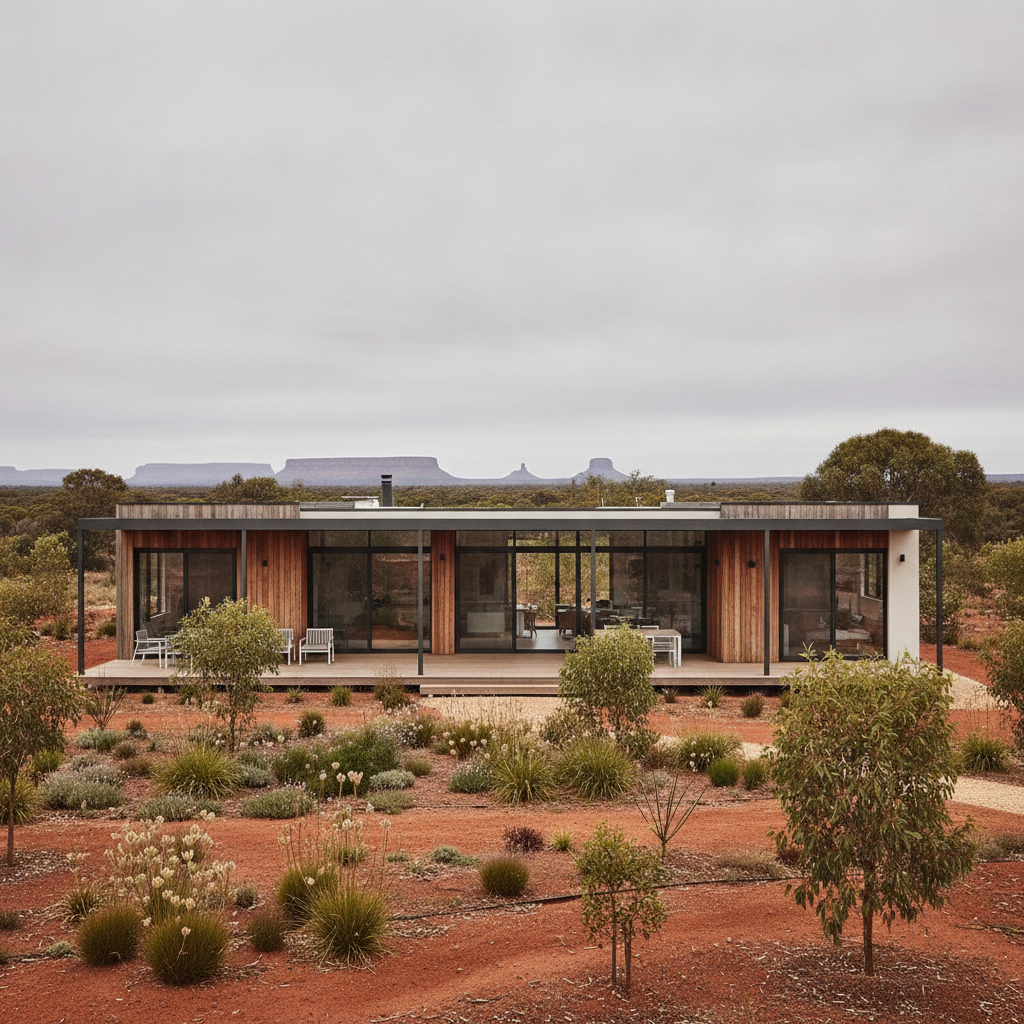
There is a unique sense of pride that comes with standing in a home you helped bring to life. In Australia, the owner builder path is a popular route for those who want to be hands-on with their project, ensuring every detail meets their personal standards. Choosing a kit home is often the smartest way to embark on this journey, as it provides a structured framework while giving you the flexibility to manage the project your way.
However, the transition from 'dreaming' to 'digging' requires a solid roadmap. Managing a construction site involves juggling legal requirements, delivery schedules, and various trades. To help you navigate this process, we have put together the ultimate owner builder checklist tailored specifically for the Australian market, with a focus on the durability and precision of steel frame construction.
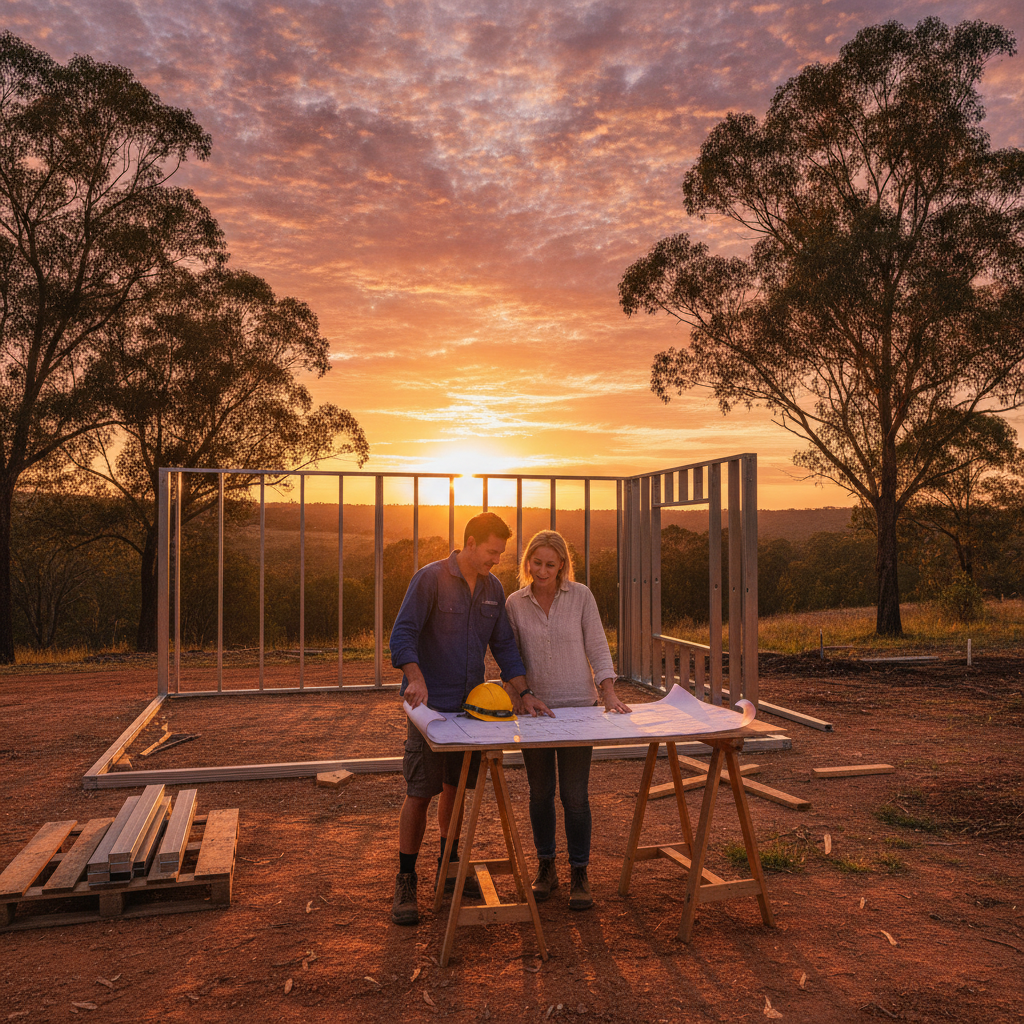
Phase 1: The Paperwork and Planning
Before any steel arrives on site, the groundwork must be laid in the office. This phase is often the most time consuming but is critical for a smooth build.
Obtain Your Owner Builder Permit
In most Australian states, if the value of your domestic building work exceeds a certain threshold, you must obtain an owner builder permit from your state building authority (such as the VBA in Victoria or Fair Trading in NSW). This usually involves completing a short course to ensure you understand your legal obligations regarding site safety and insurance.
Council Approvals and DA
Every local council has different requirements. You will need to submit a Development Application (DA) or seek a Complying Development Certificate (CDC). This involves site plans, elevations, and often an environmental impact assessment. Ensure your kit provider supplies the necessary architectural drawings and engineering certifications to streamline this process.
Site Reports
You cannot build a house without knowing what is under the grass. You will need a soil test (Geotechnical Report) to determine the soil classification, which dictates the type of slab or footing system required. Additionally, a land survey will mark your boundaries and ensure your home is positioned correctly according to your approved plans.
Phase 2: Site Preparation and the Foundation
Once the red tape is cleared, the physical work begins. This is where you prepare the canvas for your kit home.
Clearing and Excavation
The site needs to be cleared of vegetation and leveled. This is also the time to consider your driveway access, as heavy delivery trucks will need a clear path to drop off your steel frames and materials. If your site has a slope, you may need to factor in retaining walls before the main construction starts.
Under-Slab Services
Before the concrete is poured, your plumber and electrician must lay the 'rough-in' services. This includes sewer pipes, water inlets, and electrical conduits. Accuracy is vital here, as moving a pipe once it is encased in concrete is a difficult and expensive task.
The Slab or Footings
Most modern kit homes in Australia are built on a concrete slab, though raised floors on steel piers are also common for sloped blocks. If you are using a steel frame kit, the slab must be perfectly level and square. Steel frames are manufactured to millimetre precision using BlueScope TRUECORE steel, meaning there is zero room for error in the foundation. A perfectly flat slab makes the frame assembly significantly faster and easier.
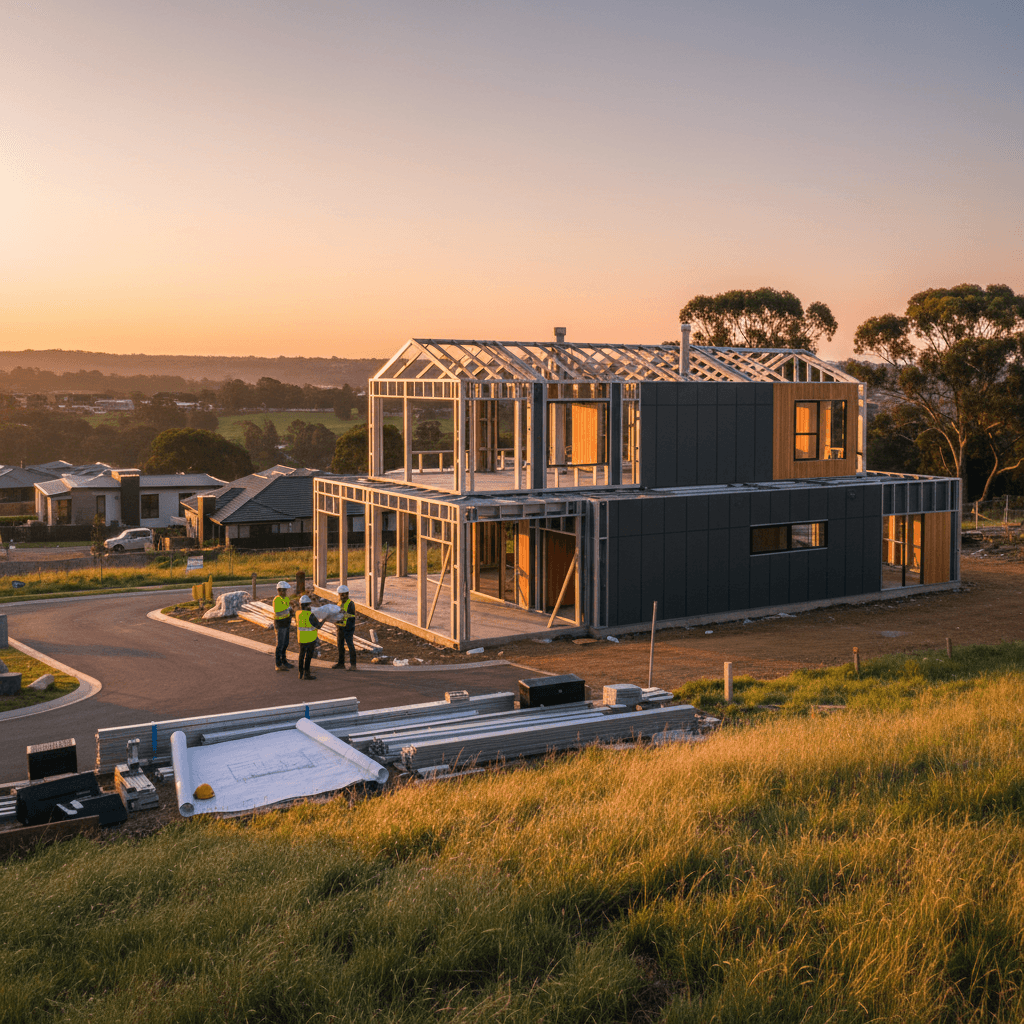
Phase 3: The Arrival of Your Kit
This is the exciting part where your house actually starts to look like a house. Most kit home packages arrive in stages or as a complete bundle of components.
Inventory Check
When the delivery truck arrives, have your inventory list ready. Check off the steel frames, roof trusses, cladding, and windows. Ensure everything is stored off the ground and protected from the elements if you are not installing it immediately. Steel frames are remarkably resilient, but keeping your timber finishing items or insulation dry is essential.
Standing the Frames
One of the biggest advantages of a steel frame kit is the ease of assembly. Because the frames come pre-assembled or in easy-to-bolt-together sections, you can often stand the walls in a matter of days. Unlike timber, steel is straight and true, it won't warp, twist, or shrink over time. This makes the subsequent stages, like hanging doors and installing cabinetry, much simpler because your walls are perfectly plumb.
Phase 4: Lock-Up Stage
The 'Lock-up' stage is a major milestone for any owner builder. It means the house is weather-tight and can be secured at the end of the day.
Roofing and Gutters
Get the roof on as quickly as possible. This allows you to work inside during rainy weather. In Australia, steel roofing is the gold standard for its durability and fire resistance. Ensure all flashings and gutters are installed correctly to direct water away from the foundation.
Windows and External Doors
Install your windows and external doors early. This protects the interior from wind-blown rain and allows you to store tools and internal materials safely inside the structure.
External Cladding
Whether you are using traditional weatherboards, modern composite panels, or sleek steel wall cladding, this is the stage where the aesthetic of your home truly comes together. Don't forget the sarking (wall wrap) behind the cladding to manage moisture and improve thermal performance.
Phase 5: Internal Rough-In and Insulation
With the shell complete, you can focus on the 'guts' of the home. Even if you are doing much of the work yourself, you must use licensed trades for plumbing and electrical work in Australia.
Wiring and Piping
Electricians and plumbers will run cables and pipes through the pre-punched holes in your steel frames. This is a massive time-saver compared to timber, where holes often need to be drilled manually. This is also the time to consider data cables, home automation, or air conditioning ducting.
Insulation
To keep your home comfortable in the harsh Australian climate, high-quality insulation is non-negotiable. Insulate both the walls and the ceiling. Steel frames are excellent because they don't combust, adding an extra layer of peace of mind in bushfire-prone areas.
Phase 6: Lining and Fit-Out
The final stage is where the house becomes a home. This involves the finishing touches that reflect your personal style.
Plastering and Painting
Once the internal linings (usually plasterboard) are up, the space will suddenly feel like a real home. Because steel frames don't move or shrink, you are far less likely to see 'nail pops' or cracks in your plasterboard joints in the years to come.
Flooring, Cabinetry, and Wet Areas
Install your kitchen, bathrooms, and laundry. This is where your attention to detail during the plumbing rough-in pays off. Finish with your choice of flooring, whether it be polished concrete, timber, or tile.
Final Inspections and Handover
Before you move in, you need to tie up the legal loose ends. Your building surveyor or certifier will conduct a final inspection to ensure the home is safe and compliant with the National Construction Code. Once they are satisfied, they will issue an Occupancy Permit or Certificate of Classification.
Practical Tips for the Australian Owner Builder
- Stay Organized: Keep a dedicated folder for all your receipts, certificates, and warranties. You will need these for insurance and potential future resale.
- Safety First: Ensure your site meets OHS standards. This includes temporary fencing, scaffolding for high work, and a tidy workspace.
- Communicate with Neighbors: Construction is noisy. Keeping your neighbors informed about big delivery days or heavy machinery work goes a long way in maintaining good relationships.
- Don't Be Afraid to Ask: Your kit home provider is a wealth of knowledge. If you are unsure about a part of the assembly process, reach out for technical advice.
Conclusion
Building your own kit home is a challenging but immensely rewarding project. By choosing a steel frame system, you are setting yourself up for success with a material that is durable, termite-proof, and precision-engineered. While the owner builder path requires diligent planning and a commitment to quality, following a structured checklist ensures you stay on track from the first permit to the final coat of paint. Embrace the process, stay organized, and enjoy the journey of creating your own Australian dream home.