Taking the Mystery Out of Kit Home Documentation
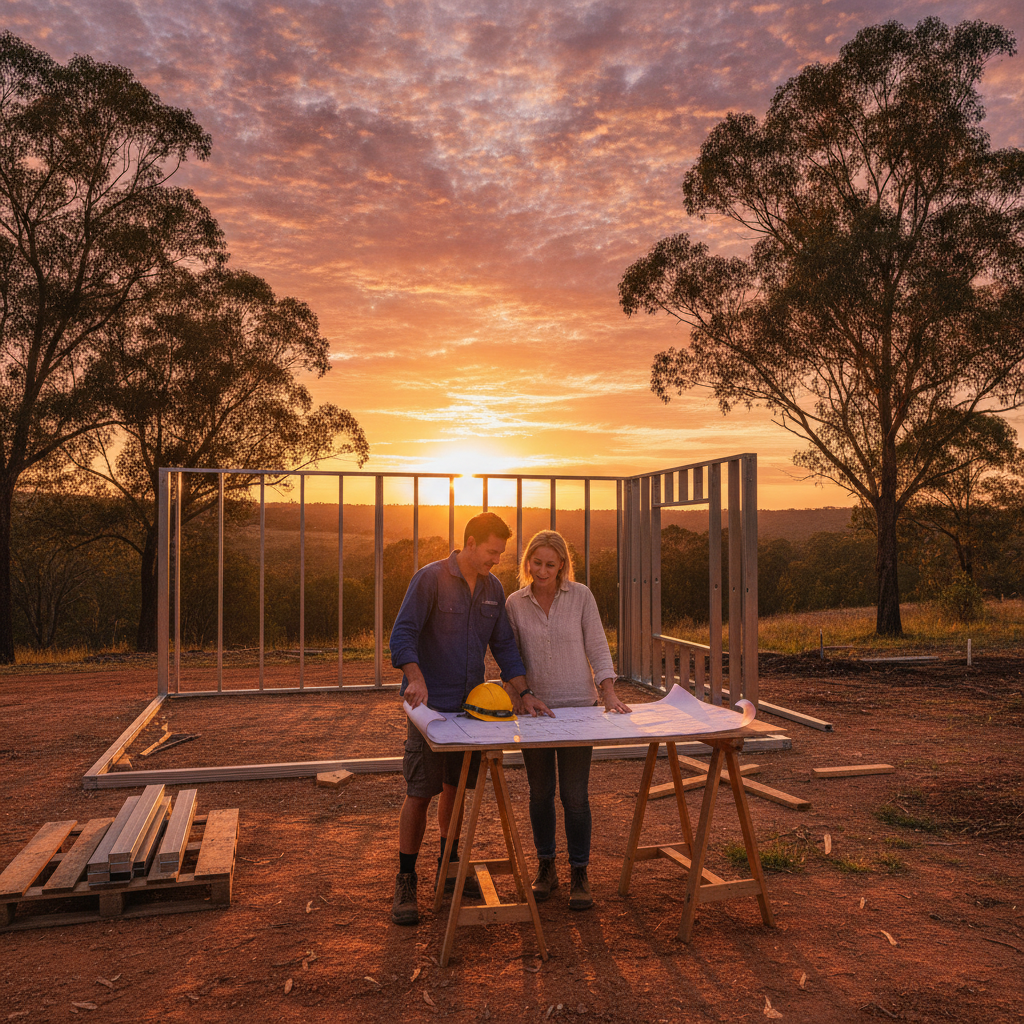
So, you have decided to take the plunge and build your own home. It is an exciting time, filled with dreams of open plan living, modern finishes, and the pride of saying you built it yourself. But before the first truck arrives on site, you are faced with a stack of documents that might look like a foreign language. Plans, elevations, sections, and specifications are the roadmap for your project. If you cannot read the map, it is easy to take a wrong turn.
For the Australian owner builder, understanding these documents is not just about following instructions, it is about project management. When you are coordinating trades or talking to council, you need to know exactly what is included in your kit and how it all fits together. This guide will walk you through how to interpret kit home plans and specifications, specifically focusing on the precision of steel frame construction and what you need to look for before the slab is even poured.
The Anatomy of Kit Home Plans
When you receive your plan set, it usually consists of several different types of drawings. Each serves a specific purpose in the building process. Ideally, you want to spend a few nights at the kitchen table just familiarising yourself with the symbols and layouts.
The Floor Plan: Your Bird's Eye View
The floor plan is the most common drawing you will interact with. It shows the layout of the rooms as if the roof has been sliced off. You will see wall thicknesses, door locations, and window placements. However, for a kit home, you need to look closer. Look for the dimensions of the internal spans. Because many modern kits use high strength steel frames, you might notice larger open areas without intrusive load bearing columns. This is one of the benefits of steel, it allows for that spacious Australian lifestyle many of us crave.
Elevations: What Your Home Looks Like from the Street
Elevations are 2D drawings of the exterior or interior walls. They show the height of the windows, the pitch of the roof, and the external cladding. When reviewing these, pay attention to the floor to ceiling heights. This is crucial for when you start ordering your internal cabinetry or planning your lighting layout later on.
Sectional Drawings: The X-Ray Vision
Sections are vertical cuts through the house. They show how the roof connects to the walls and how the walls connect to the floor. For an owner builder, sections are vital because they reveal the internal structure. You will see the steel wall frames and the roof trusses in detail. This is where you can see the insulation layers and how the weatherproofing is integrated into the design.
Understanding the Specification List
If the plans are the map, the specifications are the dictionary. The 'specs' list exactly what materials are being supplied in your kit. This is where most confusion happens for new builders. In the Australian market, a kit usually includes the structural and external components, but you need to be clear on the brands and quality.
At the heart of a quality kit is the framing. You should look for specifications that mention BlueScope TRUECORE steel. This ensures your home has a termite proof, straight, and true skeleton. Beyond the frames, your spec list will detail the roofing (often COLORBOND steel), the type of cladding, the windows (including whether they are double glazed), and the external doors. Understanding this list allows you to accurately source the remaining items, like your kitchen, bathroom vanities, and flooring, from local suppliers.
The Precision of Steel Frame Construction
One of the reasons many Australians choose steel frame kit homes is the precision. Unlike traditional timber, which can warp, twist, or shrink, steel frames are manufactured to millimetre accuracy. When you are reading your plans, those measurements are exact.
When your steel frames arrive, they are often pre-assembled or clearly marked for easy bolting. Your plans will include a legend that corresponds to the markings on the steel members. This makes the assembly process much like a giant Meccano set. Because the steel is so straight, it makes the later stages, like hanging plasterboard or installing skirting boards, much easier for the DIY enthusiast. You won't be wasting time packing out walls to get them straight.
Practical Tips for Reviewing Your Plans
1. Check the Scale
Always check the scale marked on the drawing (e.g., 1:100). Never use a standard ruler to measure things on a physical printout unless you have a proper scale ruler, as printers can sometimes shrink the image slightly. Reliable kit providers will provide digital PDF versions that allow for accurate digital measuring.
2. The North Point is King
Locate the North point on your site plan. In Australia, orienting your living areas to the North is essential for passive solar design. It keeps your home warmer in winter and cooler in summer. Ensure your kit's window placements allow for this natural light and airflow.
3. Look for the 'Dotted Lines'
Different line types mean different things. A solid line usually indicates a wall or a visible edge. Dotted lines often represent things above the cut line, like roof overhangs or bulkheads. If you see a dotted line across a room, it might be a structural beam or a change in ceiling height.
4. Verify Window and Door Swings
Check which way your doors and windows open. Does the bedroom door swing into a wardrobe? Does the kitchen window clash with an outdoor tap? It is much easier to flip a door on a plan than it is once the steel frames are standing.
Communicating with Your Support Team
As an owner builder, you aren't expected to know everything. The hallmark of a good kit home experience is the support you receive. If a symbol on a plan looks like gibberish, ask. If you aren't sure how the flashing connects to the steel frame, get clarification. Most issues on site arise from a misunderstanding of the documentation rather than a fault in the materials.
Gather your trades (the plumber, the sparky, and the slab layer) early and give them copies of the plans. Because steel frames have pre-punched holes for electrical and plumbing services, your trades need to see these layouts beforehand so they can plan their 'rough-in' efficiently. This saves you time and money on labour costs.
Common Symbols You Should Know
- RL: Reduced Level. This refers to the height of a point relative to a datum point (like the street or sea level).
- WC: Water Closet (the toilet).
- DP: Downpipe location.
- SHR: Shower.
- FS: Floor Socket or Fixed Surface, depending on the context.
Final Advice for the Aspiring Builder
Building your own kit home in Australia is a rewarding journey that offers a level of control you just don't get with a standard volume builder. By taking the time to truly understand your plans and specifications, you are setting yourself up for a smooth, stress-free build.
Remember that the plans are a legal document. They are what the council has approved and what your kit supplier is contractually obligated to provide. Treat them with respect, keep a clean set in a waterproof folder on site, and always refer back to them whenever a question arises. With a solid steel frame under the hood and a clear understanding of the design, you are well on your way to creating a beautiful, durable Australian home.
The transition from a paper plan to a physical structure is a magical process. Stay patient, stay informed, and don't be afraid to double check those measurements one more time. Happy building!