Don't Just Look, Understand: Cracking Your Kit Home Plans and Specs
So, you’ve been scrolling through kit home designs, eh? Hours spent on the laptop, picturing where the couch will go, what colour the kitchen splashback will be. It’s easy to get lost in the pretty pictures. But mate, when you’re building a kit home, especially as an owner-builder, those pretty pictures are just the start. You need to get serious with the plans and specifications. Like, properly serious. This isn’t just about making sure you get the right number of windows; it’s about understanding what you're actually building, what’s included, and what you’re on the hook for.
It’s all in the details, especially when you're building a kit home out in the sticks. Councils in regional areas can be a bit more particular sometimes. You’ll thank yourself later for really digging into the paperwork now.
The Blueprints: Your Kit Home Plans Aren't Just Pretty Pictures
Right, let’s talk plans. These aren't just for showing off your future home to your mates. They're the instruction manual, the blueprint, the bible for your build. You need to understand every line, every symbol. Because if you don't, you're going to hit snags on site, and believe me, those snags cost time and money. And a few grey hairs.
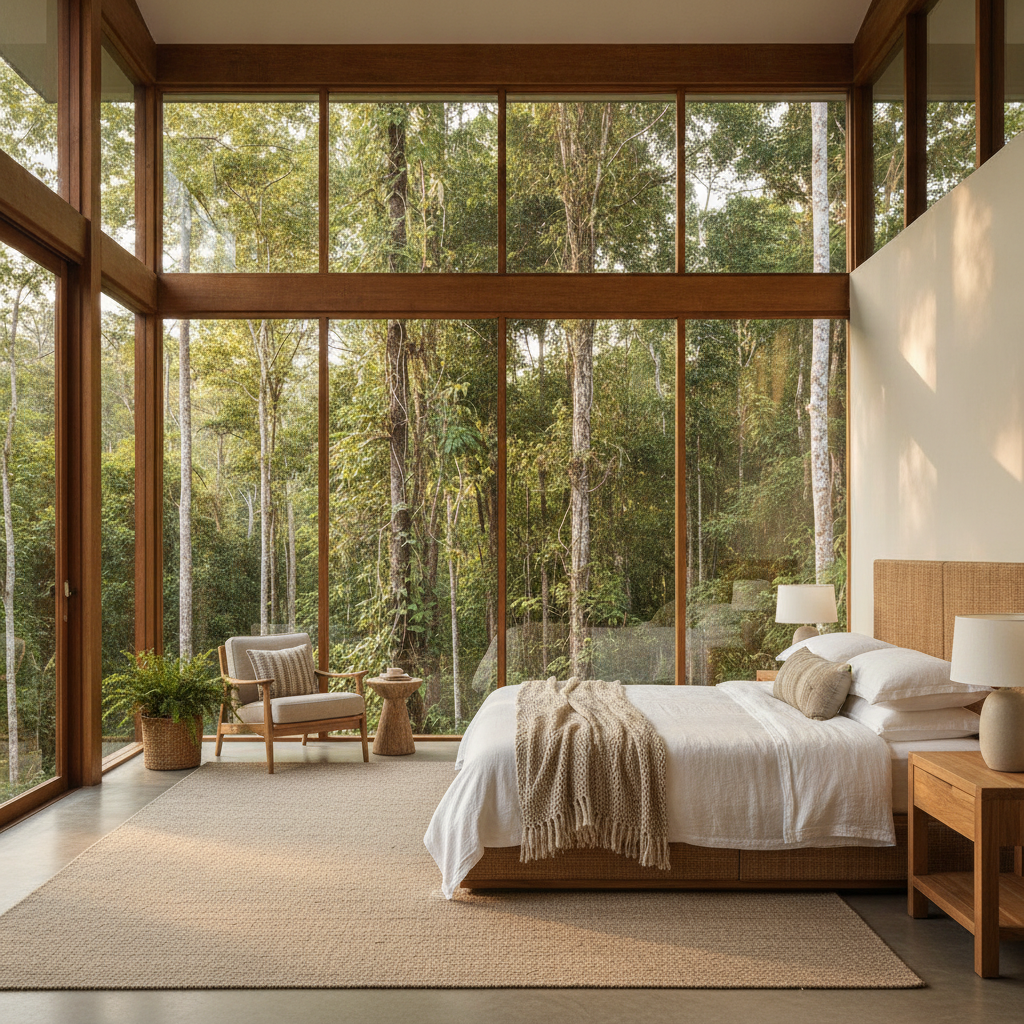
Floor Plans: More Than Just Room Layouts
Everyone looks at the floor plan first, yeah? Where the bedrooms are, the kitchen, the bathroom. Fair enough. But look closer. What do those dashed lines mean? That'll be your roof overhang, or maybe a ceiling bulkhead. See the little numbers? They're dimensions. Don't just glance at the overall length and width. Check the room sizes. Can your queen-sized bed actually fit in that 'master' bedroom with bedside tables? Is there enough space around the dining table for people to pull out chairs comfortably?
- Door Swings: Which way do the doors open? This impacts furniture placement, big time. A door swinging into a hallway can feel cramped.
- Window Types: Is it a slider? A casement? A fixed pane? This affects ventilation and how much furniture you can put underneath.
- Fixture Locations: See the little symbols for toilets, sinks, and showers? Pay attention to them. They dictate where your plumber will run pipes. Moving a toilet even half a meter after the slab is down? That’s a nightmare.
- Internal Wall Thickness: Often shown as a double line. Standard internal walls are usually 90mm or 100mm wide (timber or steel frame). External walls are thicker. This affects actual usable room space.
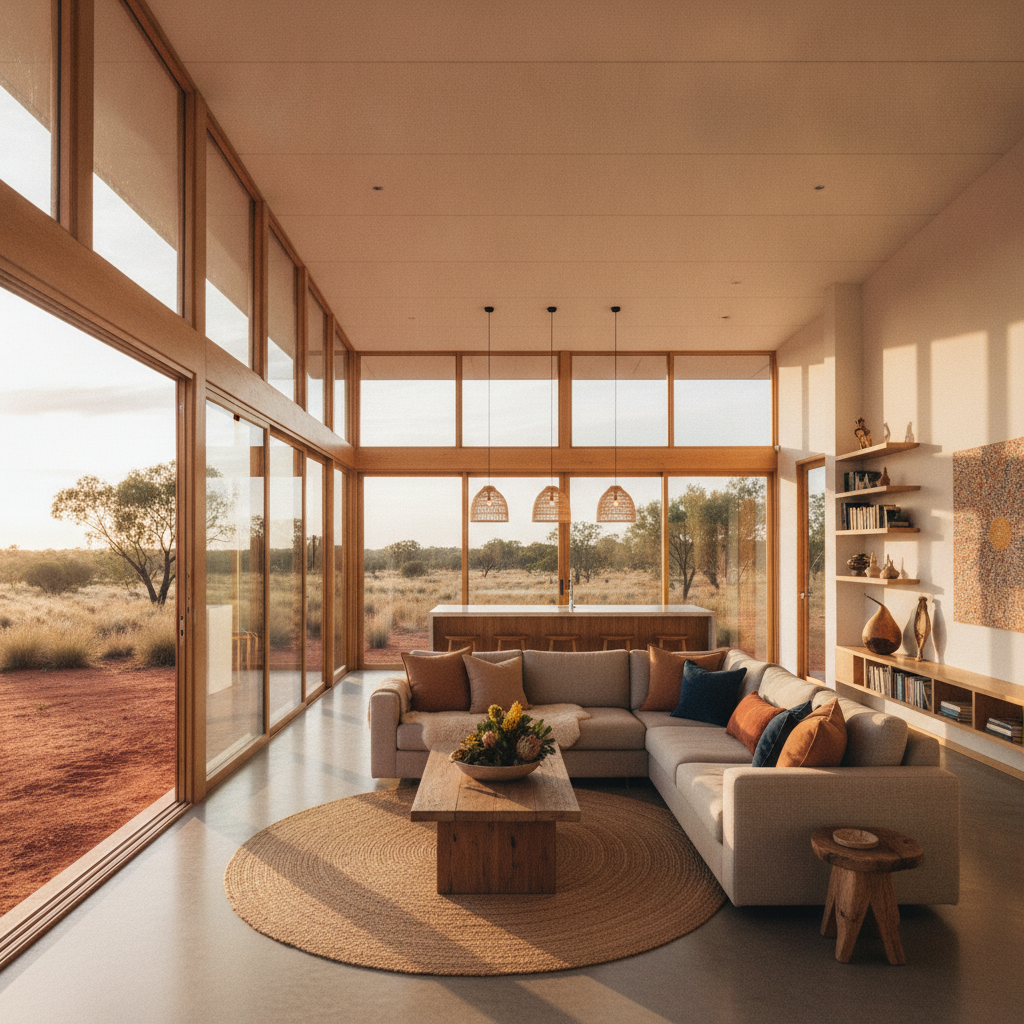
Elevations: Your Home's Face to the World
Elevations are the drawings that show each side of your house. North, South, East, West. This is where you see the roofline, window heights, and how the external cladding will look. This matters for curb appeal, sure, but also for practical stuff.
- Roof Pitch: Steeper roofs shed water better in heavy downpours, which is a big deal if you're out in a high rainfall area. It also affects the internal ceiling height if you have raked ceilings.
- Window Placement & Size: Are the windows correctly oriented for solar passive design? North-facing windows let in winter sun, west-facing ones can cook you in summer. Rural blocks often give you more flexibility here, so make sure the design maximises it.
- Finished Floor Level (FFL): How high off the ground is your house? This is crucial for drainage around the building and for meeting bushfire attack level (BAL) requirements if you're in a bushfire prone area. A higher FFL means more steps, but potentially better protection from water ingress or embers.
Sections: Cutting Your House in Half (Figuratively)
Section drawings are like slicing through your house vertically. They show you the internal structure, ceiling heights, roof trusses, and how different elements connect. This is where you really start to see the bones of the building. You’ll see things like:
- Wall Framing: This is where you'd see the steel frame components, showing stud sizes, noggins, and lintels. Understanding this helps you when you're doing your own fit-out, especially if you're hanging anything heavy.
- Roof Structure: What kind of trusses are they? What's the ceiling height in different rooms? Is there a cavity for insulation?
- Floor System: If it's a raised floor (not a slab), sections show the stumps/piers, bearers, and joists.
The Nitty-Gritty: Deciphering Your Kit Home Specifications
The specifications, or 'specs', are the boring bit that nobody wants to read, but everyone absolutely needs to. These are the written details that back up the drawings. They tell you exactly what materials are included in your kit, down to the brand and specific product code in some cases. Don’t skip over this stuff. It's where you find out what you’re getting, and just as importantly, what you’re NOT getting.
What's in the Kit? The Core of Your Supply
Our kits, for instance, typically include the TRUECORE steel frame, roofing iron, external cladding, windows, external doors, and insulation. But don't just assume everything. Read it line by line.
- Structural Frame: It'll specify if it's steel (like our TRUECORE frames) or timber, the gauge of the steel, or the timber species and grade. This impacts durability, termite resistance, and strength.
- Roofing: Is it corrugated iron (like Colorbond steel)? What profile? What colours are available? What about the fascia and guttering?
- External Cladding: Is it fibre cement? Metal? Timber? What thickness? What finish?
- Windows and Doors: What frame material (aluminium, timber)? What glazing type (single, double)? What sizes? External doors, what type of security rating? Internal doors are usually not included in the kit, so make a note of that.
- Insulation: What R-value? For the walls? For the ceiling? For the roof? This is critical for comfort and energy efficiency, especially if you're building in a regional area with extreme temperatures.
What's NOT in the Kit? Your Owner-Builder Checklist
This is where owner-builders often get caught out. A kit home is a kit, not a finished house. You're responsible for heaps of stuff that isn't in the box. The specs will implicitly tell you this by omission, or explicitly state 'owner supplied and installed'.
- Site Works: Clearing the land, cutting and filling, getting services (power, water, septic) to the site. That’s all you, mate.
- Slab/Subfloor: Concrete slab, piers, stumps, bearers, joists - this foundation work is usually on the owner-builder.
- Internal Fit-out: Think kitchens, bathrooms, internal doors, architraves, skirting boards, paint, floor coverings. None of that arrives with your kit. That's all your choice, your budget, your installation.
- Plumbing and Electrical: All the pipes, wires, power points, light fittings, hot water system. You'll need licenced tradies for this, and it's not in the kit.
- Permits & Approvals: Council Development Application (DA), Construction Certificate (CC), owner-builder permits. All your responsibility. The plans we provide are designed to help with this process, but submitting them is up to you.
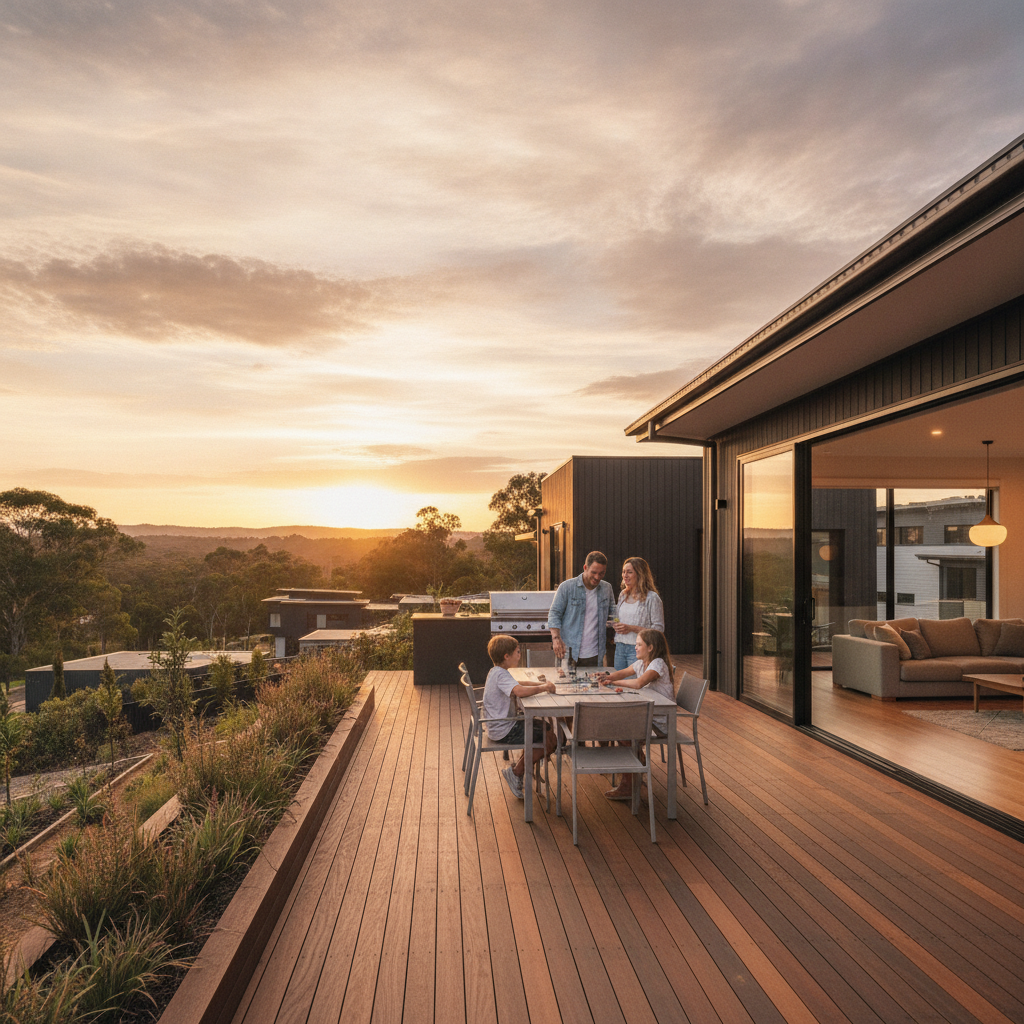
Rural Builds: Specifics to Watch For
Building a kit home on a regional or rural block throws up a few extra considerations. The plans and specs need to reflect these unique challenges.
- Bushfire Attack Level (BAL) Ratings: If you're in a bushfire-prone area, your plans and specs must detail compliance with AS 3959. This means specific window types (toughened glass, metal screens), compliant cladding, and sometimes even a non-combustible subfloor structure. Get this wrong, and council won't even look at your DA.
- Wind Region: Cyclonic regions (like parts of Queensland or WA) require specific engineering for your frame, roof, and bracing. Your plans will show wind rating categories (e.g., C1, C2, C3, C4) and the necessary structural elements to meet them. Don't gloss over these details.
- Energy Efficiency: Regional areas often experience harsher climates. Check the insulation R-values in the specs. Does it meet or exceed the minimum required for your climate zone under the National Construction Code (NCC) Volume 2? Better insulation means less power bills for heating and cooling.
- Water Collection & Storage: If you're relying on tank water, the plans don't usually detail this, but your site plan submission to council will need to show it. Consider roof area for rainwater harvesting - a bigger roof means more collection potential.
Final Tips for Reading Your Documents
Don’t be afraid to ask questions. Seriously. That's why we're here. If something on the plan or in the specs doesn't make sense, or you're unsure if something is included, pick up the phone. It's much easier to clarify now than to find out you're missing a critical component when the delivery truck arrives in your driveway.
Get a highlighter. Go through the specs line by line. Tick off what you understand. Circle what you don't. Make a list of questions. Compare the plans to the specs - do they align? Sometimes there can be minor discrepancies between preliminary drawings and final specs. Sort it out early.
This isn't just about building a house; it’s about building your house. Out there, where you’ve dreamt of living. And understanding the paperwork is your first, most important step.