The Day the Roof Tried to Leave
I remember standing on a job site just outside Yeppoon back in early 2011. The air felt heavy, like you could squeeze water right out of it. We were looking at a set of plans some poor bloke had bought off a generic website without checking the wind rating first. He thought he was saving a few bob. But when the council looked at his site classification and saw he was building on a ridge facing the ocean, they knocked back his application faster than a cold beer on a Friday afternoon. He had an N2 design for a site that was screaming for C2. It was a mess. It cost him thousands in engineering revisions before he even turned a sod of dirt.
See, wind ratings aren't just numbers on a page. They're the technical DNA of your home. In Australia, we don't mess around with this. We have some of the harshest conditions on the planet, and if you're building a kit home, you need to understand exactly what N1 through C4 actually means for your build. It's not just about the frames. It's about every screw, every tie-down, and every sheet of cladding you'll be handling as an owner-builder.
Breaking Down AS 4055-2021
We use a standard called AS 4055-2021 to figure out wind loads for housing. It's the bible for residential wind speeds. Basically, it splits the country into different regions. Most of the coast from south of Perth, around the bottom, and up to about Coffs Harbour is Region A. That's usually your "N" or non-cyclonic ratings. Once you head further north into the tropics or out toward the cyclone-prone coast of WA, you're looking at Region C and Region D. That's where things get serious. Plus, you've got Region B, which is a bit of a transition zone.
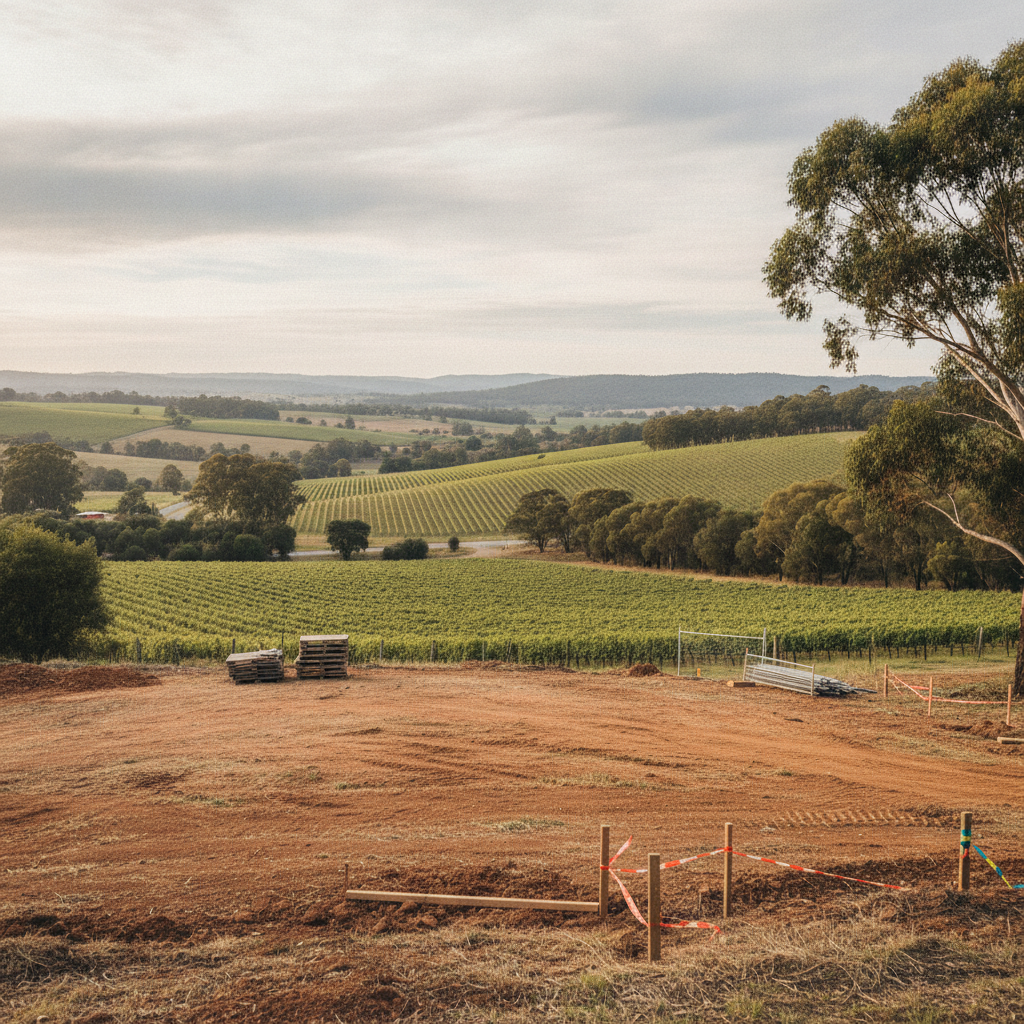
But it's not just about what state you live in. You could be in an N2 zone, but if you're building on top of a hill with no trees around, your specific site wind speed goes up. We call this the Topographic Class and Shielding. If you're tucked away in a valley surrounded by other houses, you're "shielded." If you're on a bare hill at the end of a long plain, you're "exposed." You've got to get a soil test and a site classification report before you even think about ordering your kit. Don't guess this. Just don't.
The "N" Ratings: Non-Cyclonic
Most Aussie kit home builds fall into the N categories. Here is the quick breakdown:
- N1 (W28N): The lowest rating. Think quiet suburban streets in Melbourne or Sydney with lots of houses around to break the wind.
- N2 (W33N): This is the most common rating for residential areas. It covers a lot of ground in the suburbs and semi-rural blocks.
- N3 (W41N): Now we're getting into more exposed sites. Maybe a farm in the Southern Highlands or a house on the edge of a cliff in Adelaide.
- N4 (W50N): This is the top end for non-cyclonic areas. If you're at this level, your engineering starts to look a bit beefier.
I reckon most people underestimate the jump between N2 and N3. It might only seem like one step, but the pressure on the roof structure increases significantly. You'll see more bracing in the steel frames and more frequent tie-down points. When we use BlueScope TRUECORE steel, the frames are engineered exactly for these pressures. Steel is brilliant here because it's got a high strength-to-weight ratio. It doesn't warp when the wind starts pushing, which is a massive win for the long-term health of your plasterboard walls.
The "C" Ratings: Cyclonic Strength
If you're building up north in Queensland, the NT, or the WA coast, forget the N ratings. You're in cyclonic territory. C1, C2, C3, and C4. This is a different league. A C1 rating is roughly equivalent to an N4 in terms of wind speed, but the way we calculate the gust impacts is different. Because cyclones aren't just a steady blow. They're a violent, swirling mess of pressure changes.
C4 is the big daddy. We're talking wind speeds over 250 kilometers per hour. If you're building a kit home in a C4 zone, every single component has to be vetted. The windows need to be impact-resistant. The doors need special seals. The roof sheeting has to be fixed with heavy-duty cyclonic washers. It's technical, but it's what keeps your roof from ending up in the next suburb when a cyclone rolls through. I've seen what happens when people try to cut corners in C zones. It isn't pretty. The wind finds a tiny gap under the eaves, creates internal pressure, and literally pops the roof off like a lid on a jam jar.
Why Steel Frames Matter in High Wind
When you're out there on-site, wrestling with a kit, you'll start to appreciate how the engineering works. Steel frames are particularly good for wind-prone areas because the connections are precise. You aren't relying on a nail that might pull out of a piece of wet timber. You're using tek screws and bolts that create a rigid, integrated structure. With TRUECORE steel, the frames are manufactured to the millimeter. This means the bracing is exactly where it needs to be to transfer the wind load down to the slab. That's the key. You want that wind energy to travel from the roof, down the walls, and into the concrete. If that chain is broken anywhere, you've got a weak point.
But here is a tip from someone who's spent far too many hours on ladders. Even the best steel frame won't save you if your tie-downs are sloppy. You need to follow the engineering plans to the letter. If the plan says you need a chemical anchor every 600mm, you put one every 600mm. Don't think "oh, every meter will be fine." It won't. Not when a gust hits.
The Truth About Transportable Options
Now, sometimes people ask me about those houses that get built in a factory and trucked to the site. Some folks call them modular homes. They have their own set of wind challenges. Because those units have to be stiff enough to be lifted by a crane and bounced down a highway at 100 kays, they're often built heavy. But that doesn't always mean they're better for your specific site's wind rating. A kit home is bolted directly to your slab on-site. It becomes one with the ground. I prefer that for high-wind areas because you can see every connection. You know the anchor bolts are in the concrete. You know the roof trusses are strapped down. You aren't guessing what's hidden behind a factory-finished wall.
Tips for the Owner-Builder
If you're planning your kit home right now, here is some stuff you should do before you spend a cent:
- Get a Site Classification: Hire a local geotechnical engineer. They'll tell you your soil type and your wind rating. Local guys are better because they know the micro-climates of your area.
- Check the Bushfire Attack Level (BAL): Often, high-wind areas are also bushfire areas. The two go hand-in-hand. Steel frames are non-combustible, which gives you a huge head start if you're in a BAL-29 or BAL-40 zone.
- Read the Tie-Down Schedule: Your kit will come with a thick stack of papers. One of them is the tie-down and bracing schedule. Study it. It's the most important document you'll get. It tells you exactly how to stop your house from moving.
- Don't Forget the Garage: People often spend a fortune on their house's wind rating but then buy a cheap, generic garage kit that's only rated for N1. If your garage blows over and hits your house, the wind rating of your house won't matter much.
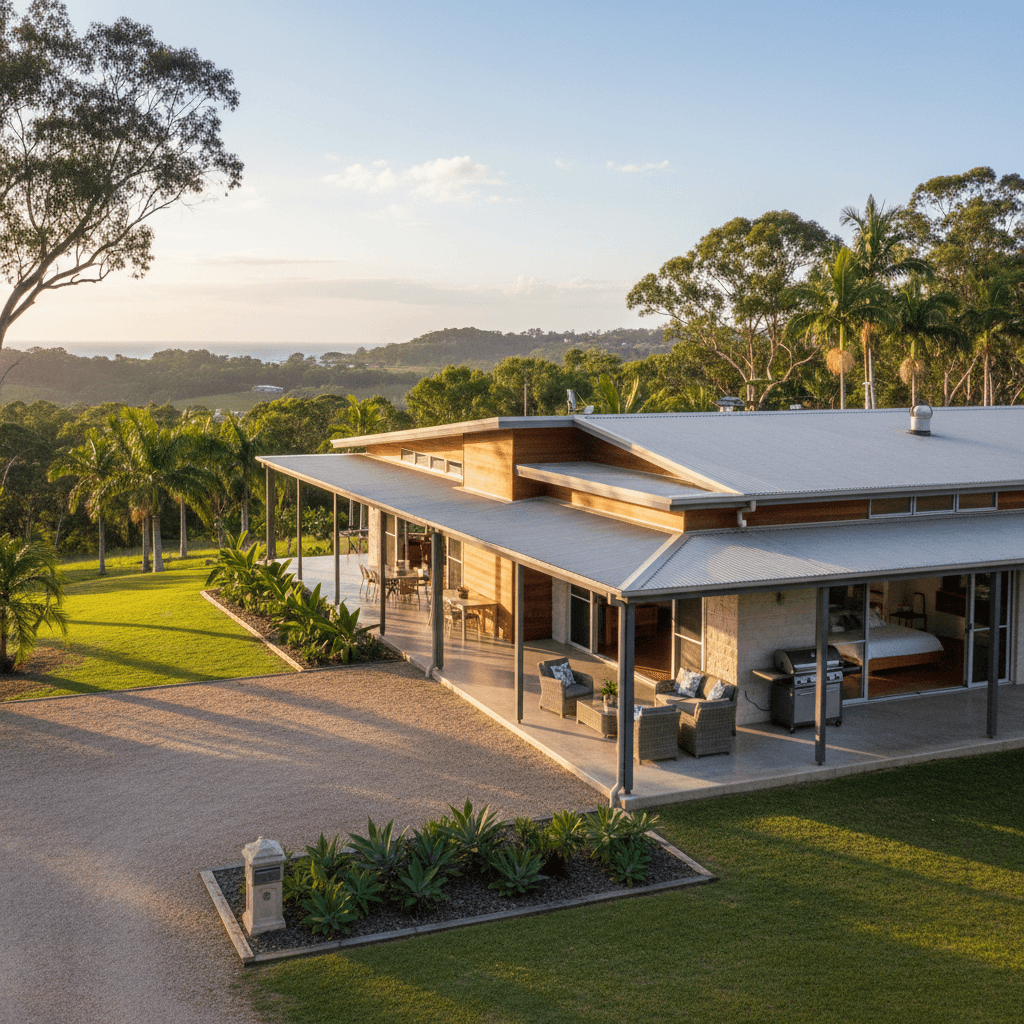
Building your own place is a massive undertaking. It's stressful. You'll probably have a few nights where you're sitting at the kitchen table at midnight, staring at floor plans and wondering if you've bitten off more than you can chew. But if you get the technical stuff right from the start, like your wind ratings and your site prep, the rest of it falls into place. There's no feeling quite like standing inside a house you built with your own hands while a storm is howling outside, knowing that those steel frames aren't going anywhere. It's about peace of mind. And in the Australian climate, that's worth its weight in gold.
So, do your homework. Talk to your council. Get your engineering checked twice. And for heaven's sake, don't buy a kit designed for the suburbs if you're building on a windswept cliff in Tassie. Common sense goes a long way in this game, but good engineering goes further.