Starting from the Ground Up: The Importance of Soil in Kit Home Construction
When most Australians start dreaming of their new kit home, they focus on the floor plan, the color of the Colorbond roofing, or the style of the kitchen. While those details are exciting, the most critical part of your build is actually invisible once the project is finished. We are talking about the soil.
In the world of Australian construction, not all dirt is created equal. The ground beneath your feet is a living, breathing thing that expands and contracts based on moisture levels. For an owner builder, understanding soil classification is the difference between a home that stands solid for a century and one that develops unsightly cracks within the first five years. In this guide, we will break down the technical side of soil types and how they influence your building techniques, foundations, and the overall success of your kit home journey.
The Australian Soil Classification System
Before any concrete is poured or any steel frames are delivered, you must obtain a soil report. This is conducted by a geotechnical engineer who performs a site classification according to Australian Standard AS 2870. This standard categorizes sites based on how much the soil is expected to move (swell or shrink) when the moisture content changes.
Class A and S: The Ideal Starting Point
Class A sites are primarily sand or rock with little to no ground movement. These are the gold standard for building because they are stable. Class S (Slightly reactive) sites allow for a small amount of movement, usually less than 20mm. If you are lucky enough to have these soil types, your foundation requirements will be relatively straightforward and standard.
Class M, H1, and H2: The Reactive Reality
Most Australian suburban sites fall into these categories. Class M (Moderately reactive) soils are often clay-based. They swell when wet and shrink when dry. H1 (Highly reactive) and H2 (Very highly reactive) soils experience significant surface movement, sometimes exceeding 75mm. Building on these sites requires specialized foundation designs, such as extra thick slabs or deeper piers, to ensure the home remains level and stable.
Class E and P: The Challenging Ground
Class E (Extremely reactive) soils represent the most difficult building conditions, involving massive ground shifts. Class P (Problem sites) are sites with soft clay, loose sand, or filled ground that might subside. If your site is a Class P, you will need a structural engineer to design a custom foundation solution tailored specifically to those unique challenges.
How Soil Types Impact Foundation Design
Your soil report directly dictates the type of foundation you must use. For kit homes, there are generally two main paths: slab on ground or a raised floor system. Each has its place depending on the soil and the slope of your block.
Waffle Pod Slabs
The waffle pod slab is a popular choice for Class A, S, and M sites. It sits on top of the ground and uses a grid of polystyrene pods to create a reinforced concrete structure. It is relatively fast to install and provides great insulation. However, on highly reactive H or E sites, a waffle pod might require significantly more engineering to prevent it from cracking when the ground moves.
Raft Slabs
A raft slab is a more traditional, heavy duty option. It involves digging trenches into the ground for reinforced concrete beams. Because it is embedded in the soil, it offers more resistance to the movement found in H-class clay soils. For owner builders, this requires more earthworks and manual labor but provides incredible longevity on reactive sites.
Stumps, Piers, and Bearers
If you are building on a sloping site or very reactive soil, a raised floor system using steel or concrete stumps might be the better building technique. By elevating the home, you reduce the impact of ground heave. This also makes it much easier to access plumbing and electrical services later on. When using a raised floor, the depth of the piers is determined by how far down the "stable" soil or rock is located.
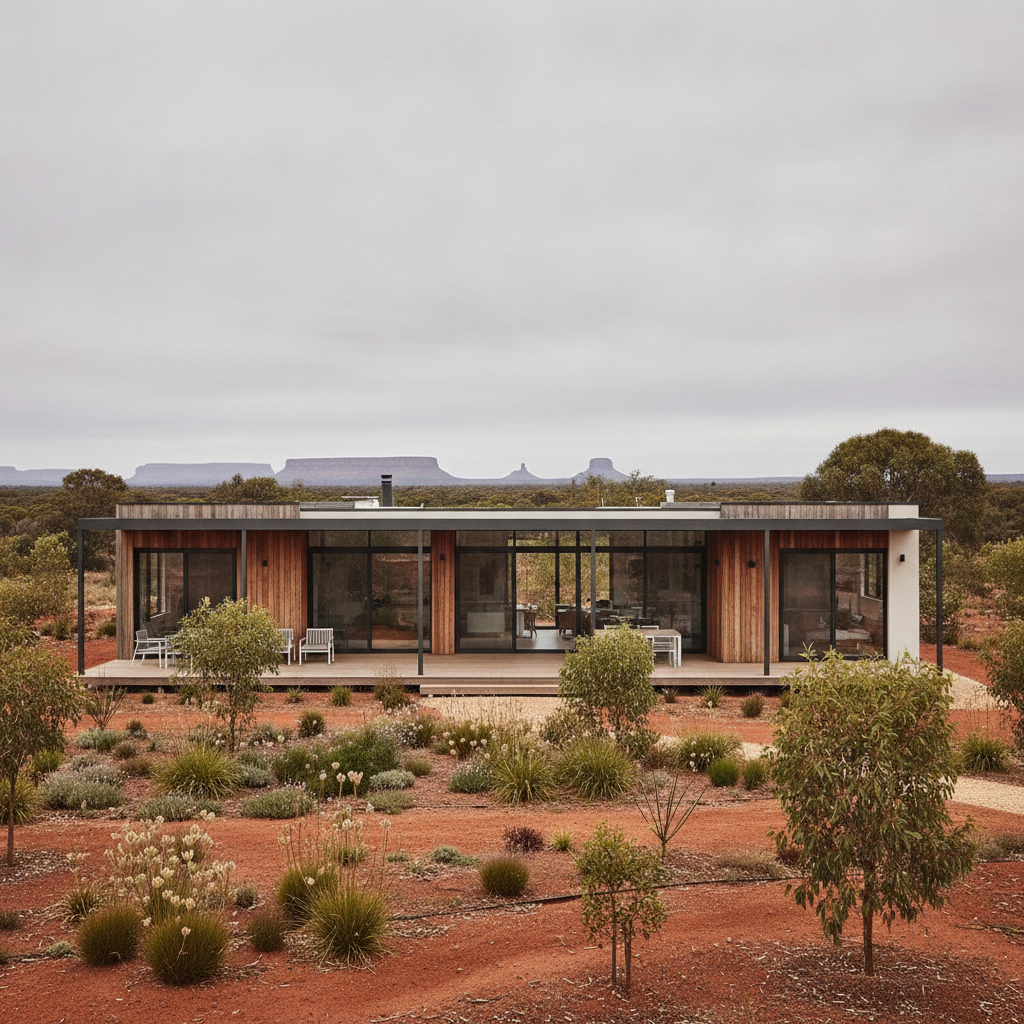
The Advantage of Steel Frames on Reactive Soil
While the foundation handles the heavy lifting, the frame of the house also plays a role in how the building reacts to the environment. This is where high quality steel frames, like those made from BlueScope TRUECORE steel, offer a distinct advantage for Australian owner builders.
Steel is incredibly strong yet lightweight. A lighter building puts less overall pressure on the foundation, which can be beneficial on softer soils. Furthermore, steel is dimensionally stable. It does not warp, twist, or shrink over time. In a kit home, this precision ensures that every wall is perfectly square, which helps the structure cope if there is a tiny amount of settlement in the foundation over the seasons.
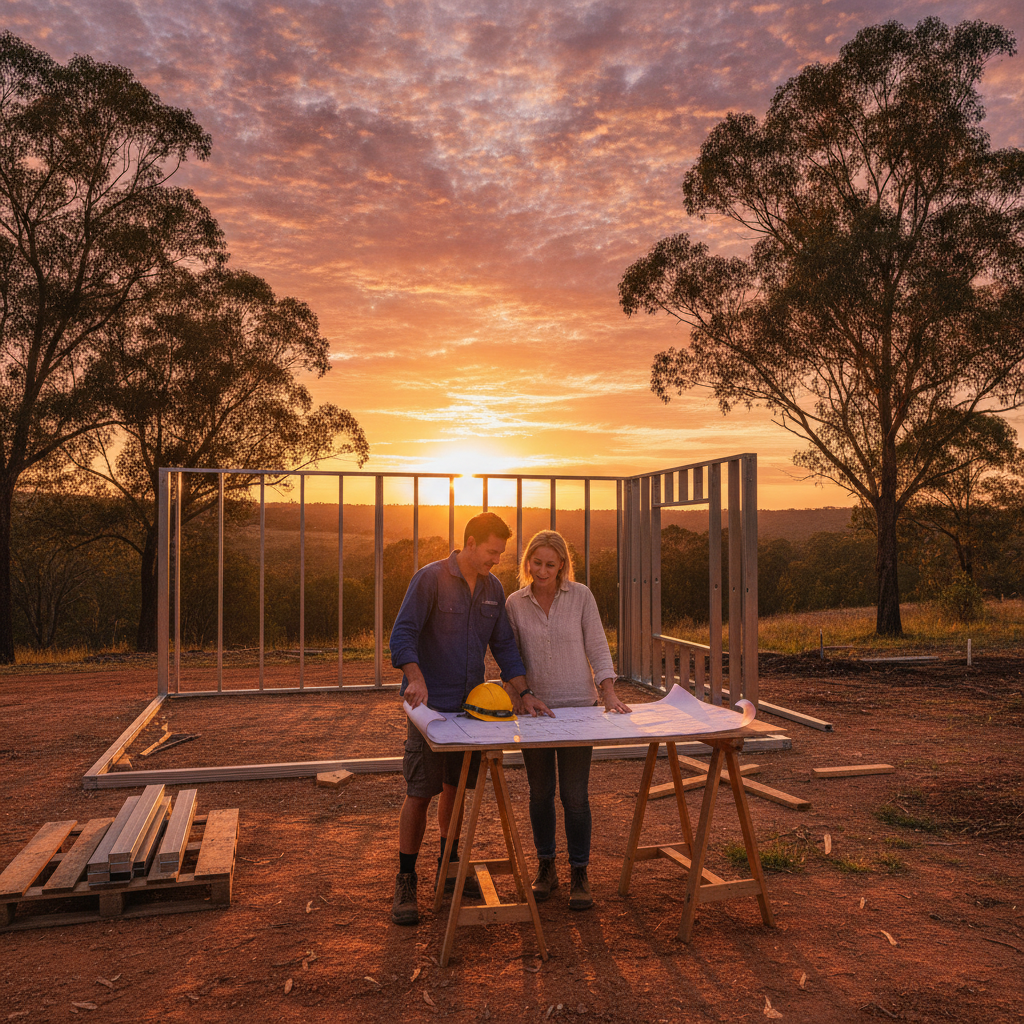
Owner Builder Tips for Site Preparation
As an owner builder, you are the project manager. Even if you aren't digging the holes yourself, you need to supervise the process to ensure the long term health of your home. Here are some building techniques to keep in mind:
- Manage Water Drainage: Soil moves because of moisture. Ensure your site is graded so that water flows away from the foundation. Installing proper spoon drains and ag-pipes early in the project prevents the soil near your footings from becoming oversaturated.
- Watch Your Trees: Large trees can suck incredible amounts of moisture out of the ground, causing the soil to shrink unevenly under your slab. Consult your soil report for recommended planting distances from your house.
- Verify the Fill: If your block has been leveled using fill dirt, ensure you have a compaction certificate. Foundations built on uncompacted fill are prone to sudden sinking, which is a nightmare for any homeowner.
Maintenance After the Build
The relationship between your kit home and the soil doesn't end once the keys are in the door. Especially in the first few years, you need to monitor the area around the foundation. Maintaining a consistent moisture level in the soil around the perimeter is key. Avoid the temptation to plant a lush, heavily watered garden right against the house wall if you are on reactive clay. Instead, use a path or a garden bed with a moisture barrier to stabilize the ground.
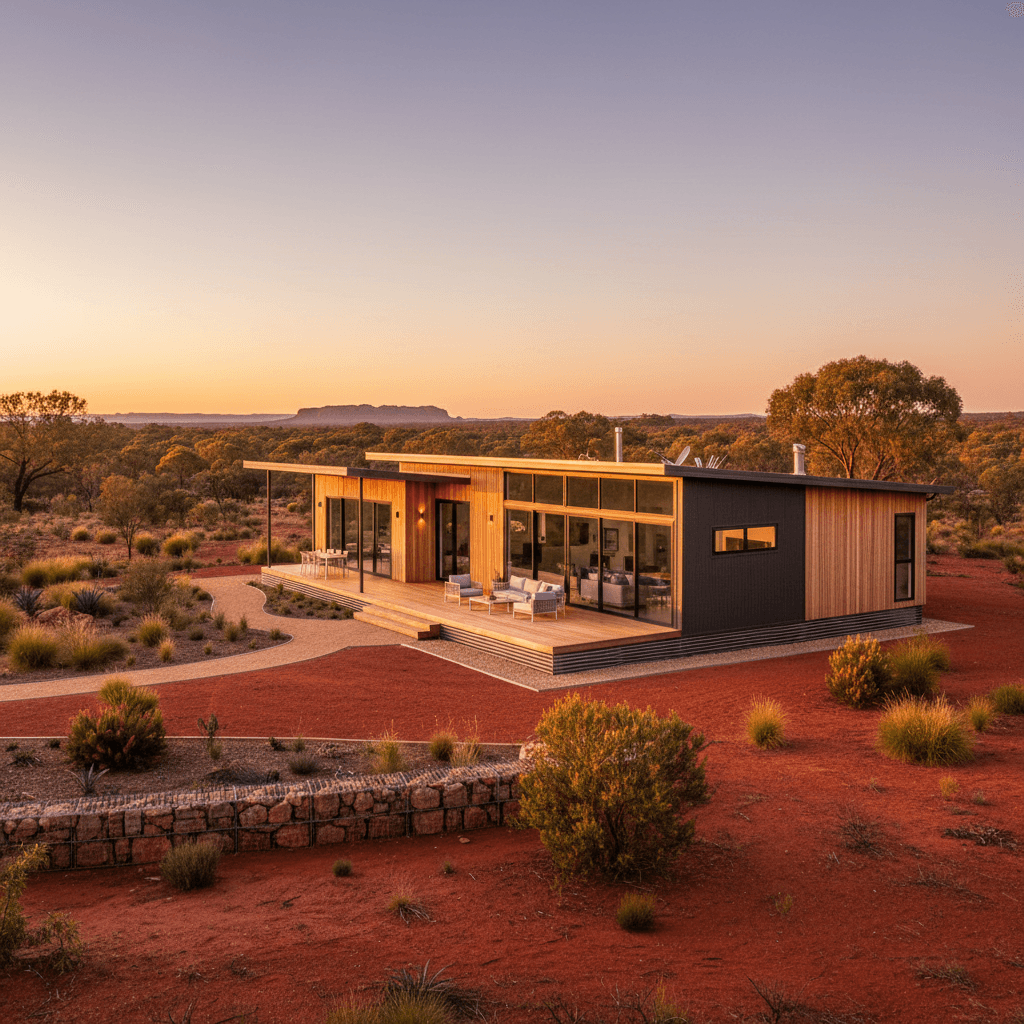
Final Thoughts
Understanding your soil type is the most practical step you can take toward a successful kit home build. It informs your budget, your foundation choice, and your site maintenance strategy. While it might seem like a technical hurdle, getting the ground right ensures that your steel frame kit home remains a safe, level, and beautiful space for decades to come.
By investing in a proper soil test and following the advice of structural engineers, you are laying more than just concrete, you are laying the foundation for a stress free lifestyle in your new Australian home. Remember, a great home starts from the bottom up, so treat your soil with the respect it deserves.