The Reality of the Kit Build
Most people think a kit home arrives on the back of a semi-trailer like a giant Lego set, ready to be snapped together in a weekend. It's not quite that simple, but it's also not as daunting as most tradies will tell you. I've spent fifteen years watching owner-builders tackle these projects. Some of them breeze through it, while others get stuck on the first page of the engineering drawings because they didn't take the time to actually look at what was delivered. You're building a house, not a flat-pack bookshelf. It involves dirt, noise, a bit of sweat, and the satisfying thud of a tek screw biting into Australian steel.
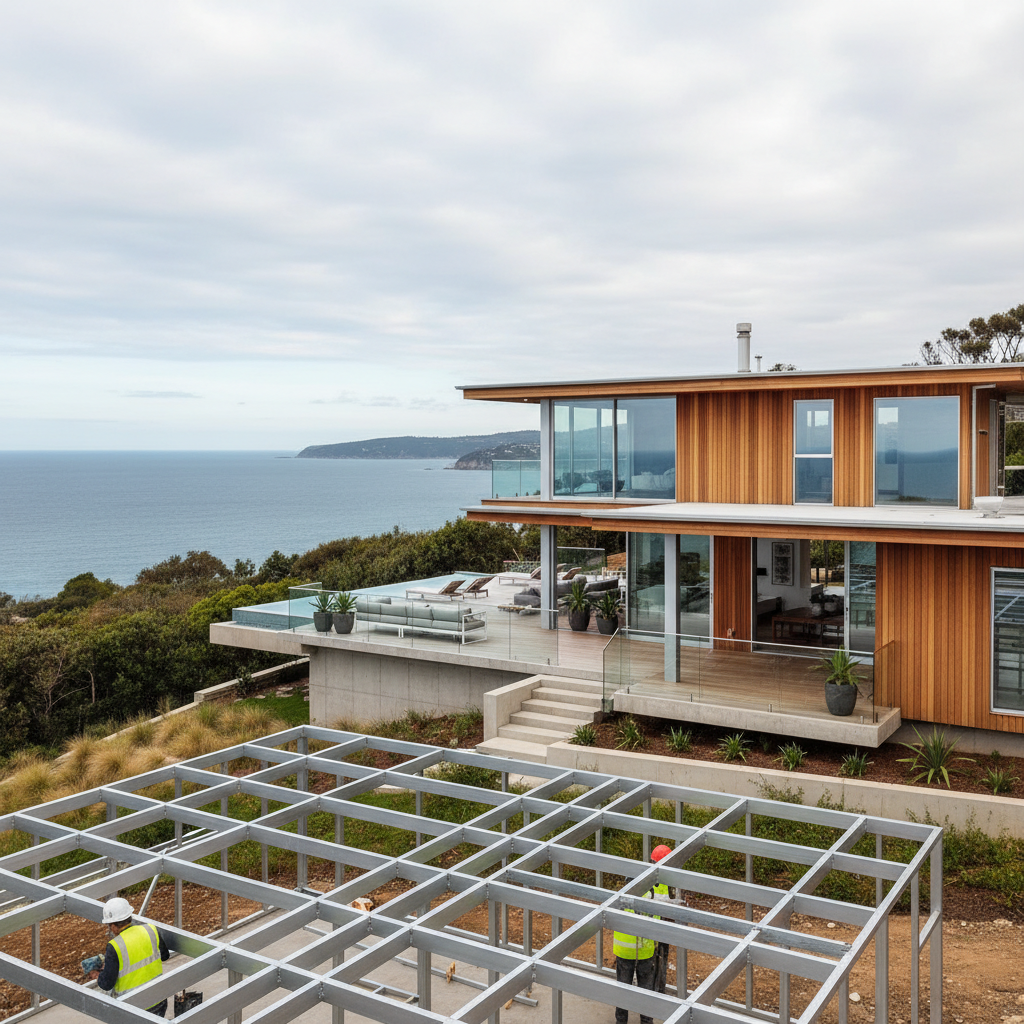
Before the truck even pulls into your driveway, you need your slab or sub-floor sorted. This is the foundation of everything. If your concrete slab is out by 20mm, your whole frame is going to be a nightmare to straighten. I always tell blokes to double-check their diagonals. Use a long tape. Check it again. Because once that steel arrives, the clock starts ticking and your site needs to be ready to receive the goods.
Receiving the Delivery and Sorting the Steel
The delivery day is chaotic. You'll have a crane truck or a hiab dropping bundles of BlueScope TRUECORE steel frames, packs of Colorbond roofing, and crates of windows. Don't just let the driver chuck it all in one big pile in the middle of the block. You want the wall frames positioned near where they'll be stood up. You want the roof trusses out of the way so you aren't tripping over them for the first three weeks. It’s about logistics. If you spend half a day sorting your components by the plan numbers, you'll save three days of searching for that one specific noggin later on.
Everything in a modern kit is numbered. These frames are manufactured with millimeter precision using CAD software, so if something doesn't fit, nine times out of ten, it’s because you’ve got the wrong panel or you're trying to force it where it doesn't belong. Take a breath. Look at the assembly layout. It’s a logic puzzle, not a wrestling match.
Standing the Wall Frames
This is where the house starts to look like a house. You start at a corner. Always a corner. You'll need a few good mates for this part, or at least some sturdy temporary bracing. We use hex-head screws to join the panels. You stand the first corner section, plumb it up with a spirit level (a cheap level is your worst enemy here, buy a decent one), and brace it off. Then you follow the floor plan around.
But here is a tip that most manuals won't emphasize enough: don't tighten everything 100 percent straight away. Leave yourself a tiny bit of wiggle room until the whole perimeter is stood. Steel is unforgiving compared to timber. If you've got a slight hump in your slab, you might need to shim the bottom plate. Once the walls are up and square, you'll bolt the bottom plates into the concrete using internal expanding anchors or chemical anchors, depending on what your engineer specified in the slab design. For those of you in high wind areas or North Queensland, pay extra attention to the tie-down details. The NCC Volume 2 doesn't suggest these things for fun; they keep your roof attached to the ground when the weather turns nasty.
The Roof Structure and Trusses
Trusses are the heaviest part of the assembly. If you're building a larger design like a four-bedroom ranch-style home, you'll likely want a crane for at least half a day to lift the trusses onto the wall plates. If you try to manhandle these things up a ladder, you're asking for a trip to the emergency room. Safety isn't just about high-vis; it's about the right equipment for the weight of the material.
Once the trusses are up, you install the roof battens. These run perpendicular to the trusses and provide the fixing point for your Colorbond sheets. This is also the stage where you'll appreciate the benefits of steel. It's straight. You won't find a warped truss or a bowed batten like you might with green timber. This makes your roof line look sharp and professional, even if it's your first time building. Plus, if you're in a bushfire-prone area with a high BAL rating, steel is your best friend. It doesn't fuel the fire.
Wrapping and Cladding
Now the skeleton is done, and it's time for the skin. First comes the building wrap. This is a breathable membrane that keeps the moisture out but lets the house breathe. Don't rush this. Tape your joins. Make sure it's tight. If you mess up the wrap, you risk condensation issues later, especially in colder spots like the Blue Mountains or Tassie.
Then comes the cladding. Whether you're using horizontal weatherboards, vertical steel profiling, or something like cement sheet, the process is similar. You're fixing back into those steel studs. Make sure you use the right gauge of screw with the correct coating for your environment. If you're within a few kilometers of the ocean, you need a higher class of galvanization or stainless steel to stop the salt air from eating your fixings. I’ve seen people use cheap screws on a coastal build and three years later the cladding is literally falling off because the heads rusted away.
Windows, Doors, and Keeping it Watertight
Getting the windows in is a massive milestone. It means you can lock the place up. Most kits come with high-quality aluminum windows. The trick here is the flashing. We see it all the time - owner-builders focus so much on the frame that they forget to properly flash the window openings. Water follows gravity. It wants to get inside. Your sill flashings and jamb flashings need to be layered correctly so water is shed away from the internal cavity.
Once the windows and external doors are in and the roofing sheets are screwed down, you're officially 'water-tight'. This is when the pressure eases off a bit. You're no longer racing against the rain clouds. You can move inside, get the electrical and plumbing 'rough-in' done by your licensed tradies, and start thinking about insulation and plasterboard.
Trade Tips for the Owner-Builder
- Keep your site clean. A messy skip bin or piles of offcuts lead to twisted ankles. Plus, it makes the site easier for your plumber and sparky to work in.
- Invest in a high-quality impact driver. If you're using a cheap, underpowered drill to drive hundreds of screws into steel frames, you'll burn the motor out before lunch on the second day.
- The plans are your bible. If a measurement on site doesn't match the plan, don't just cut the steel to make it fit. Find out why it doesn't match. You might have missed a spacer or a junction.
- Check your local council’s inspection schedule. Usually, they'll want to see the footings, the slab, the frame before cladding, and then the final. Don't cover up your work until the inspector has signed it off.
Building your own place is a grind. There'll be days where you're standing in the mud wondering why you didn't just buy an old fibro shack instead. But when you stand back and look at those steel ribs standing tall against the sky, knowing you put them there yourself, that’s a feeling you can't buy. It takes patience and a bit of grit, but the process is logical. Follow the drawings, use your head, and don't be afraid to ask for advice when you hit a snag. The result is a home that’s straight, strong, and built to last as long as you are.


