The Hard Truth About Going Owner Builder
Council planners don't care about your weekend plans or your vision for a wrap-around deck. They care about paperwork, drainage, and whether your soil is going to move three inches after the first summer storm. Most people think the hard part of building a kit home is the actual swinging of a hammer. It's not. The real work starts months before a single truck arrives at your site, usually at a desk covered in site surveys and coffee rings.
Being an owner builder in Australia is a slog, but it's the only way to get exactly what you want without a project builder breathing down your neck. You're the boss. That means you're the site manager, the cleanup crew, and the person who gets the 6am phone call when the plumber can't find the sewer tie-in. If you can handle that, you're ready. But if you think you can just wing it, you'll be staring at a half-finished frame in six months while your budget evaporates. Let's get into the stuff no one tells you in the glossy brochures.
Step 1: The Paperwork Minefield
Before you even look at floor plans, you need to know what your land allows. Every council is different. Some are easy. Others will make you jump through hoops for a simple shed, let alone a three-bedroom home. You'll likely need a Development Application (DA) or a Complying Development Certificate (CDC). The CDC is faster, but you've got to meet strict criteria. If you're building in a bushfire zone, which is half of Australia, you'll need a BAL (Bushfire Attack Level) rating. This isn't optional. It dictates what materials you can use, from the thickness of your windows to the type of screens you put on your doors. Don't skip the soil test either. An engineer needs to know if you're on Class A sand or Class P peat before they can design your footings. If you get this wrong, your slab will crack, and your doors will never close properly.
And then there's the Owner Builder permit itself. In most states like NSW or QLD, you have to do a course. Do it early. It teaches you about site safety and the legalities of hiring trades. Plus, it's a legal requirement if the value of your work is over a certain threshold. It's a few hundred bucks and a bit of your time, but it stops the authorities from shutting you down mid-build.
Step 2: Site Prep and the Slab
Groundwork is filthy, expensive, and absolutely vital. You'll need a surveyor to stake out exactly where the house goes. Don't eyeball it. If you're six inches over a boundary, you're in for a world of pain later. Once the stakes are in, the heavy metal arrives. You'll hire an excavator to cut and fill the site. Drainage is the bit everyone forgets. You need to get water away from the house, not towards it. I've seen blokes ignore the cross-fall and wonder why their garage floods every time there's a downpour in February.
When the site is level, the plumber comes in for the 'rough-in'. They lay the pipes that go under the concrete. Check those pipes twice. Once that concrete is poured, moving a toilet is a nightmare involving jackhammers and a lot of regret. Your slab should be poured to the engineering specs. Most of our kits use BlueScope steel frames, and those frames are precision-made. They expect a flat, level surface. If your slab is like the rolling hills of the Hunter Valley, your frame won't sit right. We use TRUECORE steel because it stays straight and true, but it can't fix a wonky slab.
Step 3: Receiving the Kit and Standing the Frame
The day the truck arrives is a big one. You'll need space. Lots of it. A full kit home includes frames, trusses, roofing, cladding, and windows. It's a lot of gear. Don't just let the driver dump it in a heap. Organise it. Keep the cladding off the ground and under a tarp. Put the windows somewhere they won't get smashed by a stray piece of timber or a clumsy apprentice.
Standing the frames is where the house starts to look like a house. Because these are steel frames, they're lighter than timber. You can move them around with a couple of mates. They're pre-punched for your electrical and plumbing too. This is where you follow the layout plans precisely. Use a level. Use a string line. Then use them again. Steel doesn't warp or twist like timber does, so once it's up and braced, it's there for good. We build to AS/NZS 4600, which is the standard for cold-formed steel structures. It's solid. It won't get eaten by termites, and it won't burn. But it's only as good as the bloke holding the impact driver. Take your time getting it plumb.
Step 4: Getting to Lock-Up
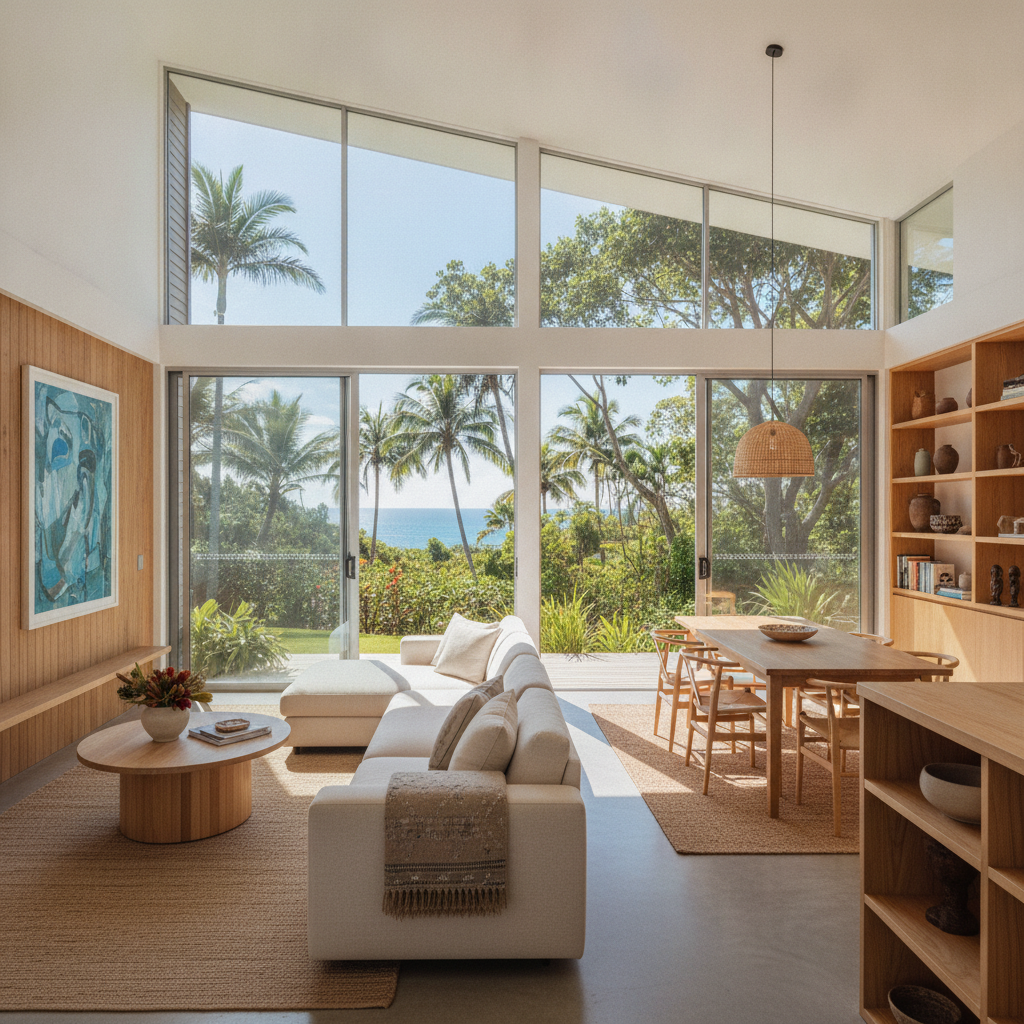
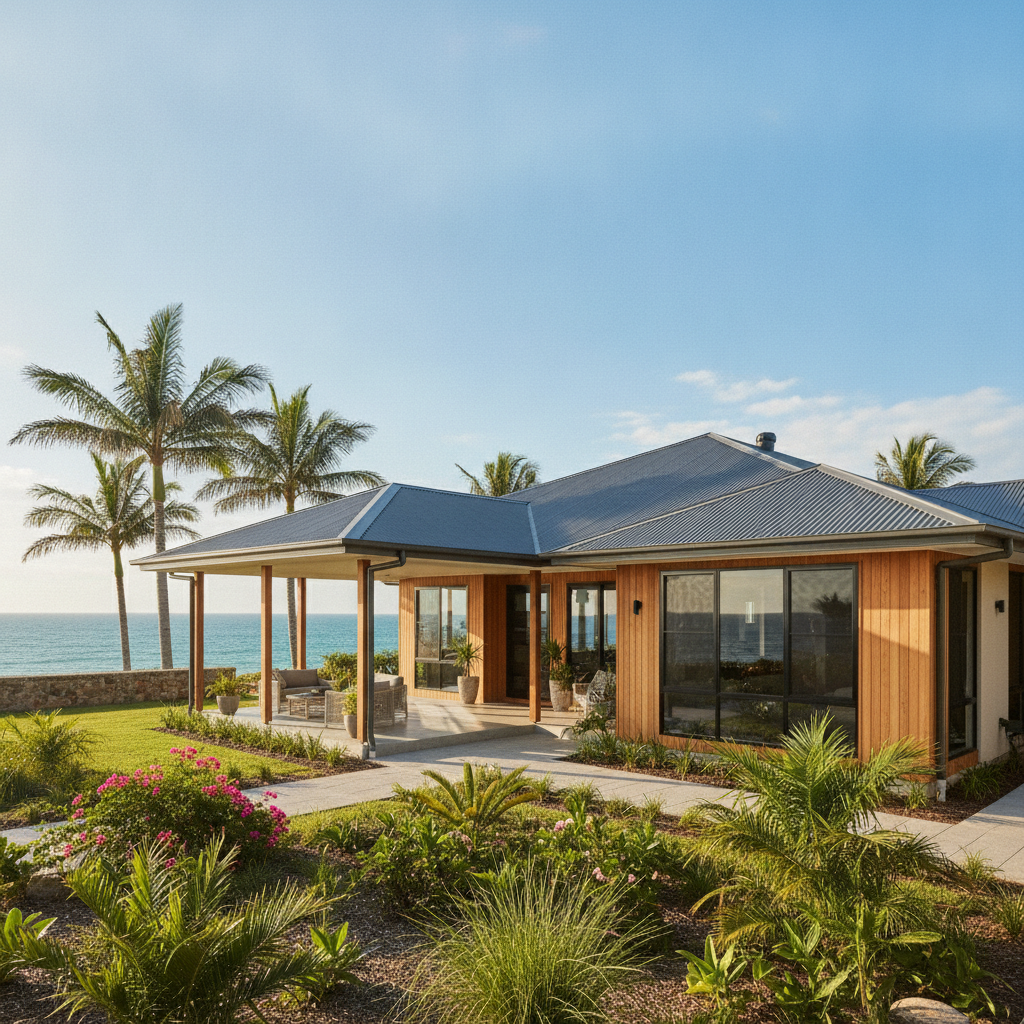
Lock-up is the psychological turning point. It's when the roof is on, the windows are in, and the doors actually lock. You'll start with the roof. We provide the battens and the Colorbond sheets. Getting the roof on fast is the goal because it protects the rest of the build from the weather. Once the roof is on, you can work inside while it rains. It's a great feeling, standing under a dry roof while the rain hammers down on the steel. Next comes the wall cladding and the windows. Make sure your flashing is done right. Water is the enemy of any house. If you don't flash your windows properly, you'll have rot and mould inside your walls within two years.
One thing about steel frames: they can be a bit of a pain if you want to hang heavy shelves later without planning. You need to know where your noggins are. I always tell owner builders to take photos of every single wall before the internal linings go on. It's like an X-ray of your house. When you're trying to find a stud to hang a 75-inch TV in three years, you'll thank me.
Step 5: The Inside Work
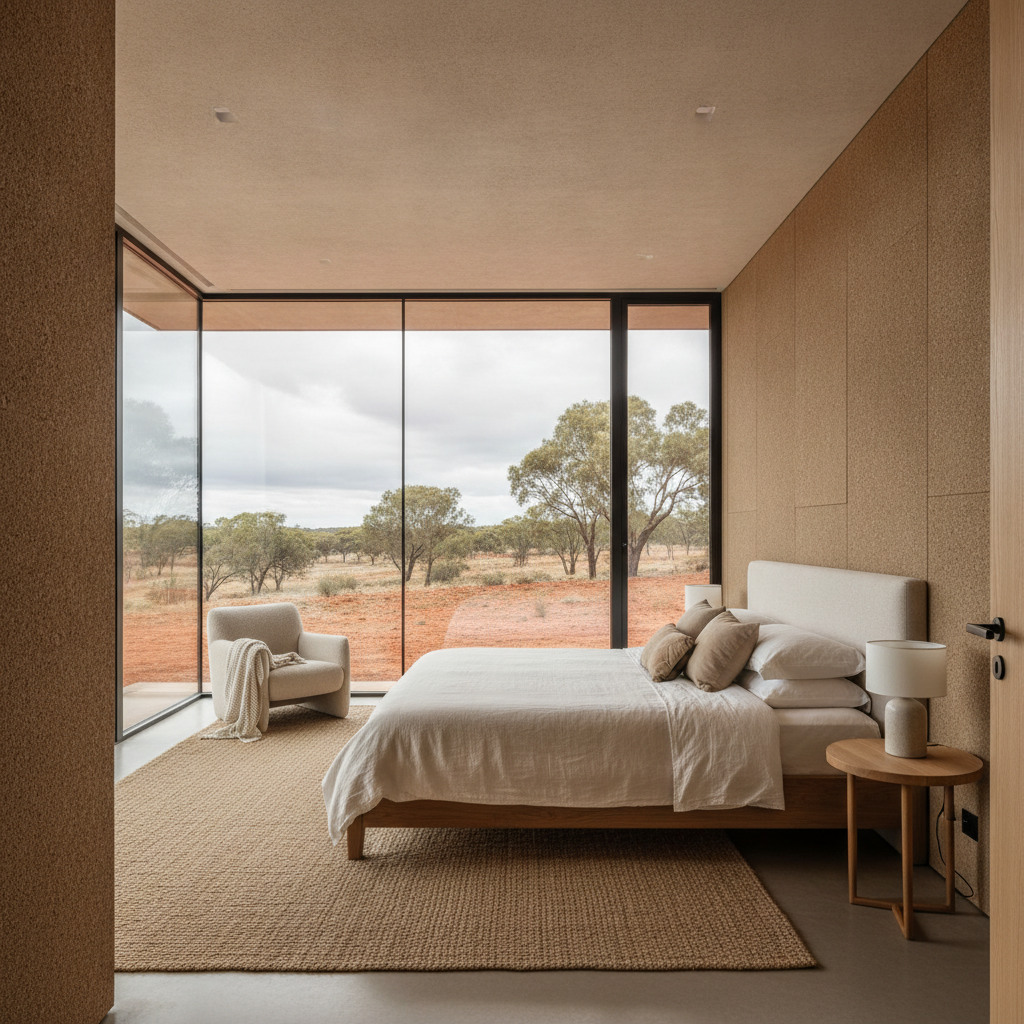
Now you're out of the wind. You need to get your sparky and plumber back for the internal rough-in. They'll run the wires and pipes through the pre-punched holes in the steel studs. Then comes insulation. Don't cheap out here. Australia has some of the harshest temperature swings in the world. Good batts in the walls and a high-spec blanket under the roof will save you a fortune on aircon. Once the insulation is in and the inspector has given you the thumbs up, you can start the gyprock. This is the messiest part of the job. Dust gets everywhere. If you've never plastered a ceiling before, this is the one trade I reckon you should pay a pro to do. A bad plaster job shows up every time the sun hits the wall.
Step 6: The Finishing Touches and Sign-Off
Kitchens, bathrooms, floor covers, and paint. This is where the budget usually starts to feel the pinch. You'll be spending a lot of time at Bunnings. You'll get to know the staff by name. It's the small things now - skirting boards, architraves, and towel rails. Keep your site clean. A messy site leads to mistakes and accidents. Plus, your trades will respect you more if they aren't tripping over rubbish.
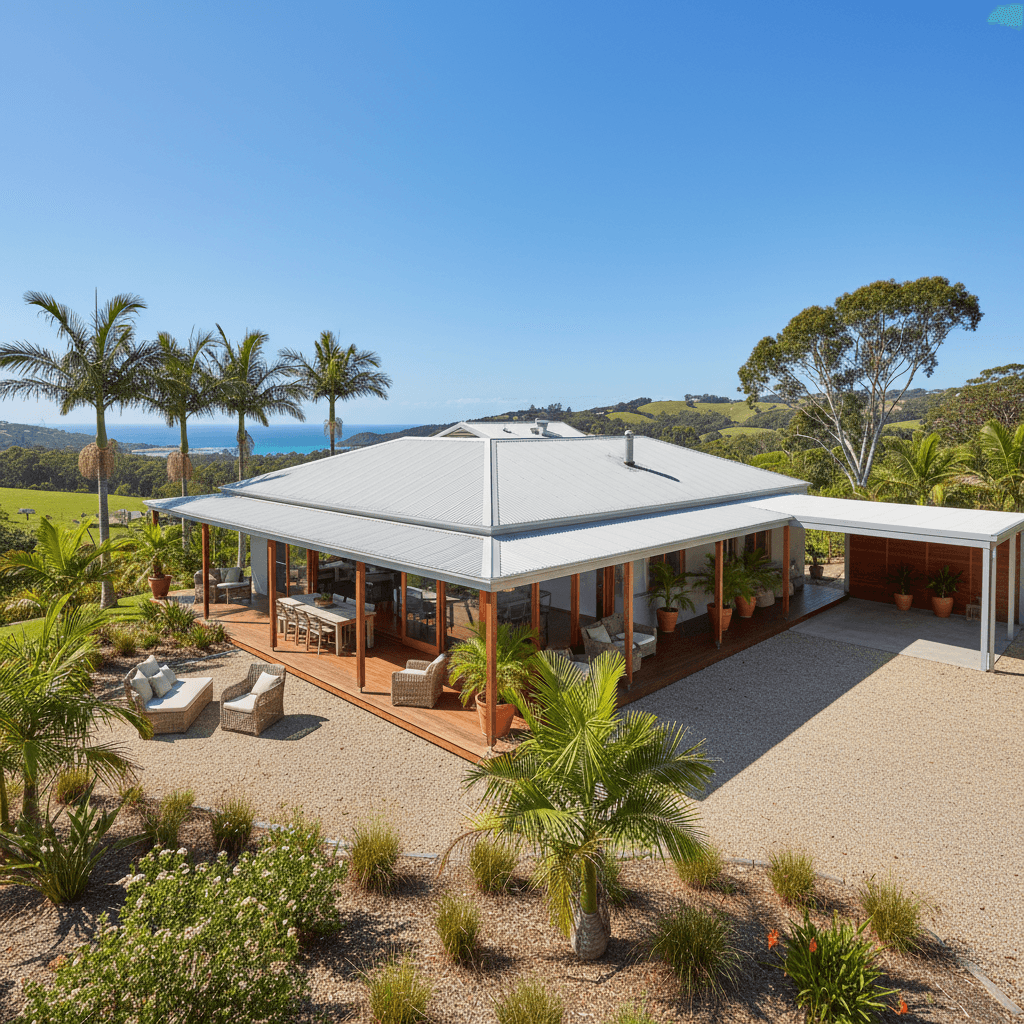
The final step is the Occupation Certificate (OC). This is the big one. Your certifier will come out and check everything against the approved plans. They'll check your smoke alarms, your handrails, your waterproofing certificates, and your electrical safety. It's a bit nerve-wracking. But once that piece of paper is in your hand, the house is legally a home. You can move in. You can stop living in a caravan or your parents' spare room. You'll be exhausted, your hands will be calloused, and you'll have a few more grey hairs, but you'll be standing in a house you built yourself. That's a feeling you can't buy from a project builder.
A Few Parting Tips for the Road
Stay on top of your waste management. Hire a skip bin early and use it. Don't burn your scrap. It's illegal and it's a fire risk. Also, keep a diary. Note down when trades show up and what they did. It's invaluable if there's a dispute later or if you need to remember where a specific pipe was buried. Building a kit home isn't just about the structure, it's about managing a thousand little moving parts. If you're organized and you've got a thick skin, you'll do fine. Just don't expect it to be easy. It's meant to be a challenge. That's why not everyone does it. Good luck with the build. You're going to need it, but you're going to love the result.