Siding It Right: Kit Home Cladding Options for Australian Owner-Builders
Right, so you've sussed out the block, maybe even picked a kit home design. The steel frame is a given – good stuff, no termites ever, dead straight walls. But what are you going to wrap that frame in? Cladding isn't just the pretty face of your house, not by a long shot. It's the skin that protects everything else, the first line of defence against scorching sun, driving rain, and yep, those bushfires that seem to get worse every year. Getting this bit wrong means headaches down the track, I'm telling you.
For owner-builders in Australia, especially with a kit home, your cladding choice impacts everything from your build time to your ongoing maintenance. We've seen it all, from bloke's struggling with tricky panel systems to others flying through a weatherboard install. Let's talk about what's actually available and what works best for different scenarios, because 'good looking' isn't always 'good performing'.
Weatherboard: The Aussie Classic with a Modern Twist
You can't talk about Australian homes without mentioning weatherboard. It's an icon, right? From old Queenslanders to modern coastal designs, it just works. But the weatherboard you're thinking about now isn't always the creaky timber stuff your grandma had. These days, you've got options, good ones too.
Timber Weatherboard: Natural but Needs TLC
Yeah, you can still get traditional timber weatherboards. Think treated pine, merbau, or even cedar if you're feeling flush. They look fantastic, truly natural, and breathe well. But here's the kicker: timber moves. It expands, it contracts, it needs painting or staining religiously every few years, especially if it's copping a lot of sun. Plus, timber is a feed for termites if it's not treated right, and a bushfire risk too if your BAL rating is high. Plus, finding really good, consistent timber can be a nightmare sometimes. It’s a labour of love, that timber weatherboard.
Fibre Cement Weatherboard: Tough, Stable, and Fire Resistant
This is where it gets interesting for owner-builders. Fibre cement boards – brands like HardiePlank, for instance – are incredibly popular. They're basically cement, sand, and cellulose fibres, pressed into planks that look just like timber weatherboards. But they don't rot, they don't get eaten by termites, and they're seriously fire resistant. Which, let's be honest, is a massive plus if you're building in a bushfire prone area. We see a lot of these go out with our kit homes because they're stable, easy enough to install with the right tools, and once painted, they look the part. They come primed, ready for a couple of coats of exterior paint. It's a heavy material, though, so watch your back and get a mate to help.
Composite Weatherboard: Low Maintenance, Less Fuss
Then you've got the composites, stuff made from recycled plastics and wood fibres. Think about brands like Futurewood or ModWood. These are usually pre-finished, meaning you don't paint them. They just go up and that's it, minimal maintenance. Great for owner-builders who want to get the job done and dusted without thinking about painting for years. They're not always as strong as fibre cement against impact, mind you, and the colours can fade slightly over a decade or two, but they are a good, low-upkeep option. Plus, often made from recycled materials, which is always a bonus.
Corrugated Iron (Colorbond): Aussie Icon, Seriously Durable
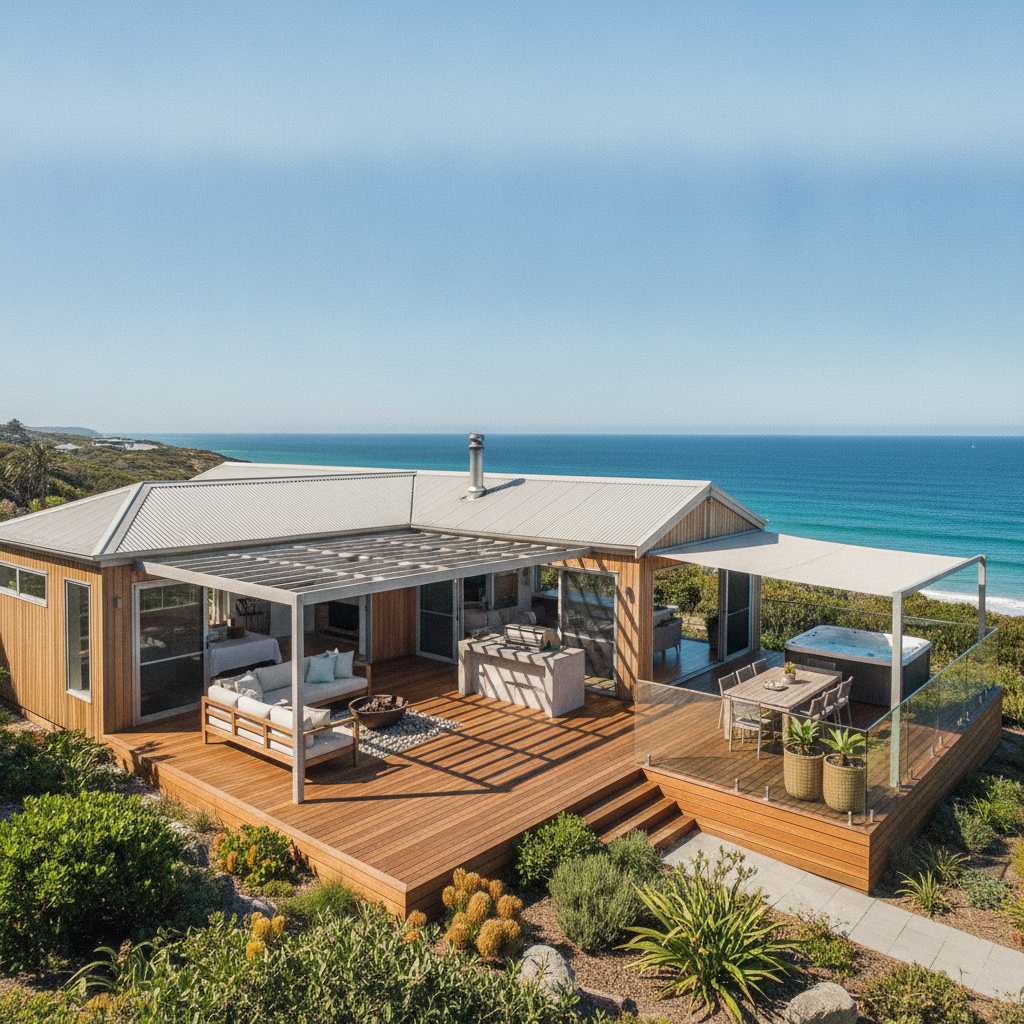
Don't just think sheds or roofing. Colorbond corrugated iron as wall cladding is having a huge moment, and for good reason. It's quintessentially Australian, incredibly durable, comes in a huge range of colours, and it's fast to put up. With a steel frame behind it, you've got a seriously tough, weather-tight wall system. It’s lightweight, so installation isn't too punishing, and it just keeps on keeping on. Termites? No chance. Fire? It’s steel, so it performs incredibly well in bushfire attack level areas. Plus, it reflects heat really well, which is great for those harsh summer days. We include Colorbond roofing in our kits, and many owner-builders choose to extend that look to some or all of their walls. It looks sharp, especially on modern designs or rural properties.
The trick with Colorbond on walls is making sure your insulation is top-notch. Because it's a metal, it can transmit heat more readily than other materials if you don't insulate properly. Think sarking, RFL insulation, and good wall batts. Get it right, and you'll be toasty in winter, cool in summer. Don't cheap out on the insulation for your walls, especially with Colorbond.
Brick Veneer: The Timeless, Solid Choice
For many, a 'proper' house means brick. Brick veneer is still king in a lot of suburbs, and for good reason. It’s durable as hell, needs almost zero maintenance once it’s up, offers excellent thermal mass (which helps stabilise internal temperatures), and provides fantastic acoustic insulation. Plus, the colours and textures of bricks are endless these days, from classic reds to sleek greys and whites.
Now, with a kit home, especially a steel frame one, brick veneer works beautifully. You build the steel frame first, get your roof on, then the brickies come in and lay the bricks in front of the frame. There’s a gap between the bricks and your external wall sarking (which we supply in our kits) for drainage and airflow. The bricks are tied back to the steel frame with special brick ties that allow for a bit of movement. It's a solid system, truly. The biggest thing here is time and cost. Bricklaying is a skilled trade, it takes longer than most other cladding options, and it's definitely not a DIY job unless you've got serious experience laying bricks. Plus, the materials themselves are heavy and take up a lot of space on site.
But for sheer longevity and a feeling of solidity, you can't beat brick veneer. And it's fantastic for bushfire resistance too, with the right cavity construction and detailing. Just remember to factor in the brickie's lead time and the extra time it adds to your build schedule.
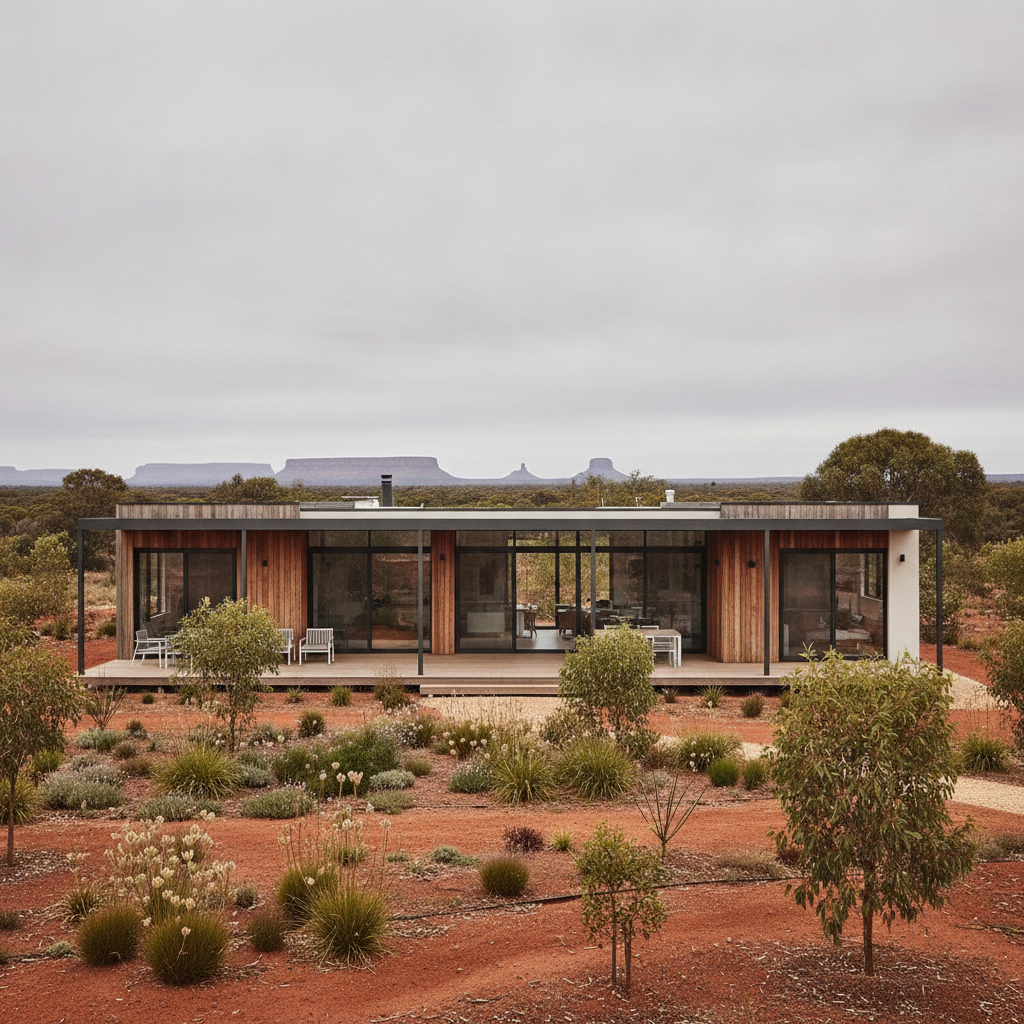
Panel Systems: Modern Looks, Faster Install
There's a whole world of panel cladding systems out there now, moving beyond just weatherboards. Think about things like:
- Large Format Fibre Cement Panels: These are big sheets, often square or rectangular, that give a really contemporary look. Brands like Axon or Exotec from James Hardie come to mind. You can express the joints for a modern aesthetic, or battens can cover them. They go up quickly because they're large, but you need to be precise with your cutting and fixing. They offer similar benefits to fibre cement weatherboards: termite proof, fire resistant, stable.
- Insulated Panels (e.g., EPS or PIR core): These are panels with an insulating core sandwiched between two skins, often Colorbond steel. They're fantastic for thermal performance – literally, the insulation is built-in. Some systems, like Insulpanel, can be used for walls and roofs. They go up incredibly fast, are lightweight, and create a very energy-efficient envelope. The downside can be the aesthetic, which is often a very flat, industrial look, though some offer different profiles now.
- Timber Look Panels: These mimic timber battens or planks but are often made from aluminium or fibre cement. Great for getting a timber aesthetic without the maintenance, especially good for feature walls or eaves.
Panel systems are usually pretty good for owner-builders who are handy with a saw and a drill. The larger the panel, the faster the coverage, but also the more critical your measurements and cuts become. Always read the manufacturer's installation guides front-to-back, because they all have specific fixing patterns and jointing details you can't skip.
Rendered Finishes: Smooth and Seamless
Rendered finishes give you that smooth, monolithic look, very popular in modern and Mediterranean styles. You can render over a few different substrates:
- Fibre Cement Sheeting: The most common method. Large fibre cement sheets are fixed to your steel frame, then a special acrylic render system is applied over the top. This gives a really uniform finish, and it's less prone to cracking than traditional sand and cement renders on masonry. It’s also relatively lightweight.
- Expanded Polystyrene (EPS) Panels: These are big, thick sheets of polystyrene that are fixed to the frame, then rendered over. They provide excellent insulation because of the EPS core. They're very lightweight and fast to install. The downside is that they can be easily dented before the render goes on, so you need to be careful with them.
Rendering is another one of those jobs where experience counts. Getting a perfectly smooth, even finish across a whole house takes skill. You can DIY it, but practice on a shed first, honestly. Or budget for a good renderer, because a bad render job sticks out like a sore thumb. For bushfire areas, choose a system that's compliant with your BAL rating, as not all render systems are created equal for fire performance.
Kit Home Tips for Cladding Choices
- Check Your BAL Rating First: This is non-negotiable. If you're in a bushfire prone area (and heaps of Australia is), your BAL rating will dictate what materials you can and can't use, or how they need to be installed. Don't ignore this.
- Consider Maintenance: How much do you want to be painting, staining, or cleaning? If the answer is 'not much', lean towards Colorbond, pre-finished composites, or brick.
- Think About Installation: Are you doing it yourself? Weatherboard and some panel systems are very owner-builder friendly. Bricklaying and professional rendering, less so.
- Thermal Performance: Every cladding has different thermal properties. Combine it with good insulation (wall wraps, batts, maybe even sarking with an air gap) to get the best result. Our steel frames are designed to accommodate standard insulation thicknesses, so you won't have dramas there.
- Local Council Requirements: Some councils have overlays or specific aesthetic requirements, especially in heritage areas or coastal zones. Always double-check this during your DA process.
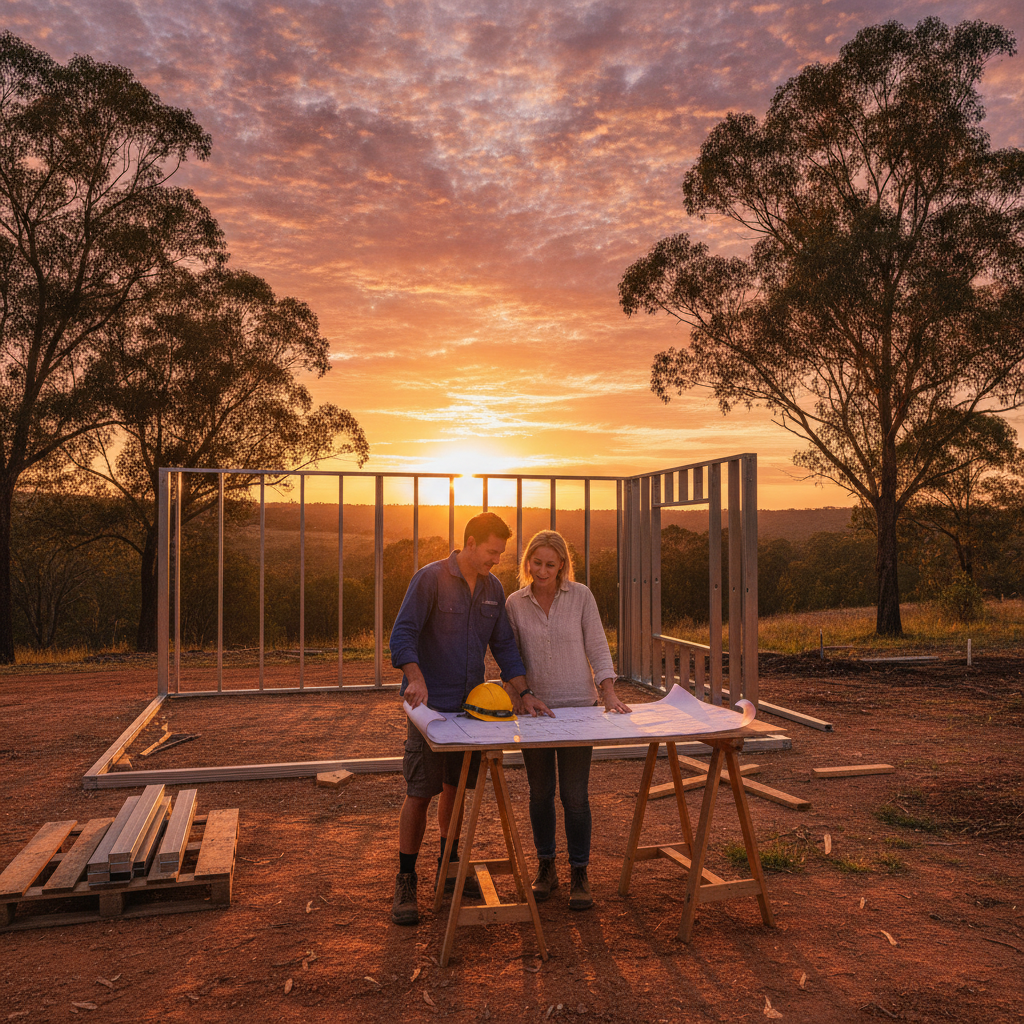
Owner Builder Tips for Cladding Installation
- Read the Manufacturer's Specs: Seriously, every single installation guide from your cladding supplier. It's got all the details for fixing, clearances, sealants, and flashings. Skimp on this and you'll regret it.
- Get the Right Tools: For fibre cement, you'll need specific shears or a fibre cement saw blade. For Colorbond, tin snips and a good nibbler. Don't try to cut corners with the wrong gear, it makes for a dog's breakfast.
- Start Level and Square: The first row of any cladding is critical. If it's off, every subsequent row will be off. Use a laser level or a very long spirit level and get it perfect.
- Flashing and Weatherproofing: This is arguably the most important part. Windows, doors, corners, penetrations – all need proper flashing. Water ingress is a builder's worst nightmare, so get those details right. Follow NCC Volume 2 and AS 2047 for windows and doors.
- Work with the Weather: Don't try to install cladding in a gale force wind or a torrential downpour. It's a waste of time and can compromise the installation.
Picking your cladding isn't just a design choice, it's a technical one. It impacts your build, your budget (though we're not talking cash today), and how long your home lasts without you having to mess with it. Take your time, weigh up the pros and cons of each, and don't be afraid to ask your kit home supplier for advice. They've seen these materials go up on hundreds of houses, they know what works and what doesn't. Choose smart, build strong.