Site Prep for Your Aussie Kit Home: Get It Right Before Delivery
Alright, so you've been poring over kit home plans, maybe even picked out the cladding colours in your head. Exciting stuff, no doubt. But before you get too carried away imagining where the fridge will go, let's talk real talk: the ground. Yep, the very dirt your dream home will sit on. Getting your site ready for a kit home, especially a steel frame one, isn't just important; it's absolutely critical. Miss a step here, and you'll be kicking yourself, trust me. This is where owner-builders often hit their first major snag, and it's completely avoidable.
The Ground Rules: Why Site Prep Isn't Just Digging a Hole
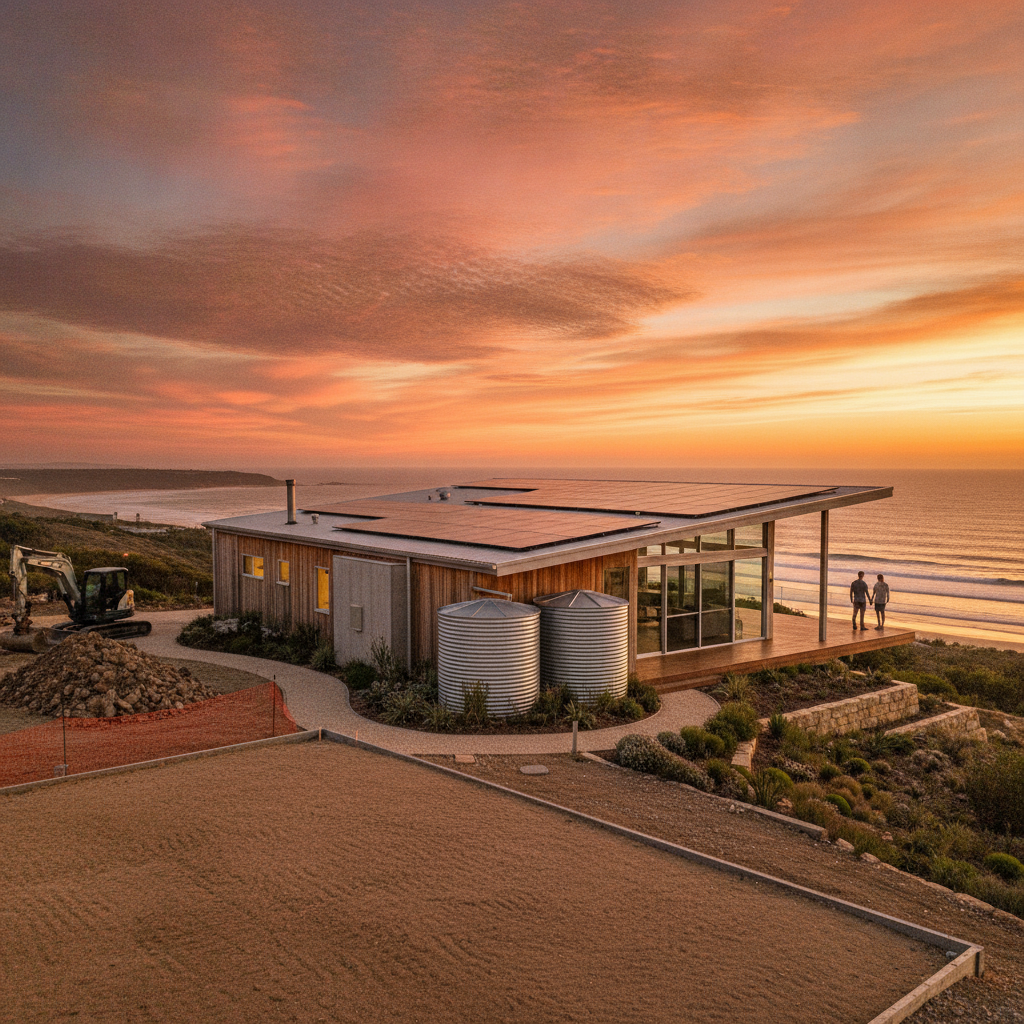
You see those glossy brochures? They show a neat, level pad just waiting for the frame. That's the ideal, the goal you're aiming for. Your actual block might be a bit more... authentic. Slopes, trees, rock, old fence lines, even buried rubbish from decades ago – it's all part of the Aussie landscape. Proper site preparation isn't just about aesthetics; it's about structural integrity, drainage, and making the actual build process efficient. Get it wrong, and you're looking at delays, budget blowouts, and a whole heap of headaches. Nobody wants that. Especially when you've got a truckload of steel frames, roof trusses, and wall panels due to arrive.
First Up: The Paperwork & Permissions
Before any machinery even thinks about touching dirt, you need your ducks in a row with the local council. Your Development Application (DA) or Complying Development Certificate (CDC) needs to be approved. This isn't just for the house itself; often, it includes site works, cut and fill plans, and retaining walls if your block isn't flat. You need to understand the approved finished floor levels and setback requirements. Don't assume anything. A chat with your local council's planning department will clarify what specific reports and plans they need. Geotechnical reports, bushfire attack level (BAL) assessments, and flood plain information are common requirements, depending on your block's location and characteristics.
Clearing the Deck: Trees, Vegetation, and Demolition
Okay, approvals are in hand. Now, the physical work starts. First thing's first: clear the site. This means removing any trees, stumps, large rocks, and unwanted vegetation that fall within your building envelope and the immediate working area. Be mindful of council regulations regarding tree removal, especially native species or those exceeding certain diameters. Get proper tree felling contractors in for anything substantial; it's not a DIY job for the faint of heart or inexperienced. You might need an arborist report as part of your DA, so plan ahead.
If there's an existing structure to be demolished, like an old shed or a dodgy fibro shack, get that done too. Make sure all debris is removed responsibly. Skipping this step means your earthworks contractors will have to deal with it, likely at an extra cost, and it just slows everything down.
Earthworks: Getting to a Flat, Stable Pad
This is where the real muscle comes in. Earthworks involve excavating, cutting, filling, and compacting the ground to create a stable, level building pad for your slab or subfloor. This isn't just 'good enough'; it needs to meet specific engineering requirements. Your slab engineer will provide drawings specifying compaction rates, fill materials, and edge beam details. Pay attention here.
Cut and Fill: The Science Behind the Scrape
Most blocks aren't perfectly flat. You'll likely need some combination of 'cut' (removing soil) and 'fill' (adding soil) to achieve the desired level. The goal is to balance these as much as possible to minimise the need to truck soil in or out, which saves you a heap of cash. When using fill, it MUST be engineered fill, properly compacted in layers. Think road base or similar, laid in lifts and compacted with heavy machinery, not just any old dirt you dig up. Undercutting the existing soil and replacing it with engineered fill is often necessary to ensure a stable base, particularly on reactive clays.
The compaction needs to be verified. Your local certifier will usually require an independent soil testing company to conduct compaction tests. This provides documentation that the ground can adequately support your steel frame kit home and its concrete slab. Don't skip these tests. They're not just a council tick-box; they're your insurance against future settlement issues.
Drainage, Drainage, Drainage: Don't Skimp Here
Water is the enemy of any building. Effective site drainage is non-negotiable. Before your slab goes down, plan for how stormwater will be managed around your home. This means ensuring positive fall away from the building, installing agi pipes if needed, and connecting to stormwater drains or detention systems. You don't want water pooling near your footings or under your home. It can lead to all sorts of grief, from soil erosion to slab movement down the track.
Think about where water will run during a decent downpour. If it's going to flow directly towards your house, you need to re-think your levels or install swales and drains to redirect it. This should be part of your overall site plan submitted to council.
Slab Prep: Ready for Your Concrete Pour
Once your earthworks are complete and verified, you're ready for the slab. This is a big one. For a steel frame kit home, a robust, well-engineered slab is fundamental. Steel frames are light but incredibly strong, and they depend on that solid base.
Formwork and Reinforcement
Your formwork will define the exact dimensions of your slab. Make sure it's square, level, and securely braced. Your engineer's drawings will detail the steel reinforcement (reo) required. This includes mesh, trench mesh, and sometimes additional bar work around openings or under load-bearing walls. All reo needs to be supported off the ground on 'chairs' so it's suspended within the concrete, not sitting on the dirt. Get a qualified concreter to manage this; it's their bread and butter.
Before the pour, your certifier will need to inspect the formwork and reinforcement. Don't pour a drop of concrete until they've signed off. They'll check things like reo spacing, clearances, and the overall setup. It's a critical hold point.
Termite Management System
This is mandatory in most parts of Australia. Before your concrete goes down, a termite management system needs to be installed. This could be a physical barrier, a chemical treatment, or a reticulation system. Whatever you choose, it needs to comply with AS 3660.1 and be installed by a licenced professional. Steel frames don't rot or get eaten by termites themselves, which is a massive bonus, but timber elements like your kitchen cabinets or even some internal linings still can. Protect your investment from the ground up.
Under-Slab Services
Don't forget your plumbing and electrical conduits that need to go *under* the slab. This means sewer pipes, water pipes, and any electrical runs for island benches or specific power points. Get your plumber and electrician on site to mark out and install these before the concrete truck arrives. Trying to retro-fit these through a concrete slab later is a nightmare and a half.
Access and Logistics for Kit Delivery
Think about how your kit will actually get to the site. Kit homes come on big trucks, usually semi-trailers. Is your driveway wide enough? Is it clear of overhanging trees? Is there enough room for the truck to turn around or safely unload? Some sites, especially rural ones, might need temporary access roads or significant clearing just for delivery. Have a clear, flat, and firm area designated for the kit components to be offloaded and stored. You don't want steel frames sitting in mud or stacked precariously.
And consider your trades. Where will they park? Where will you set up a site shed for tools and materials? Thinking about these logistics early makes the whole build process smoother. It's not just about the house; it's about the entire construction ecosystem around it.
The Takeaway: Plan, Prep, Prosper
Site preparation for your kit home isn't a minor detail. It's the absolute foundation of your build. Get it right, and the rest of the process, particularly erecting those steel frames, will be significantly easier and faster. Skimp, and you'll pay for it later, in time, money, and stress. Talk to your certifier, your earthworks contractors, and your concreter early. Get their expert opinions. It's all about planning ahead, being thorough, and not cutting corners. Your future steel frame kit home will thank you for it.