The Reality of the Kit Home Build
Most people think a kit home arrives on the back of a truck as a finished bedroom that just needs a couple of bolts. It doesn't. If you're looking for that, you're in the wrong place. A kit home is a pile of high-quality components, specifically BlueScope TRUECORE steel, that requires you to actually put in the hard yards or manage the blokes who do. It's rewarding as anything, but you need to know what happens after the delivery driver drops the packs and heads to the nearest bakery for a pie.
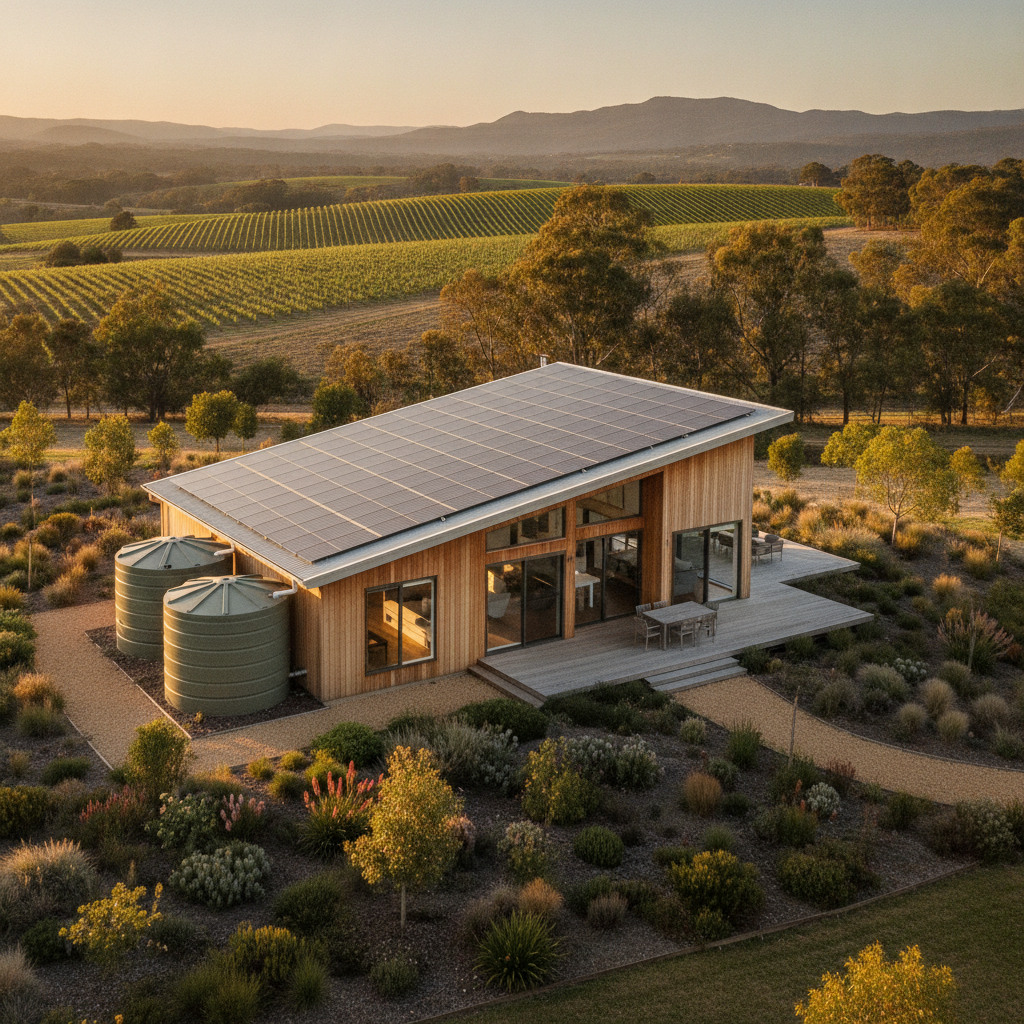
Building in Australia means dealing with the elements, strict NCC regulations, and the occasional stubborn inspector. Whether you're building out in the sticks near Mudgee or on a suburban block in Logan, the assembly process follows a strict technical sequence. If you mess up the order, you'll be backtracking for weeks. I've seen guys try to install windows before the wall bracing is set. Don't be that person. It's a nightmare you don't need.
Step 1: The Foundation and the Bottom Plate
Your slab is the most important part of the whole project. If your concrete is out by 10mm, your steel frames will tell on you immediately. Wood is forgiving, but steel doesn't lie. Once the slab is cured and you've had your plumber run the under-slab drainage, it's time to mark out. You'll spend hours with a chalk line and a square. Take your time here. Because once those bottom plates are fixed down with chemical anchors or screw bolts, moving them is a massive headache involving grinders and a lot of swearing.
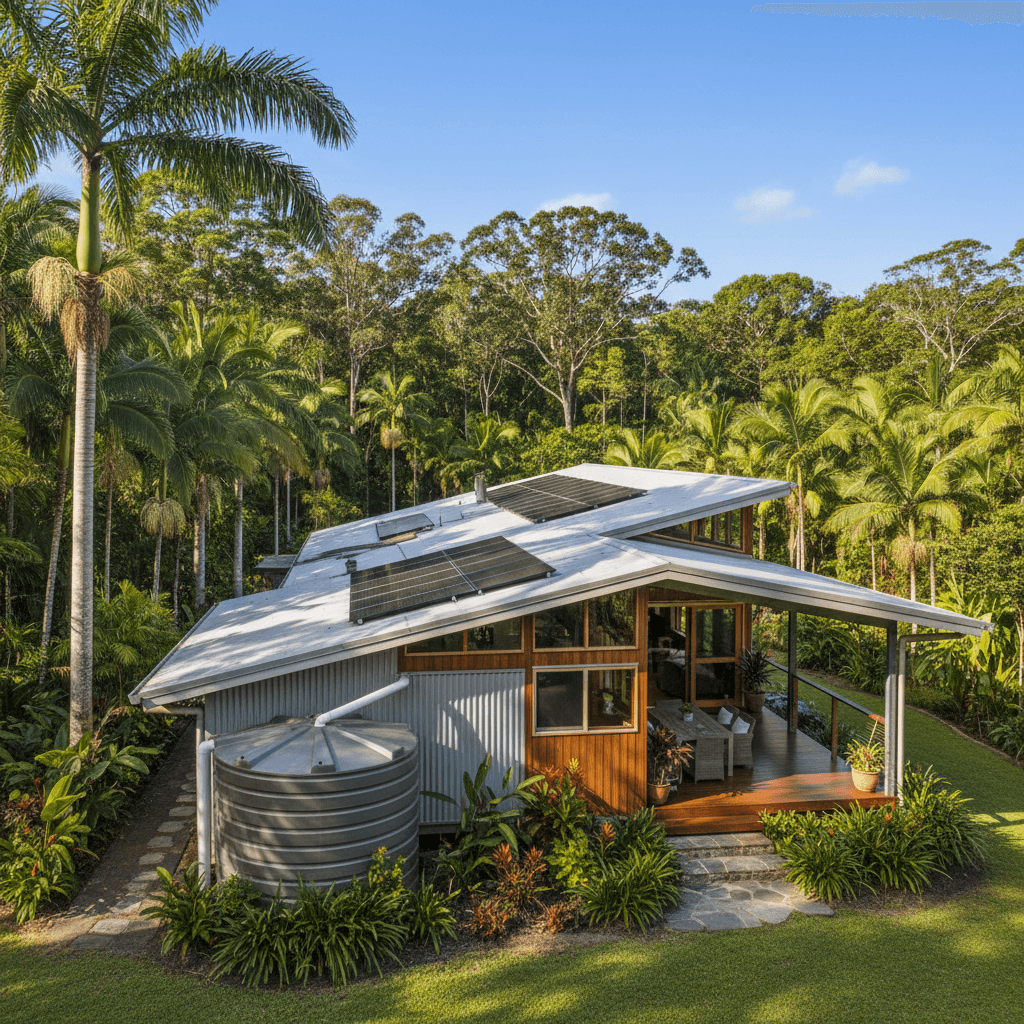
We use steel frames because they stay straight. No warping like timber. But that means your layout has to be spot on. You'll lay out your damp-proof course (DPC) first. Don't skip the termite barrier either. In places like Queensland or the Northern Territory, skipping termite protection is basically inviting the local wildlife to eat your house from the inside out, though they'll have a much harder time with the steel structure than the skirting boards.
Step 2: Standing the Walls
This is the fun part. It's like a giant Meccano set for adults. Usually, the wall frames arrive pre-assembled or in manageable sections that you can lift with a couple of mates. You start at a corner. Always start at a corner. It gives the structure immediate stability. You'll stand the first frame, plumb it upright with a spirit level, and brace it back to the slab using temporary timber or steel props.
The beauty of the TRUECORE system is the pre-punched holes. You aren't standing there with a drill trying to guess where the electrical wiring or the PEX plumbing lines are going to go later. It's all calculated. As you move along the slab, you bolt the frames together. You'll feel the house start to take shape. It stops being a drawing and starts being a building. But keep those temporary braces on. A stiff afternoon breeze can twist a frame faster than you can yell for help if it isn't properly braced to the concrete.
Step 3: Trusses and the Roof Line
Once the walls are up and tied together with a top plate or a ribbon plate, it's time to look up. Trusses are heavy. You'll likely need a HIAB or a small crane for a day. Don't try to manhandle these yourself unless it's a tiny studio. It's not worth the back surgery. You'll space the trusses according to the engineering plans, usually at 600mm or 900mm centres depending on your wind rating. If you're in a cyclone-prone area like Townsville, your tie-down requirements are going to be much more intense than someone building in a hollow in Tasmania.
Roof battens go on next. These are the horizontal members that the Colorbond roofing actually screws into. Walking on battens is a skill. Keep your feet over the trusses. If you've never done it, it's a bit like a tightrope walk but with a much higher chance of falling through a ceiling joist. Safety first here, get your edge protection sorted before anyone leaves the ground.
Step 4: Making it Watertight (Lock-up)
This is where the pressure drops. Once the roof is on and the sarking is down, you aren't checking the Bureau of Meteorology app every fifteen minutes. We provide the roofing, the cladding, and the windows. Getting the foil or wrap on the walls is next. It's an underrated step. This is your secondary weather barrier and reflects a massive amount of radiant heat, which is vital when the Aussie sun is hitting 40 degrees in January.
Installing windows in a steel frame is a different beast than timber. You're using self-tapping screws and making sure everything is perfectly shimmed. You want a 10mm gap around the frame for expansion and to make sure the house can settle without cracking the glass. Once the doors are in and the locks click, you're at "lock-up". This is the milestone where you can finally leave your tools on site without worrying about them walking off over night.
Technical Considerations for Owner Builders
You need to be across the BCA (Building Code of Australia). Even if you're hiring trades for the technical bits, it's your name on the owner-builder permit. You're the one the council inspector is going to grill. Here are a few things I've learned over 15 years in this game:
- Check your BAL rating. If you're in a bushfire-prone area, your kit home needs specific seals and mesh. A BAL-40 rating requires different window glass than a standard build.
- The screw gun is your best friend. Get a high-quality one with a couple of spare batteries. You'll be driving thousands of fasteners into that steel.
- Don't over-tighten the cladding screws. If you crush the ribs of the iron, it'll leak. It's about a firm seal, not trying to weld it with a bolt.
- Keep your site clean. Steel offcuts are sharp. A messy site is how people end up in the emergency room getting stitches in their calf.
The Finishing Touches
After the external shell is done, the kit component of the job is mostly over, and you move into the internal fit-out. This is where you bring in the sparky and the plumber for their rough-in. Because you're working with steel frames, they'll need plastic grommets for every hole where a wire or pipe passes through. This prevents the sharp edges of the steel from rubbing through the insulation and causing a short circuit or a leak down the track. It's a small detail, but it's non-negotiable for a safe house.
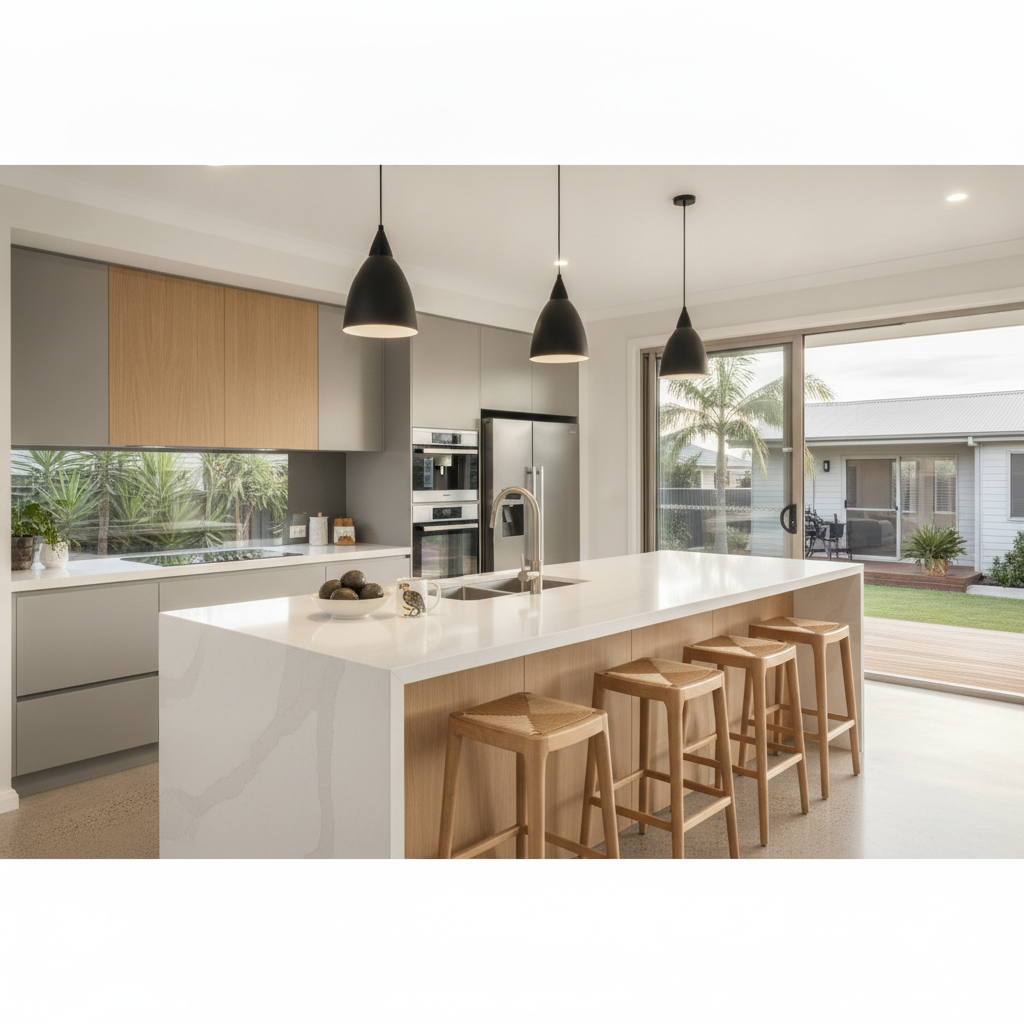
Insulation goes in after the rough-in. Don't skimp here. Stick as much R-value as you can fit in those wall cavities. It makes a world of difference for your electricity bills when the air con doesn't have to work double time. Then comes the plasterboard, the skirting, the kitchen, and the paint. Suddenly, that pile of steel and foil feels like a home.
Building a kit home is a massive undertaking, but it isn't rocket science. It's a series of logical steps. If you can read a tape measure, follow an engineering drawing, and you aren't afraid of a bit of hard work, you'll get there. Just don't rush the frame stage. A straight frame makes everything else, from the tiling to the cabinetry, a thousand times easier. Get the bones right, and the rest will fall into place.