Sunlight & Fresh Air: Designing Your Kit Home for Natural Comfort
There's nothing worse than a house that feels like a cave, or one that gets stifling hot the moment the sun peeks out. And, believe me, after 15 years in this kit home game, I've seen some shockers. Building your own place, especially a kit home, gives you this ripper chance to get it right from the ground up. You want a home that breathes, that's flooded with natural light, and that doesn't cost you an arm and a leg to cool down in summer. That's what smart design does, and it starts long before the concrete truck even turns up.
Get the Orientation Right, First Up
This is probably the biggest lever you've got when it comes to natural light and airflow. Honestly, it's more important than any fancy window you could chuck in. North-facing walls get the most consistent light in Australia. We're talking that lovely, soft light for most of the day in winter, helping warm things up. In summer, with a decent eave or verandah, that high sun gets blocked, keeping the heat out. South-facing windows, they're good for consistent, indirect light – perfect for a studio or a study where you don't want glare. East gets that intense morning sun, west gets the brutal afternoon blast. Knowing this, you can start sketching out where your living areas, bedrooms, and even the laundry should sit on your block.
Thinking About Your Block's Specifics
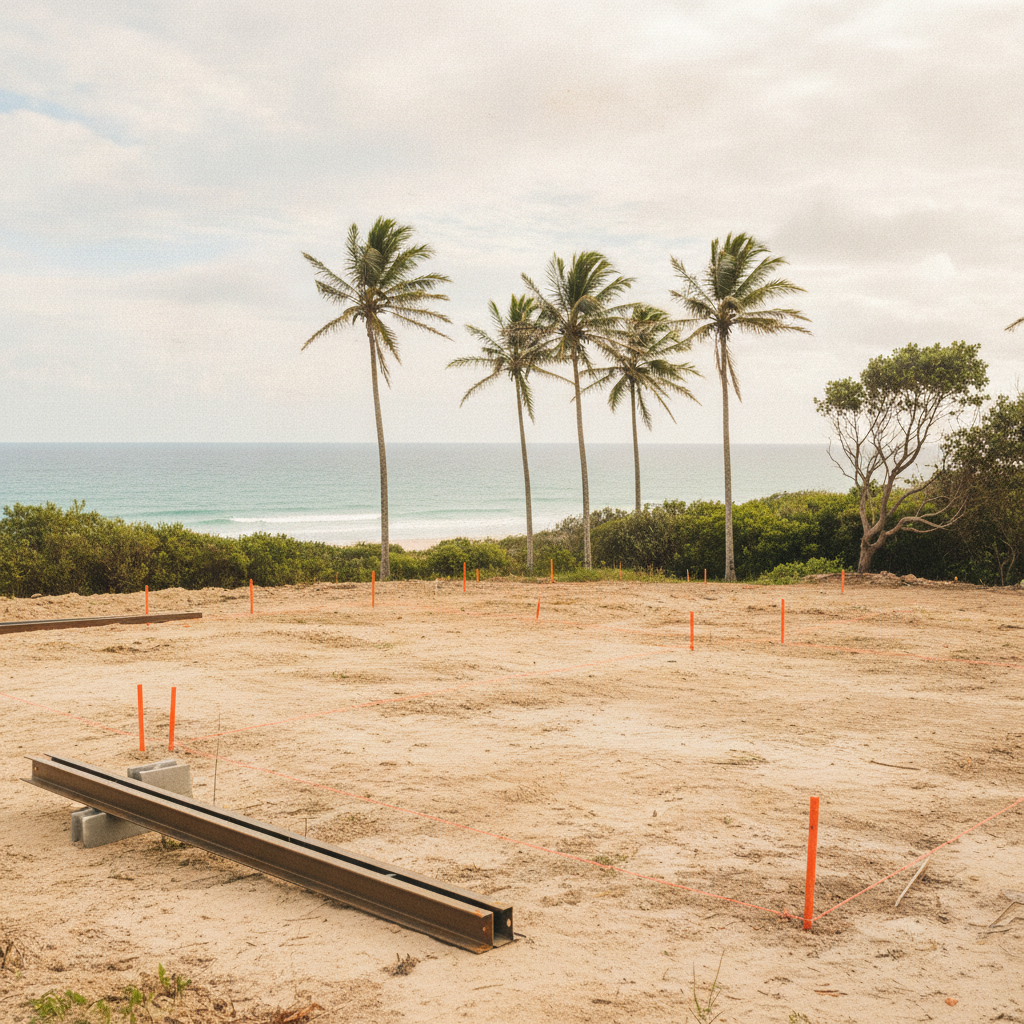
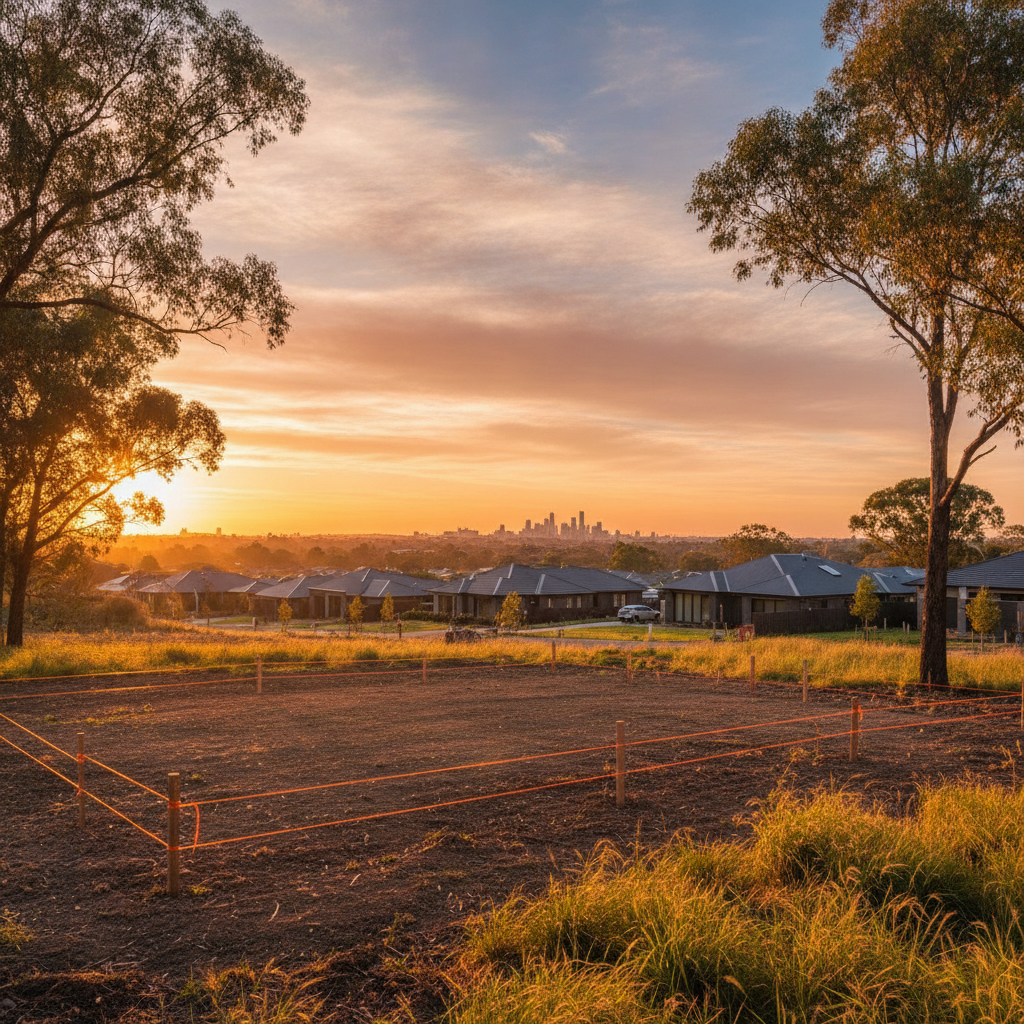
Not every block is a perfect rectangle facing due north, right? Sometimes you're stuck with a funny shape, or neighbours too close, or a stunning view that's unfortunately west-facing. This is where you get smart. If your best view is west, you don't just whack a huge window there and bake yourself. You shade it. You plant deciduous trees. You consider external blinds. You think about cross-ventilation. It's a puzzle, every single site. And that's part of the fun of owner-building – figuring out the best solution for your place.
Windows: More Than Just Holes in the Wall
Alright, once you've sussed out the orientation, it's time to talk windows. And this isn't just about size; it's about type, placement, and glazing.
Choosing the Right Window Type for Airflow
- Louvre Windows: These are gold for ventilation, seriously. You can open them a crack even when it's raining a bit, and they direct breezes upwards. Great in bathrooms, laundries, and anywhere you need serious air movement without big security worries.
- Casement Windows: They open outwards like a door, catching breezes and directing them inside. Excellent for funneling air.
- Awning Windows: Hinged at the top, opening outwards from the bottom. Good for rain protection while still ventilating. Not as good at catching breezes as casements, but they work.
- Sliding Windows: Common, but only open about 50%. Not ideal for maximum cross-ventilation, but they're easy to use and maintain.
The trick is to mix and match. You want some windows that can open wide for those lovely evening breezes, and others that offer controlled ventilation. Think about security too. Louvres are brilliant for air, but maybe not on the ground floor of a busy street unless you've got screens that are serious.
Placement for Cross-Ventilation
Cross-ventilation is simply getting air to flow right through your house. You want openings on opposite walls, or at least two walls, in each main living space. Imagine a breeze coming in one window and exiting through another. A high window and a low window in the same room can also create a 'stack effect,' pulling cooler air in low and letting warmer air out high. This is passive cooling at its best, saving you a fortune on air conditioning.
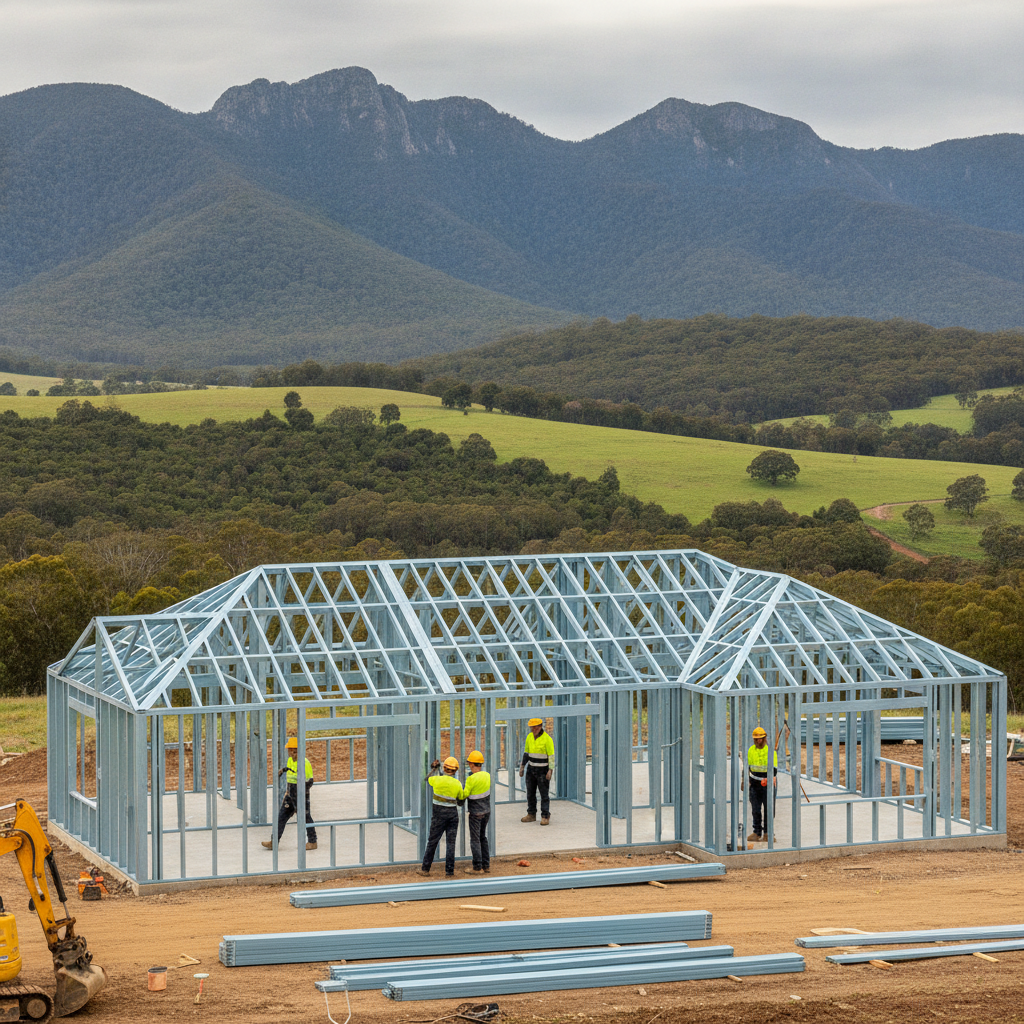
Your kit home's steel frame structure offers heaps of flexibility here. Because the frame is so strong and precise, you can design those larger window openings without huge structural headaches, provided you plan it properly from the start with your supplier. The strength of TRUECORE steel means you can create those big, open living spaces and strategic window placement for maximum light and air without worrying about timber shrinking or twisting around your openings down the track. It holds its shape, so your windows and doors fit perfectly, and stay that way.
Glazing Options: More Than Meets the Eye
Don't just pick single pane clear glass everywhere. Consider:
- Low-E Glass (Low Emissivity): Has a thin coating that reflects radiant heat. Keeps heat out in summer, in during winter.
- Double Glazing: Two panes of glass with a sealed air gap. Great for insulation, reducing heat transfer and external noise. Essential in extreme climates.
- Tinted Glass: Reduces glare and solar heat gain. But it also reduces natural light. Use it strategically on west or east-facing windows, not everywhere.
Shading: Your Best Friend Against the Australian Sun
Sunlight is great, but uncontrolled direct sun on your windows means heat gain, plain and simple. Shading is non-negotiable in Australia.
- Eaves and Verandahs: These are your first line of defence. Properly designed eaves over north-facing windows will block the high summer sun but let the lower winter sun in. Talk to your kit home supplier about standard eave widths and how you can extend them.
- External Blinds and Shutters: Best because they block the sun before it even hits the glass. Think roller blinds, venetian shutters, or even fixed louvres.
- Pergolas and Arbours: Great for outdoor living areas. Plant deciduous vines over them – shade in summer, sun in winter.
- Landscaping: Trees and shrubs are natural shade providers. Deciduous trees on the north and west can make a huge difference. Evergreen trees on the south can protect against cold winter winds.
Internal Layout & Flow
It's not just about the outside; how your kit home's interior is laid out makes a massive difference to light and air. Think open plan, but smart open plan. Don't just knock down all the walls.
Keep your main living areas on the north side if possible. Design hallways that act as air channels. Consider high ceilings in living areas – hot air rises, so it gives it somewhere to go, especially if you have high windows or ceiling fans to push it around.
Avoid creating 'dead ends' for airflow. Every room should ideally have an inlet and an outlet for air. Think about where air-hungry rooms, like bathrooms and laundries, are positioned. Do they have their own window, or are they relying solely on an exhaust fan? A good design will integrate passive ventilation even into those utility spaces.
Skylights & Light Tubes: Punching Holes for Light
Sometimes, no matter how clever you are with windows, you'll have an internal space – like a walk-in robe, a hallway, or a bathroom – that just won't get enough natural light. That's where skylights or light tubes come in. They bring light down from the roof. A lot of owner-builders chuck these in during the lock-up stage or even later. Make sure you get quality ones, properly sealed, especially when you're thinking about the roof structure and how your kit's roof components like trusses and battens (often steel too, especially with BlueScope Steel products) will accommodate them. You don't want leaks.
A good skylight, especially one that opens, can also be a fantastic tool for venting hot air out of your house. It creates that stack effect I mentioned earlier. Hot air rises and escapes, pulling cooler air in through lower windows. It's simple physics, but dead effective.
Insulation: The Unsung Hero
We're talking about natural light and ventilation, but insulation ties into all of it. Good insulation keeps the heat out in summer and in during winter. If your house isn't well insulated, all that clever ventilation and shading can only do so much. Your kit home usually comes with insulation for walls and roof, but make sure you understand the R-values and consider upgrading in extreme climates. Don't forget ceiling insulation; it's critical, as is ensuring any gaps or thermal bridges are sorted during construction. With a steel frame, thermal breaks are sometimes needed to make sure the frame doesn't transfer heat or cold from outside to inside, but it's often more about smart design of the wall system, rather than the frame itself.
Final Thoughts from the Tradie's Bench
Look, designing a kit home isn't just about picking a pretty picture. It's about engineering a comfortable, efficient living space that works with the Australian climate, not against it. Getting natural light and ventilation right from the start saves you headaches and money down the track.
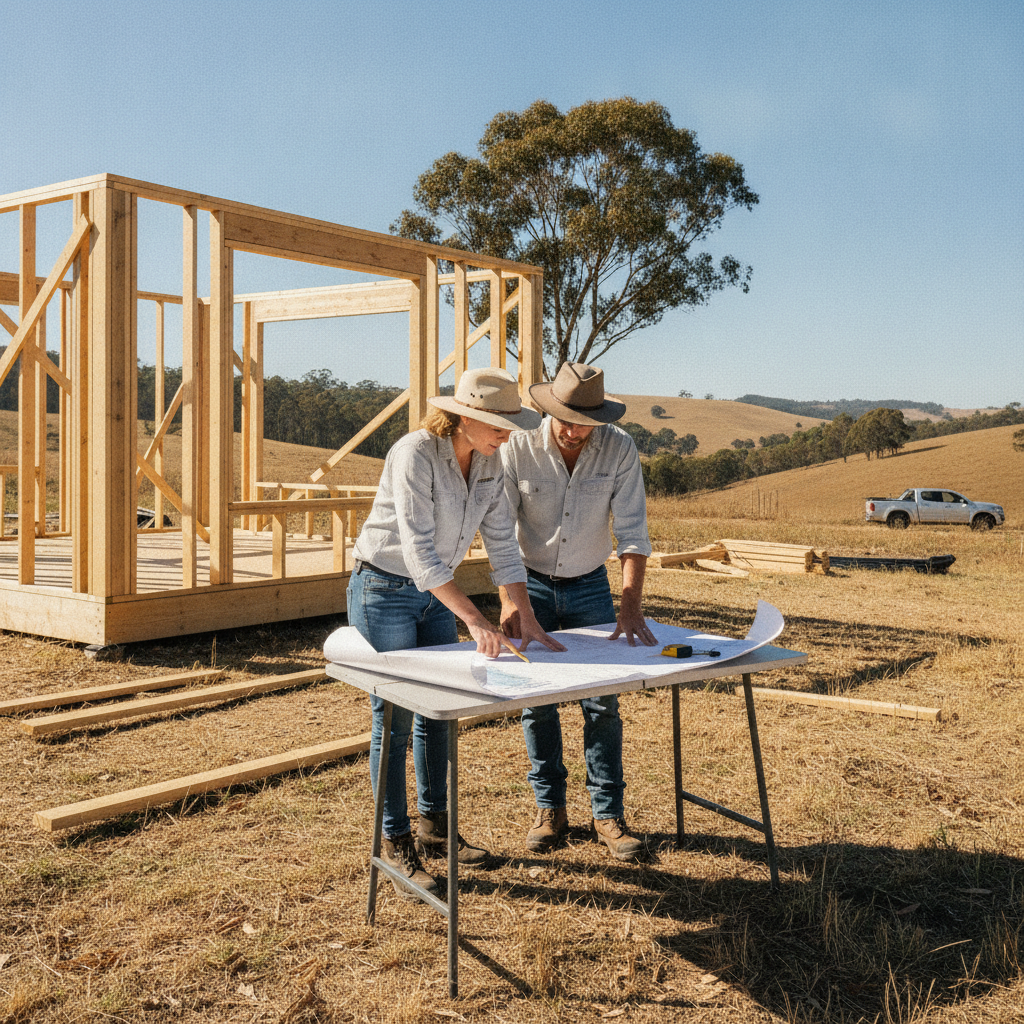
Owner-builders have this massive advantage: you're in charge. You can spend the time poring over your plans, walking your block, and really thinking about how the sun moves, where the breezes come from. Don't rush it. Sketch ideas, use cardboard models, whatever it takes. A well-lit, breezy home isn't just a dream, it's totally achievable with a bit of smart planning for your kit home build.