The Reality of the Kit Home Build Process
Most blokes think they can tackle a kit home because they put together a flat-pack wardrobe once. It is not like that. At all. When the semi-trailer rolls up to your block in Gippsland or the Hunter Valley, you are looking at several tonnes of BlueScope steel, stacks of cladding, and crates of windows. It is a massive logistical exercise. If you are organized, it is the most rewarding thing you will ever do. If you are a disorganized mess, it will be a long six months. Building a kit home in Australia is about following a specific sequence. You mess up the order, and you will be pulling things apart just to put them back together again.
The Slab and the Critical Set-Out
Everything starts with the concrete. You cannot just guess where the bolts go. Most of our kits sit on a reinforced concrete slab, and the tolerance is tiny. We are talking millimetres. If your slab is 20mm out of square, your steel wall frames will overhang or sit short, and then your cladding lines will look like a dog's hind leg. You need to verify the slab dimensions yourself before the truck arrives. Check the diagonals. If they are equal, you are square. Simple. But so many owner-builders skip this and regret it when the TRUECORE steel frames do not line up with the edge of the concrete.
Once you are happy, the base plates go down. We use chemical anchors or expansion bolts, depending on what the engineer specified for your site wind rating. If you are in a cyclonic area in North Queensland, your tie-down requirements are going to be much beefier than a sheltered block in suburban Adelaide. Do not skimp on the washers. They are there for a reason.
Standing the Steel Frames
This is the part where it actually starts looking like a house. Steel frames are light. Two people can easily lift a standard wall section. But because they are light, they act like a sail. If a gust of wind comes through before you have got your temporary bracing on, you will be chasing your living room down the street. Always brace as you go. Use timber or steel props and a decent spirit level. Trusting your eyes is a mistake. Use the level. Every. Single. Time.
And here is a tip from someone who has seen it go wrong: check your door openings twice. It is easy to accidentally flip a frame and end up with a laundry door where a window should be. Correcting it takes ten minutes now, but it takes ten hours once the roof is on. Because our frames are manufactured with precision, the holes for your electrical and plumbing services are already punched. Do not go drilling new holes wherever you feel like it. You will weaken the flange. Stick to the pre-punched service holes.
Roofing and the Weather-Tight Milestone
Once the walls and roof trusses are tied down, you want to get under cover as fast as you can. We include the gutters and fascia in the kit for a reason. Get them on first. It allows your roofing sheets to tuck in properly. Laying corrugated iron or trimdeck is satisfying work, but it is hard on the knees. Get some decent pads. Start from the end away from the prevailing wind so the laps face away from the rain. It sounds basic, but you would be surprised how many people get this backwards and wonder why their ceiling drips during a southerly buster.
Safety on the roof is non-negotiable. Use a harness or perimeter rail. Falling off a roof will ruin your weekend, and probably your year. Plus, the fines from WorkSafe are enough to make you weep. Once the iron is down and the flashings are screwed off, the house is officially locked up. This is a massive psychological win for any owner-builder.
Windows, Doors, and the Outer Shell
Installing windows in a steel frame is different to timber. You are usually using self-drilling screws. You need to make sure the window is perfectly plumb and level, or the sashes will bind. If the window sticks when you try to open it, the frame is probably twisted. Shims are your best friend here. Pack them in tight. We provide the glass and the external doors as part of the package, so you are not hunting around at different suppliers trying to match sizes.
Cladding comes next. Whether you are using horizontal weatherboards or a vertical profile, your starter strip is the most important piece of metal on the job. If that first row is not level, every row above it will be crooked. Take your time. Use a laser level if you can get your hands on one. It beats a string line any day of the week. Because you are working with steel, you will be using a lot of sarking and insulation. Don't rush the vapor barrier. In places like Tassie or the Victorian Highlands, a poorly installed barrier leads to condensation issues inside the walls later on. AS 4200.2 covers the installation of reflective foil, and it is worth a read if you want to avoid soggy insulation in five years.
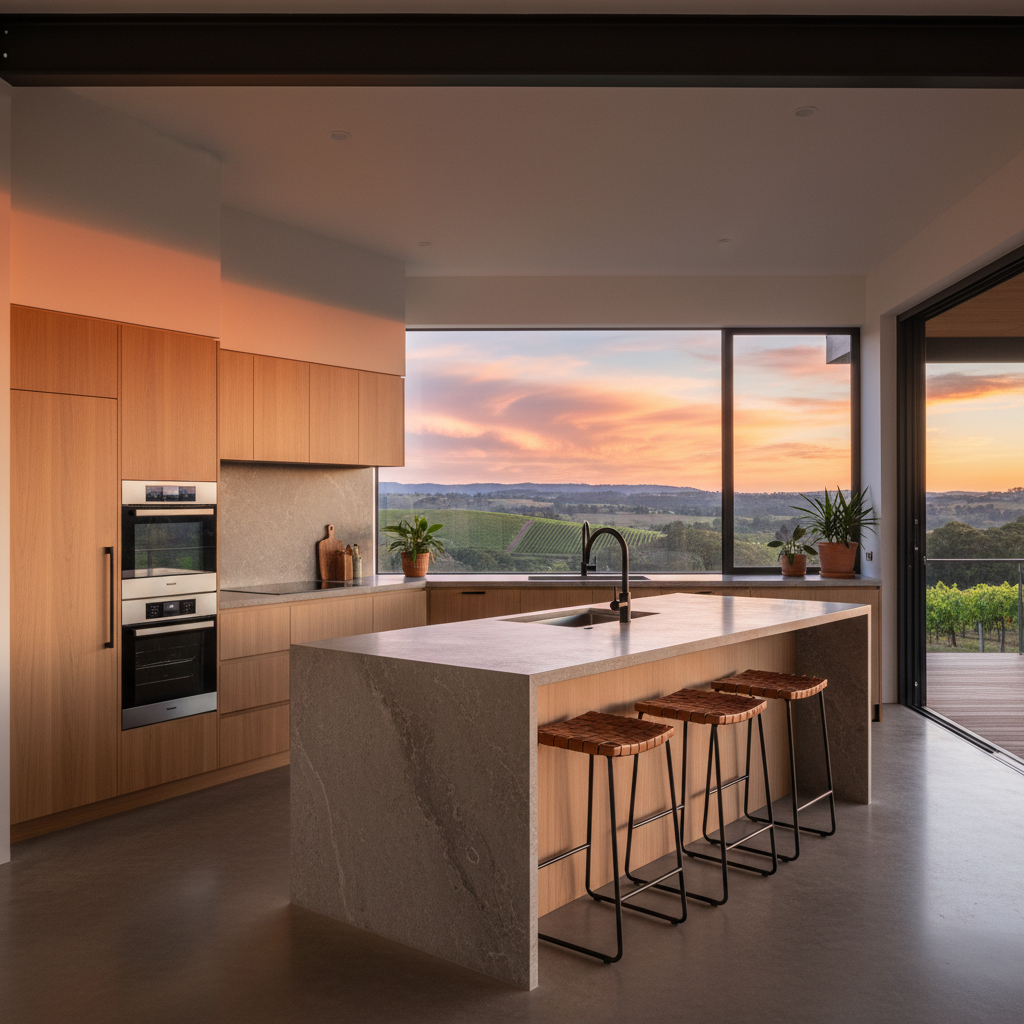
The Gap Between the Kit and the Finish
So, the kit is stood, the roof is on, and the cladding is finished. It looks like a house from the street. But you are only about 40% done. This is where the kit provider steps back and you, the owner-builder, take over the reigns for the fit-out. You will need your sparky and plumber on site now. Because the steel frames have those pre-punched holes, they can pull their cables and pipes through pretty quickly. It is much faster than chasing out bricks or drilling through heavy timber studs.
One thing people forget is noggins. If you are planning on hanging a massive 75-inch TV or a heavy set of kitchen cabinets, you need to think about that now. Steel studs are strong, but for heavy point loads, you might want to screw in some extra support before the plasterboard goes up. It is a pain to do it later when you have to cut holes in your nice new paint job.
Inside the Walls: Insulation and Plaster
Do not go cheap on the batts. Australia is getting hotter and our winters are not getting any milder. Shoving R2.5 or R4.0 batts into those wall cavities makes a massive difference to your power bill. Once the insulation is in, the plasterers can come in. Or you can do it yourself if you hate your shoulders. Hanging sheets is easy; it's the flushing and sanding that kills you. If you want a professional finish, sometimes it is better to hire a contractor for the trowel work while you focus on the carpentry.
Final Thoughts for the DIY Builder
Building a kit home is a marathon, not a sprint. You will have days where everything goes perfectly and you feel like a master tradesman. You will also have days where it's raining, you've dropped your impact driver in a puddle, and you've run out of tek screws. That is just the nature of the beast. The beauty of the steel kit system is the accuracy. You aren't fighting warped timber or white ants. You are working with a straight, engineered product that goes together logically. Stick to the plans, respect the engineering, and don't be afraid to ask your kit supplier for advice when you hit a snag. We have seen it all before. Now, get your tool belt on and get to work.


