I have spent years watching owner-builders stand in the middle of a dusty block, scratching their heads at a stack of steel members and a pack of engineering drawings. It's a common sight. People think building a kit home is like putting together a flat-pack wardrobe from a big blue warehouse, but it's not. It's better, and it's a hell of a lot more solid, but you need to know the sequence or you'll end up with a pile of scrap and a massive headache. If you are doing this in Australia, you're dealing with the NCC (National Construction Code) and probably a council inspector who had a bad breakfast. You need to be sharp.
The Slab is Your Only Real Master
Everything starts with the concrete. If your slab is out by 20mm, your steel frames won't fit. It is that simple. Most blokes think they can just 'she'll be right' their way through a foundation, but steel doesn't bend like timber. We use TRUECORE steel from BlueScope because it's dead straight and stays that way, but it won't compensate for a slab that looks like the rolling hills of Byron Bay. You need to check your diagonals thrice. If the slab isn't square, the roof won't line up, and you'll be fighting the cladding for two weeks straight. It's a nightmare you don't want.
Because kit homes arrive as a pre-engineered system, the anchor points are precise. You'll be drilling into that slab to set your chemical anchors or expansion bolts. Get a good rotary hammer drill. Don't buy the cheap ones. Get a decent Bosch or Makita because you'll be drilling hundreds of holes. Plus, make sure you've got a chalk line that actually works. Snapping those lines for your wall tracks is the most important hour of your entire build. Get it wrong and the whole house is crooked.
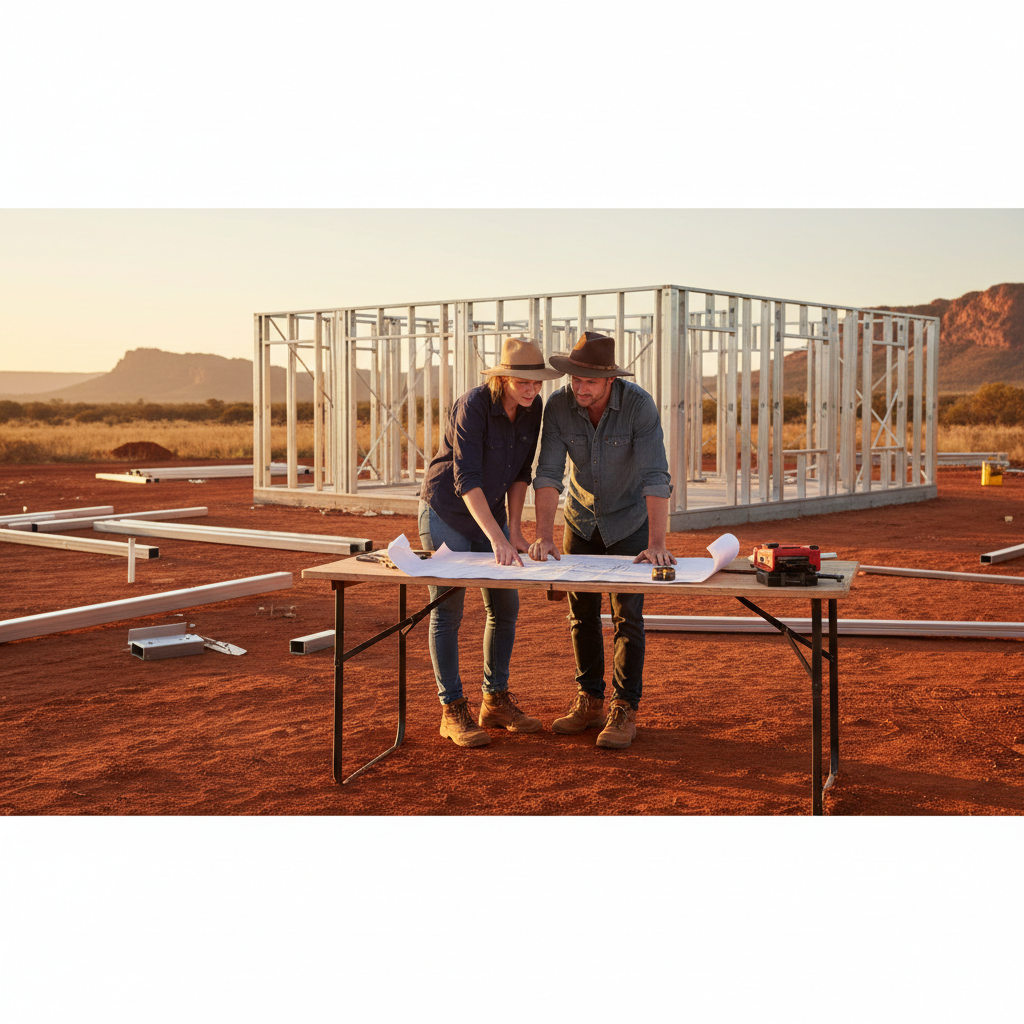
Standing the Frames Without Losing Your Mind
When the truck arrives, it's a bit like Christmas, only heavier. You’ve got floor tracks, wall frames, and roof trusses all ready to go. The beauty of the steel system is that it's light. Two blokes can lift a 2.4-meter wall section without breaking a sweat or needing a chiropractor. Start at a corner. Always. Once you've got two walls meeting at a 90-degree angle and braced off, the rest of the structure starts to gain its own rigidity.
But here is the trick. Don't tighten everything up immediately. You want a bit of play in the system. Use your levels and your string lines. If you're building in a high wind zone or a BAL-rated area (Bushfire Attack Level), your tie-down requirements are going to be stricter. You'll have specific brackets and screws that aren't optional. We see a lot of DIYers try to sub out the tek screws for whatever is on sale. Don't do it. Use the Class 3 or Class 4 fasteners provided. There is a reason they are in the box. Salt air in places like the Central Coast or Geelong will eat cheap screws for lunch.
The Roof and the Ridge
Trusses are where people usually get nervous. They look complicated on the plan, especially if you've got multiple gables or a hip roof. But they're just triangles, really. Once your wall frames are plumb and braced, the trusses sit into predefined locations on the top plate. This is where the speed of a kit home really shows up. You aren't cutting birdsmouths in rafters while balanced on a ladder. You're just positioning and screwing. It's fast. So fast that you can usually have the skeleton of a small three-bedroom home standing in a few days if the weather plays nice and you've got a mate who knows how to hold a tape measure.
Wrapping It Up: Cladding and Windows
Once the steel is up, you need to get the house 'dry' as fast as possible. This means sarking and windows. In Australia, we use high-quality sisalation to keep the heat out and the moisture under control. Do not skimp on the taping. If you leave gaps in your wrap, you're just inviting condensation issues later on, especially with steel frames. Steel conducts heat faster than timber, so that thermal break is vital. It's usually just a high-density foam strip that sits between the frame and the cladding. It's a small detail, but it's what keeps your power bills down in a screaming Aussie summer.
Windows in these kits are usually sized to fit the openings exactly. No on-site framing adjustments should be needed. You'll pop the window in, level it, and screw through the fins into the steel studs. It's satisfying. But remember to flash them properly. I've seen more owner-builder projects fail because of leaky windows than almost anything else. Water is the enemy. It finds a way in if you give it even a millimetre of space.
Why Steel Beats the Alternatives on Site
I've worked with timber and I've worked with steel. Timber is fine until it rains for three days straight and your studs start twisting like a cheap pretzel. Steel doesn't do that. You can leave a steel kit frame out in a Queensland downpour and it won't swell, rot, or get eaten by termites. That's a huge win for owner-builders who might be doing this on weekends over a several-month period. You don't have to worry about the structure degrading while you're waiting for the plumber to show up.
And let's talk about the weight. If you're building on a site with tricky access, maybe a bushy block up in the Blue Mountains, manhandling heavy timber beams is a literal pain in the neck. Steel is lighter and the precision is better. Every hole for your electrical cables is already punched. You aren't spending hours with a spade bit ruining your wrists. You just pull the wires through the plastic grommets and you're done. It's a cleaner way to build.
The Finishing Stretch
After the external cladding and roofing are on, you've essentially got a locked-up shell. This is usually when the owner-builder's real work begins. You'll be managing the Sparky and the Chippy for the internal fit-out. Because the steel frames are so straight, the plasterers will love you. No humps in the walls means the finish looks better under downlights.
A few tips for the home stretch:
- Keep your site clean. Steel offcuts are sharp. They will ruin a pair of boots or a truck tyre in seconds.
- Organize your fasteners. You'll have different screws for the roof, the walls, and the cladding. If you mix them up, you'll be pulling things apart later.
- Trust the engineering drawings. If a bracket looks over-engineered, it's because the wind loads in your area demand it. Don't leave out a single screw.
Building your own place isn't for the faint of heart, but the kit process takes a lot of the guesswork out of the structural side. You're buying a system, not just a pile of materials. As long as you can read a plan and you've got a decent level of physical fitness, it's one of the most rewarding things you can do. Just don't forget to talk to your local council early. They’re the ones who sign the papers at the end of the day, so keep them happy from the start. Now, get out there and start digging those footings.


