Mastering the Exterior: Cladding Techniques for the Australian Climate
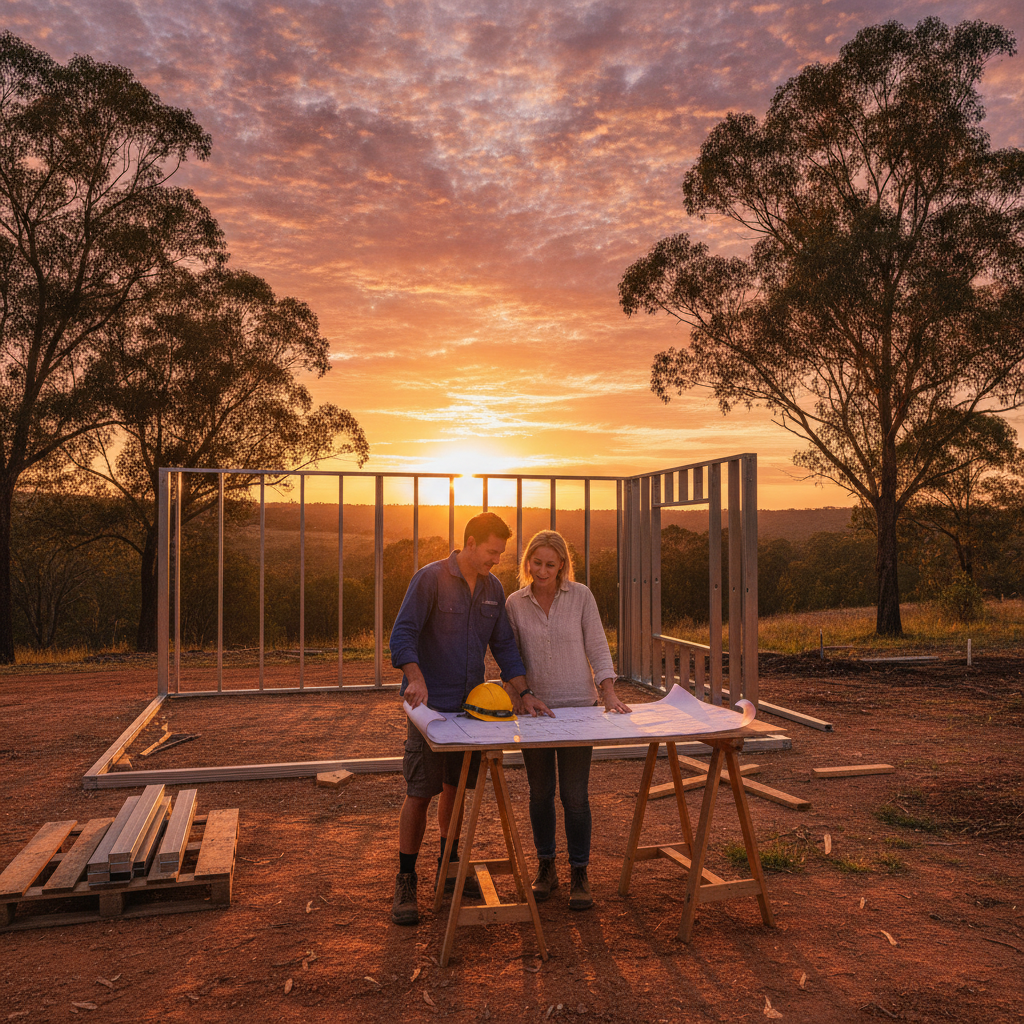
When you embark on the journey of building a kit home, most of your initial focus naturally lands on the floor plan and the structural integrity of your steel frames. However, the skin of your home, known as cladding, is one of the most critical technical decisions you will make. It is not just about the look of the house; it is about thermal performance, maintenance requirements, and how your home interacts with the harsh Australian environment.
For an owner builder, selecting the right cladding involves balancing architectural aesthetics with ease of installation. In this guide, we take a deep dive into the technical aspects of various cladding materials, from traditional weatherboards to modern brick veneer, specifically through the lens of Australian building standards and techniques.
The Role of Cladding in High Performance Building
Before choosing a material based on a photo in a magazine, it is important to understand what cladding actually does. In a steel frame kit home, the cladding creates the primary weather shield. It protects the structural frame from moisture, manages heat transfer, and contributes to the overall acoustic insulation of the dwelling. Because kit homes utilize precision engineered steel frames, your cladding needs to be installed with careful attention to sarking, vapor barriers, and thermal breaks to ensure the home remains energy efficient.
1. Classic Weatherboard: The Timeless Australian Aesthetic
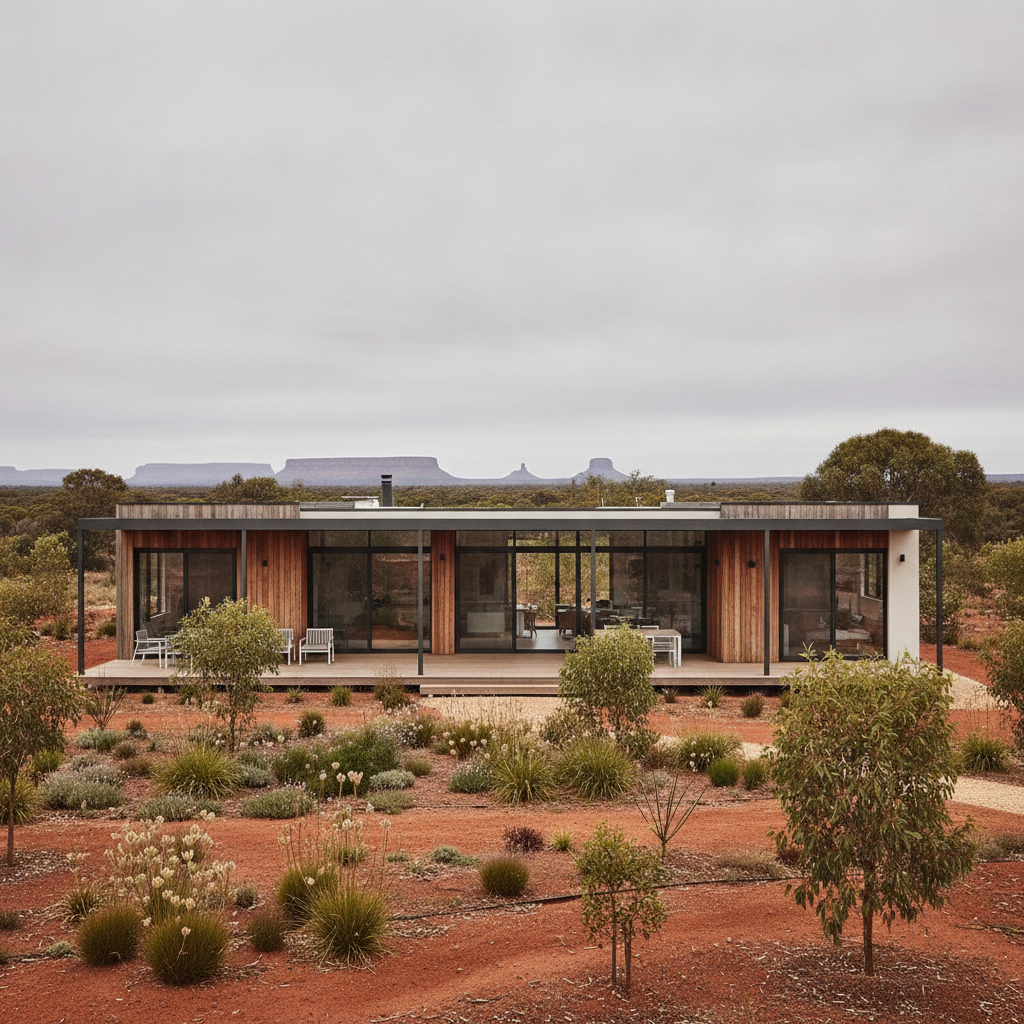
Weatherboard is perhaps the most iconic Australian cladding choice. Traditionally made from timber, modern kit homes often use fiber cement or engineered wood composites that mimic the look of timber without the high maintenance. From a building technique perspective, weatherboard is a favorite for DIY owner builders because it is relatively lightweight and easy to handle.
Installation Insights
When installing weatherboards over steel frames, you must ensure the use of high quality building wrap. Fiber cement planks, such as those from James Hardie, are fixed directly to the steel studs using specialized screws. The technique involves an overlap (usually 25mm to 30mm) which creates that distinctive shadow line. For those in bushfire prone areas, fiber cement weatherboards are an excellent technical choice as they are non-combustible.
Pros and Cons
- Pros: High aesthetic appeal, easy for owner builders to install, excellent for coastal or heritage styles.
- Cons: Requires painting over time, involves many joins that must be correctly flashed to avoid water ingress.
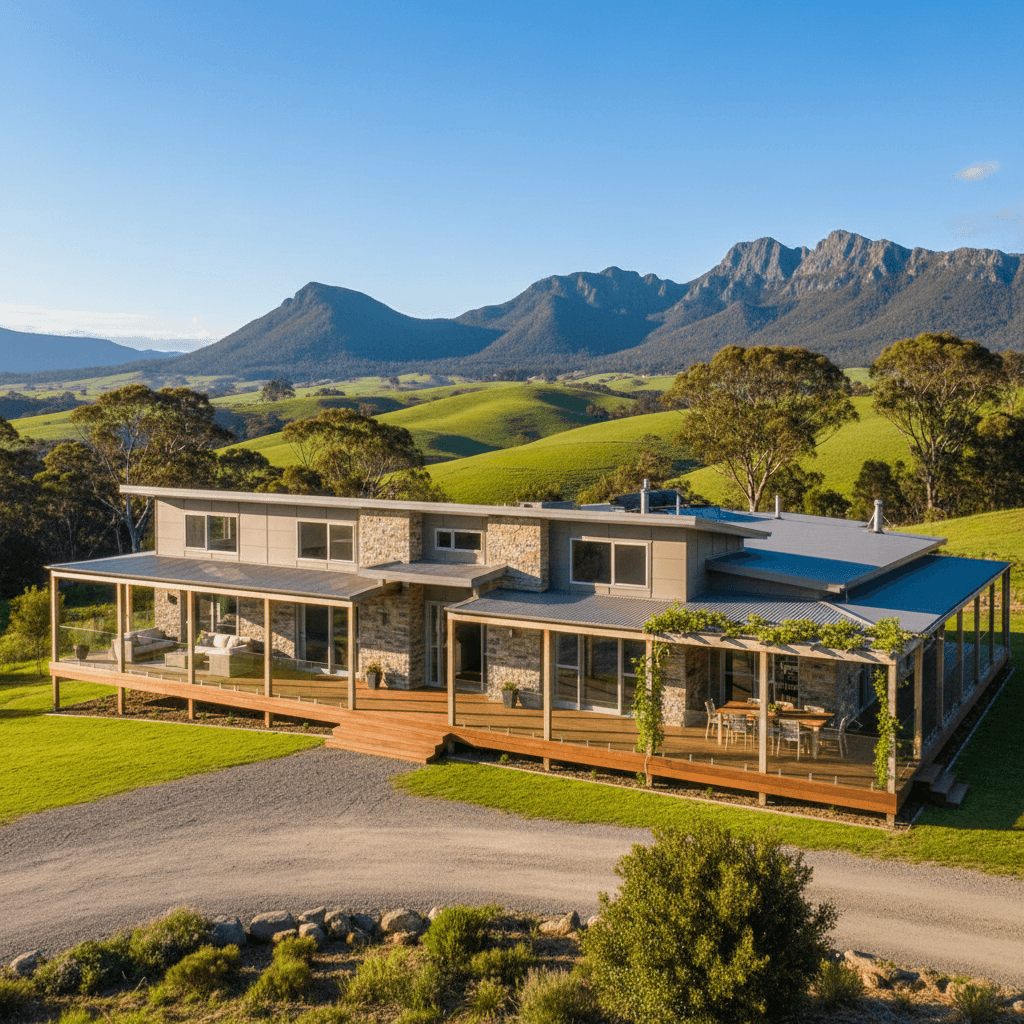
2. Brick Veneer: Stability and Thermal Mass
Brick veneer remains a staple in Australian suburbs. Unlike a double brick home, brick veneer involves a single layer of brickwork constructed around the outside of the steel frame. Technically, the bricks are not load bearing; the steel frame carries the weight of the roof, while the bricks provide a durable, low maintenance exterior skin.
Technical Considerations
Building with brick veneer requires a wider concrete slab footing to accommodate the brick ledge. As an owner builder, you will typically need to engage a qualified bricklayer for this stage. A critical technical detail here is the use of wall ties. These metal straps connect the brick skin to the steel wall frames, allowing the two different materials to move independently while remaining structurally tied together.
You must also ensure that weep holes are left open in the bottom course of bricks. These allow any moisture that condenses behind the bricks to escape, preventing rot or corrosion within the wall cavity.
3. Metal Cladding: Modern, Industrial, and Durable
Using vertical or horizontal metal cladding, such as COLORBOND steel, has moved from the shed to the high end residential market. It offers a sleek, contemporary look that is incredibly durable in the face of Australian storms and sun.
Building Techniques for Metal Cladding
Working with metal cladding requires precision. Because the panels are long and rigid, your steel frames must be perfectly plumb and level. Thermal bridging is a key consideration here. You should install a thermal break (a strip of insulating material) between the steel frame and the metal cladding to prevent heat from transferring directly into the home. This simple technical step significantly improves the R-value of your walls.
4. Rendered Blue Board: The Mediterranean Look
If you prefer a smooth, rendered finish, "Blue Board" (thick fiber cement sheets designed for coating) is the go-to technique. Once the sheets are fixed to the frame, a textured acrylic render is applied over the top.
Critical Tips for Success
The most common failure in rendered kit homes is cracking at the sheet joints. To avoid this, you must use the manufacturer-specified jointing tapes and flexible base coats. This allows the building to breathe and move slightly without the render cracking. This technique results in a high end, modern finish that looks like solid masonry but weighs much less.
Comparing the Costs and Complexity
When you are managing your own project, complexity equals time. Weatherboard and metal cladding are often faster to install and can be done by the owner builder with basic power tools and a bit of patience. Brick veneer, while offering great longevity, requires more intensive site labor and a longer construction timeline.
Weight is another factor. Lightweight cladding options like fiber cement or metal put less stress on the footings and are much easier to transport to regional or sloping sites, which is where many kit homes are built.
Essential Owner Builder Tips for Cladding
Regardless of the material you choose, follow these technical rules to ensure a professional finish:
- Check your BAL Rating: If you are building in a Bushfire Attack Level zone, your cladding choice may be restricted. Always verify that your material meets Australian Standards for your specific zone.
- Mind the Flashings: Most leaks occur at windows, doors, and corners. Ensure all flashings are installed behind the cladding and integrated with the building wrap.
- Expansion Gaps: Materials expand and contract with the heat. Always leave the recommended gaps at joins to prevent buckling in the peak of summer.
- Fastener Selection: Only use galvanized or stainless steel fasteners. Using the wrong screws can lead to rust streaks and structural failure, especially in coastal environments.
The Impact of Steel Frames on Cladding Choice
One of the quiet advantages of using a steel frame kit is the straightness of the substrate. Timber can warp, twist, or have knots that make cladding installation frustrating. Steel frames provide a perfectly flat surface, which is essential for long runs of weatherboard or modern flat-panel cladding. This precision makes the DIY installation process much smoother for the owner builder, as you aren't constantly shimming or planing studs to get a straight line.
Final Thoughts
The cladding you choose defines the character of your home. Whether you want the rustic charm of a country weatherboard cottage or the edgy, low maintenance vibe of a metal-clad architectural pod, understanding the building techniques behind these materials is the first step to a successful build. Take the time to research the installation guides for your chosen material, and remember that the secret to a great looking home is what happens behind the cladding, the layers of insulation, sarking, and precision framing that keep your family comfortable for decades to come.
As an owner builder, you have the power to mix and match materials, perhaps using brick on the ground floor for thermal mass and weatherboard upstairs for a lighter look. Whatever you choose, stay focused on the technical details, and your kit home will stand as a testament to your hard work and smart planning.