The Ground Game: Why Soil Matters More Than You Think
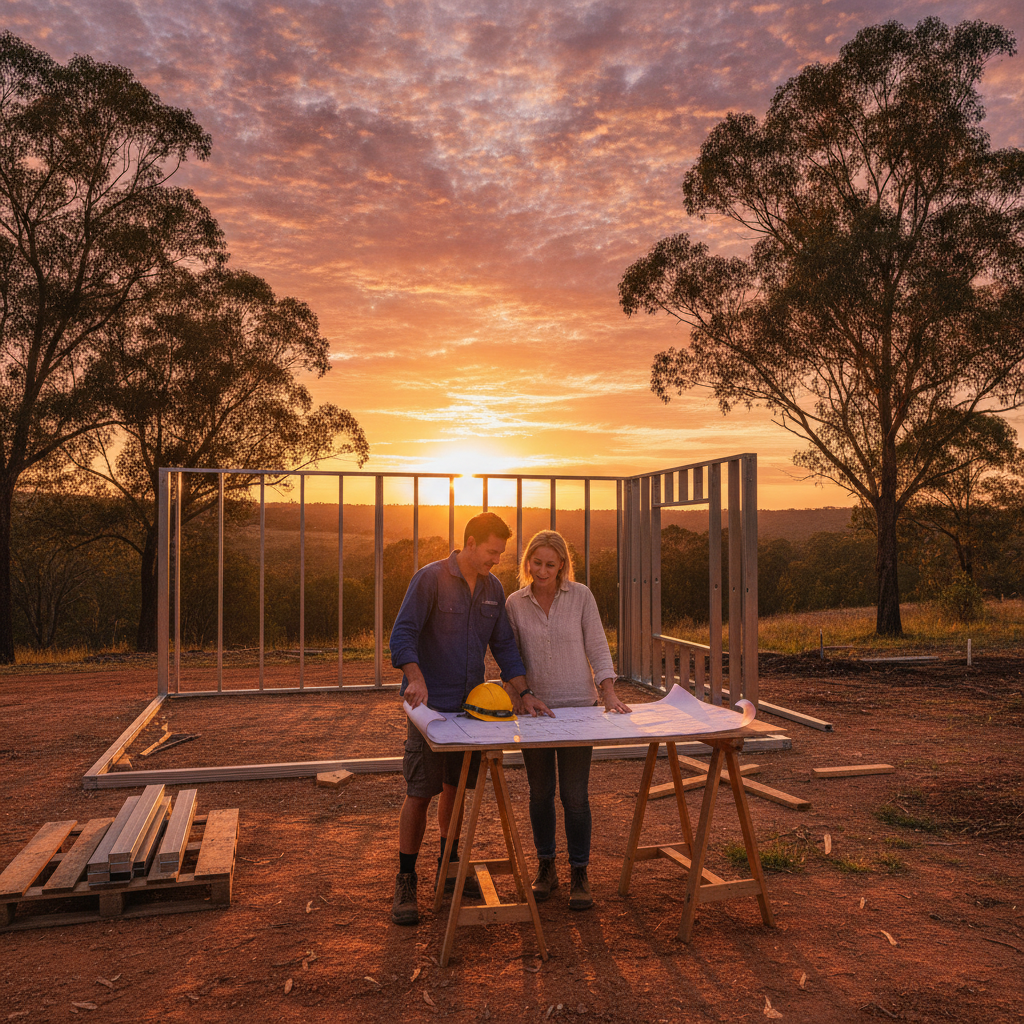
You've picked out the perfect steel frame kit. The floor plan is sorted, the site is cleared, and you're ready to get stuck in. But before you even think about delivery day, there's a silent partner in your build that demands your attention. The dirt. Or more specifically, the soil.
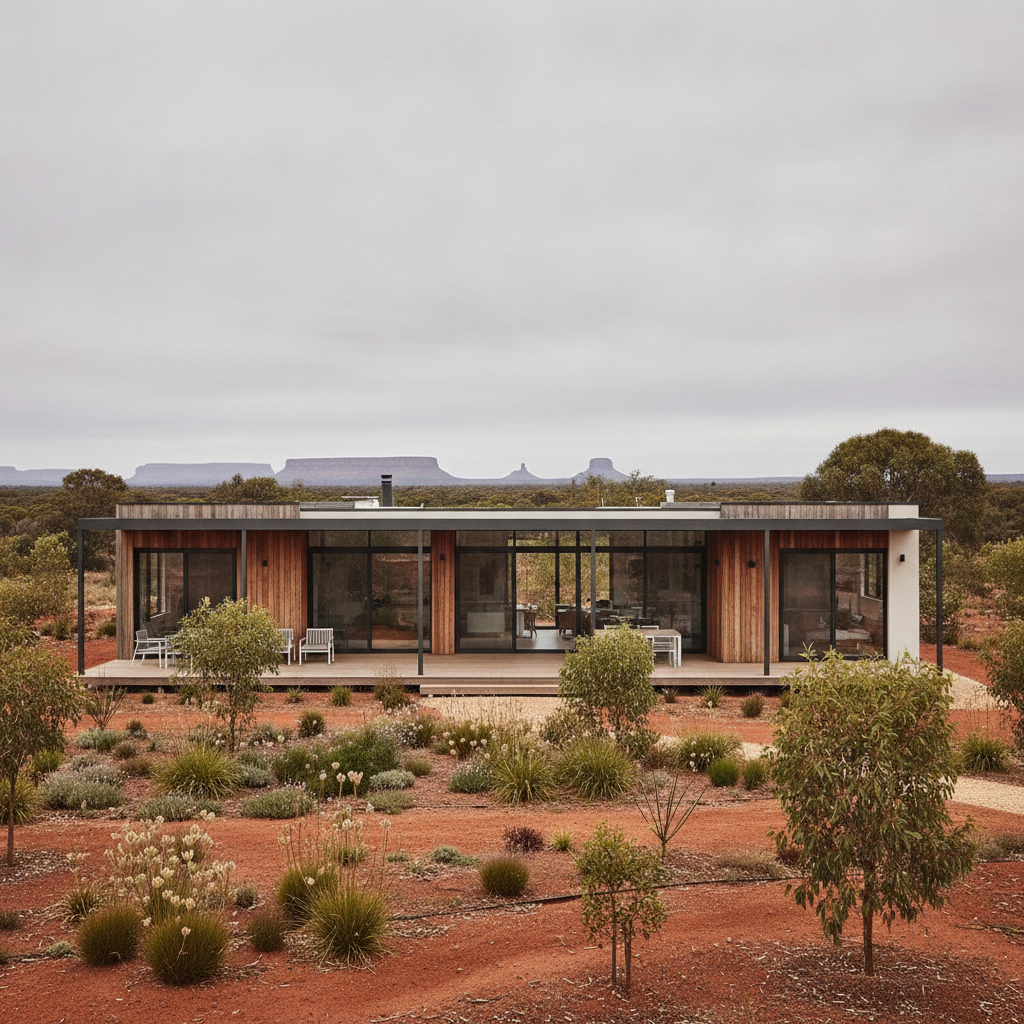
Building a home in Australia means dealing with some of the most diverse and challenging ground conditions on the planet. From the reactive clays of Western Sydney to the sandy coastal patches of WA, what's happening under your boots dictates exactly how you'll build your foundation. Get it wrong and you're looking at cracked walls or sticking doors down the track. Get it right and your kit home will stand solid for generations.
Ever wondered why two identical houses in the same street have different slab requirements? It's all about site classification. This isn't just bureaucratic red tape. It's the technical DNA of your land. In our experience, skipping a proper soil test is the fastest way to blow out a project before the first wall frame is even standing.
The Australian Site Classification System Explained
In Australia, we follow a specific coding system (AS 2870) to grade how much the soil is likely to move. This movement usually happens because of moisture. Clay expands when it's wet and shrinks when it's dry. We call this reactivity.
Class A and Class S are the easy wins. These are stable sites like rock or sand with little to no movement. You'll likely just need a standard slab and you're away laughing. But things get a bit more technical as you move down the alphabet.
Class M (Moderately reactive) and Class H (Highly reactive) are very common in Australian suburbs. If you're building on these, your foundation needs extra beef. This might mean deeper footings or thicker slabs to resist the ground trying to heave your house upward. Then there's Class E (Extremely reactive) and Class P (Problem sites). If you pull a P rating, don't panic. It just means a site has issues like soft clay, loose fill, or even old mine workings. You'll just need an engineer to design a custom solution. No worries.
The Struggle with Clays and Seasonal Changes
If you're building in an area with heavy clay, you've got to respect the seasons. Australia's cycle of drought and flooding rains creates a massive challenge for foundations. During a long dry spell, the clay under your home can shrink away. Then a big storm hits and it swells back up like a sponge.
This cyclic movement is what causes the most grief for owner-builders. We've seen plenty of folks try to save a few bucks on the slab only to regret it when the ground starts shifting. Using a steel frame kit is a smart move here. Steel frames are incredibly strong and won't twist or rot if there's a tiny bit of movement, but you still want that foundation to be rock solid to begin with.
Building on Bored Piers vs. Concrete Slabs
Once you've sussed out your soil type, you've got to choose your platform. Most Aussie kit homes go on a concrete slab (on ground) or an elevated floor system using bored piers or stumps.
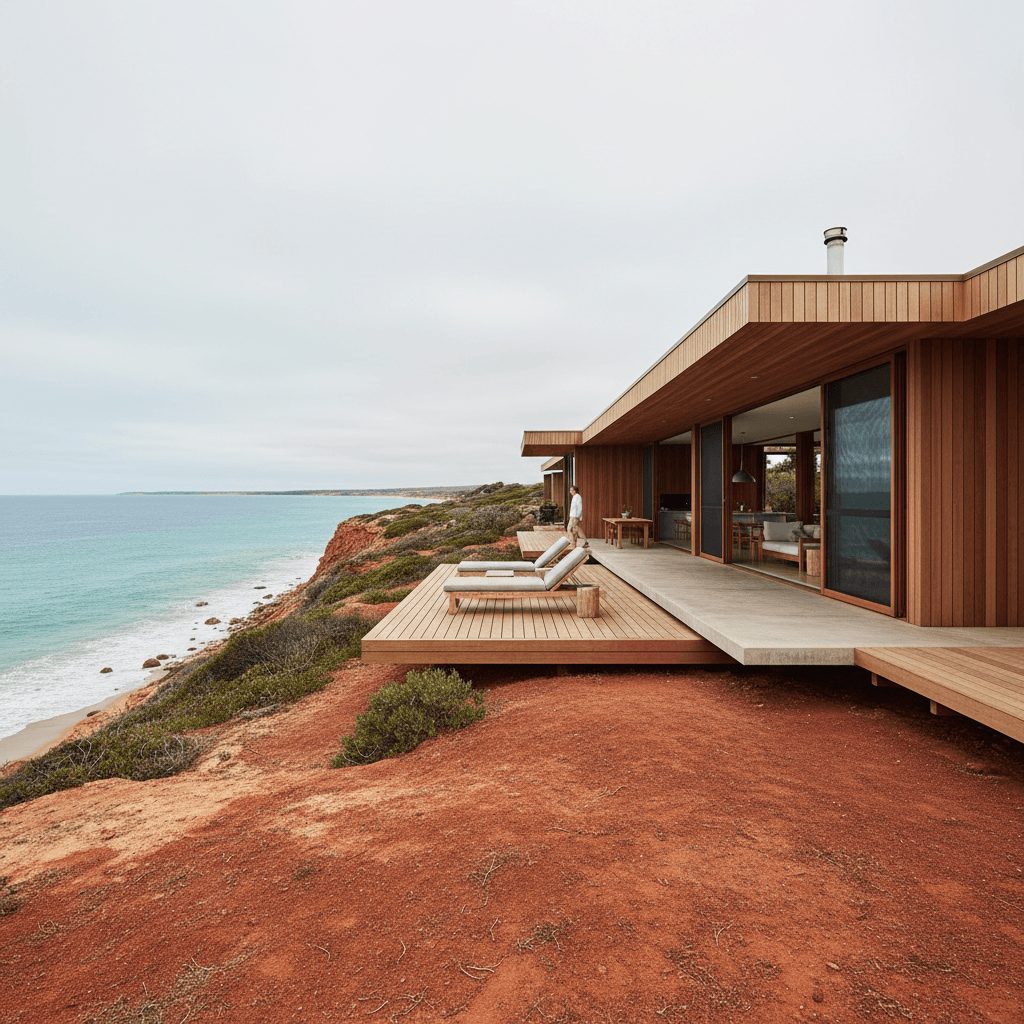
If you're on a slope or dealing with very reactive soil, an elevated floor is a cracker of a choice. It keeps the house off the ground, allows for airflow, and makes it heaps easier to deal with plumbing later on. It also means you aren't fighting the soil movement as directly as a slab does. But if you're on a flat, stable Class S site, a concrete slab is hard to beat for that solid, thermal mass feel.
What Happens During a Soil Test?
So, how do you actually find out what you're standing on? You hire a geotechnical engineer or a soil technician. They'll bring a small rig or a hand auger to your block and take core samples from a few different spots where the house will sit. They aren't just looking at the topsoil. They're looking several meters down.
They'll check for:
- Moisture content and reactivity levels.
- The presence of any groundwater.
- The bearing capacity (how much weight the soil can actually hold).
- The depth of any rock layers.
It's a small investment that saves a massive headache. Without this report, your slab designer or engineer is just guessing. And guessing is expensive.
The Role of Drainage and Site Prep
Here's a tip that catches people off guard: your foundation's health depends on what happens around the house, not just under it. If you build a beautiful kit home but don't manage the water runoff, you're asking for trouble. Poor drainage can turn a Class M site into a Class H nightmare in one wet season.
Ensure your site is graded so water flows away from the footings. Avoid planting big, thirsty trees (like gums) too close to the house. Those roots can suck all the moisture out of the clay on one side of your slab, causing it to drop while the other side stays high. Not ideal. Think about installing concrete paths or aprons around the perimeter to keep the moisture levels consistent across the whole footprint.
Owner Builder Checklist for Groundworks
Being an owner-builder means you're the project manager. Even if you aren't digging the holes yourself, you need to know what's going on. Here's a quick rundown of the essential steps for your site works:
First, get that soil report before you even finalize your engineering. Second, make sure your site is properly cleared and leveled according to your plans. Third, don't let the pier holes sit open for too long. If it rains and the holes fill with water, the soil softens and you'll have to pump them out and dig deeper. Reckon it's better to time your dig for a clear weather window.
And another thing. Keep a close eye on your plumber and sparky during the 'rough-in' stage before the slab is poured. Once that concrete is down, moving a pipe is a nightmare. Double check every measurement against your TRUECORE steel frame layout. Accuracy at this stage makes the rest of the build a breeze.
The Beauty of Steel Frames on Any Soil
One of the best things about choosing a steel frame for your build is the precision. Because our frames are manufactured to millimetre accuracy, they are incredibly easy to level out on your foundation. Whether you're using a waffle pod slab or a sub-floor with steel joists, the lightweight nature of steel puts less stress on the soil compared to heavy masonry construction.
Plus, the termite resistance of steel means you have one less thing to worry about when it comes to ground-contact issues. It's a bit of extra peace of mind while you're focused on getting the footings right.
Final Thoughts: Don't Rush the Roots
Building your own kit home is a huge achievement. It's tempting to rush through the 'boring' stuff like soil tests and site prep to get to the fun part of putting up walls. But the ground is the most important part of the whole project. Spend the time and the money to get it right. If you've got a solid foundation and a quality Australian steel frame, you're set for a home that will last a lifetime. Keen to get started? Just make sure you know exactly what you're building on first.