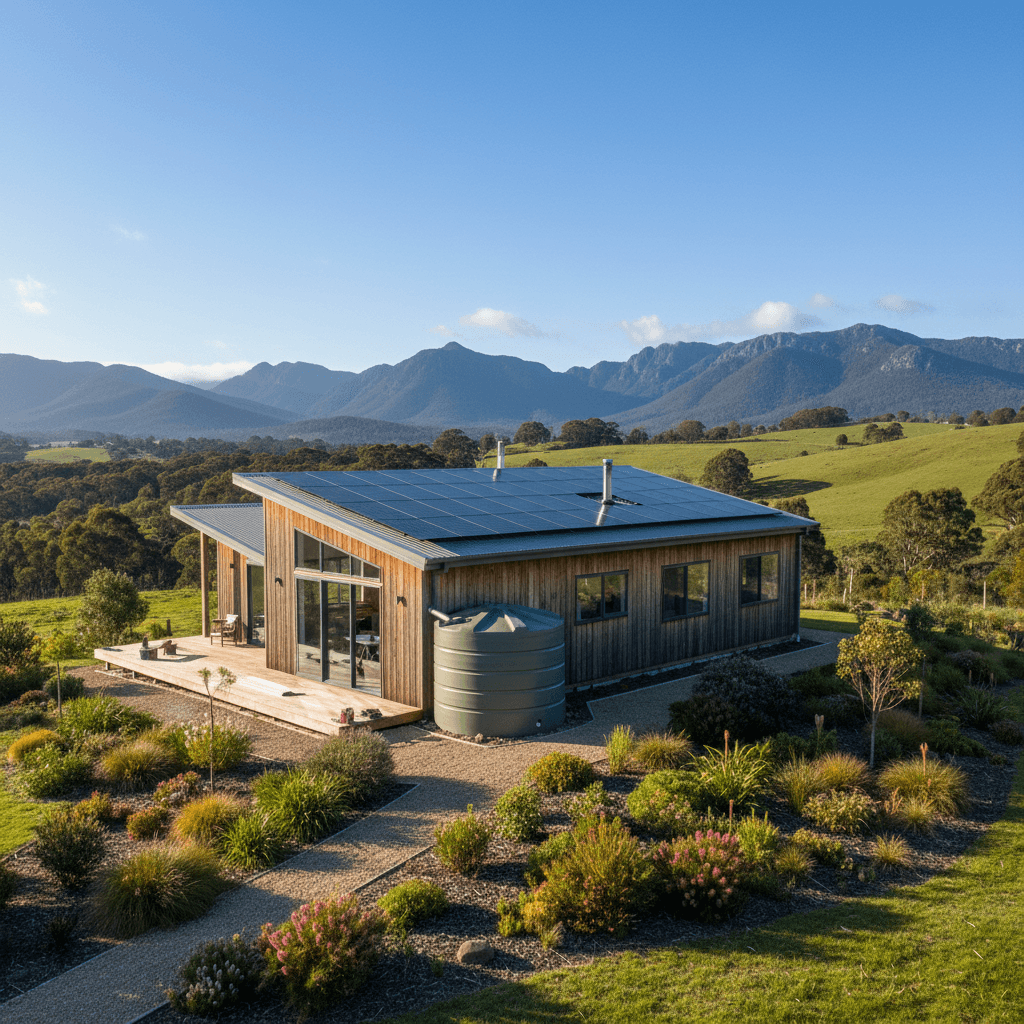
Most blokes and ladies getting into the owner-builder game spend way too much time looking at stone benchtops and not nearly enough time thinking about R-values. I get it. Benchtops are sexy. Pink batts are not. But I've spent fifteen years watching people put together kit homes across every corner of this sun-scorched continent, and I can tell you right now that your choice of insulation will dictate whether you actually enjoy living in your house or if you spend the next twenty years swearing at the air conditioner bill.
Australia is a big place with climates that'll kill a poorly designed house. You can't build a kit home in the humid tropics of Cairns the same way you'd build one in the freezing winds of the Snowy Mountains. If you try, you're asking for trouble. We're talking about more than just being a bit sweaty. We're talking about condensation, mould, and structural integrity. So, let's get into the guts of how you actually insulate a steel frame kit home properly.
The Steel Frame Factor and Thermal Bridging
Since we're talking about kit homes using BlueScope TRUECORE steel, we have to address the elephant in the room. Thermal bridging. Steel is a fantastic building material because it's straight, it's termite-proof, and it won't warp when the humidity kicks in. But steel is also a conductor. In the middle of a forty-degree January day in Dubbo, that steel frame wants to suck the heat from the outside and pipe it straight into your living room.
This is where the NCC (National Construction Code) comes into play. You can't just shove some glasswool batts between the studs and call it a day. You need a thermal break. This is usually a high-density foam strip or a specialized breathable membrane that sits between the metal frame and your external cladding. It breaks the path of the heat. Without it, your insulation batts are doing half the job they're rated for. It's a simple step, but I've seen DIYers skip it because they thought the sarking was enough. It isn't. Don't be that person.
Understanding Your Climate Zone
The NCC breaks Australia down into eight climate zones. You need to know yours before you order a single roll of foil. If you're in Zone 1 (the top end), your biggest enemy is humidity and radiant heat. You want to keep the sun out and let the breeze through. If you're in Zone 7 or 8 (Tasmania or the high country), you're trying to trap every bit of warmth you can.
For the tropical north, it's all about reflective insulation. You want that silver foil facing the right way to bounce the radiant heat off before it even hits your wall cavity. But down south, you need bulk insulation. Thick, chunky batts that create a barrier of trapped air. Most of the coast falls somewhere in between, which means you usually need a combination of both. And remember, the R-value on the packet is 'added R', not 'total R'. The total R-value of your wall includes the cladding, the air gap, the frame, and the plasterboard. The council wants to see the total number, so make sure your energy rater has done the math correctly.
The Sarking Debate: Breathable vs. Non-Permeable
This is where things get a bit technical, and where a lot of owner-builders trip up. Sarking is that silver wrap you see on houses before the cladding goes on. It's your secondary line of defence against weather. But it's also a vapour barrier.
If you're in a cold climate and you use a non-permeable foil, you're likely to get condensation on the inside of the wrap. The warm air from your heater hits the cold foil, turns into water, and starts dripping down your steel frames onto your floor plates. Not good. In these areas, you must use a vapour-permeable (breathable) wrap. It lets the moisture escape while keeping the wind and rain out. In the tropics, it's often the opposite because the moisture is trying to get in from the outside. Always check the specific requirements for your postcode. A fifty-dollar roll of the wrong wrap can cause five thousand dollars of mould damage in three years.
Practical Tips for the Owner Builder
When you're on-site and it's time to actually install the stuff, don't rush it. I've seen professional installers move too fast and leave gaps. A five percent gap in your insulation can lead to a fifty percent drop in its effectiveness. It's like wearing a heavy coat but leaving it unzipped in a gale.
- Don't squash your batts. Insulation works because of the air trapped inside the material. If you cram a 90mm batt into a 70mm cavity, you've just wasted your money. It won't work.
- Seal the gaps around windows and doors. Use expanding foam or specialized tapes. The best insulation in the world won't save you if the wind is whistling through the frame.
- Watch your electrical cables. Don't bury them under thick insulation without checking with your sparky. Cables can overheat if they can't dissipate heat, and you might need to derate the circuit.
- Keep it dry. If your batts get wet before the house is cladded, throw them out. Wet insulation is useless and it'll rot your plasterboard from the inside out.
The Roof Space: Where Most People Fail
The roof is where the real battle is won or lost. In an Australian summer, your roof cavity can hit sixty or seventy degrees. If you only have R4.0 batts in the ceiling, that heat is eventually going to soak through.
I always recommend a two-stage approach for the roof. First, use an anticon blanket under your metal roofing sheets. This is a thin layer of glasswool attached to a foil face. It stops the noise of the rain and kills the radiant heat before it enters the attic. Second, use the thickest batts you can afford on top of your ceiling plasterboard. And for heaven's sake, put in some ventilation. Eave vents and a couple of high-quality whirlybirds or solar-powered fans will pull that hot air out. If the hot air can't escape, your ceiling batts will eventually give up the ghost and the heat will pour into your bedrooms.
Don't Forget the Floor
If you're building your kit home on a raised floor system rather than a concrete slab, you have to insulate under the floorboards. I've been in houses in the Adelaide Hills where the owners spent a fortune on double glazing and wall batts but forgot the floor. They were wondering why their feet were freezing. The wind blows right under the house and sucks the heat out through the timber. Use a rigid foam board or specialized under-floor batts held up with nylon string or mesh. It makes a massive difference to the 'feel' of the house.
The Reality of Gaps and Bridges
You can buy the fanciest insulation products in the world, but if you don't pay attention to the detail, you're throwing cash down the drain. This is why being an owner-builder is an advantage. You care more than a contractor who's trying to finish three jobs in a day. Take the time to tape the joins in your sarking. Use decent quality tape, not the cheap stuff that peels off the moment it gets dusty. Make sure the insulation is snug against the studs. If there's a gap, the air will move, and if the air moves, the heat moves with it.
Insulating a kit home isn't rocket science, but it does require you to stop and think about the physics of your specific site. Look at where your afternoon sun hits. Look at where the prevailing winds come from. If you've got a massive west-facing wall, maybe double up the protection there. Construction is about layers. Your steel frame is the skeleton, but your insulation is the skin and the fat that keeps the whole thing alive and comfortable. Get it right during the build phase, because trying to fix it after the plasterboard is painted is a nightmare you don't want to deal with.
So, when you're looking at your kit plans, don't just see the rooms. See the air flow. See the sun's path. Talk to your supplier about the specific R-value packages they provide and don't be afraid to beef them up if you're in an extreme climate. It's the best money you'll spend on the whole project. Trust me on that one.