The Foundation of a Lasting Home: Why Drainage Matters
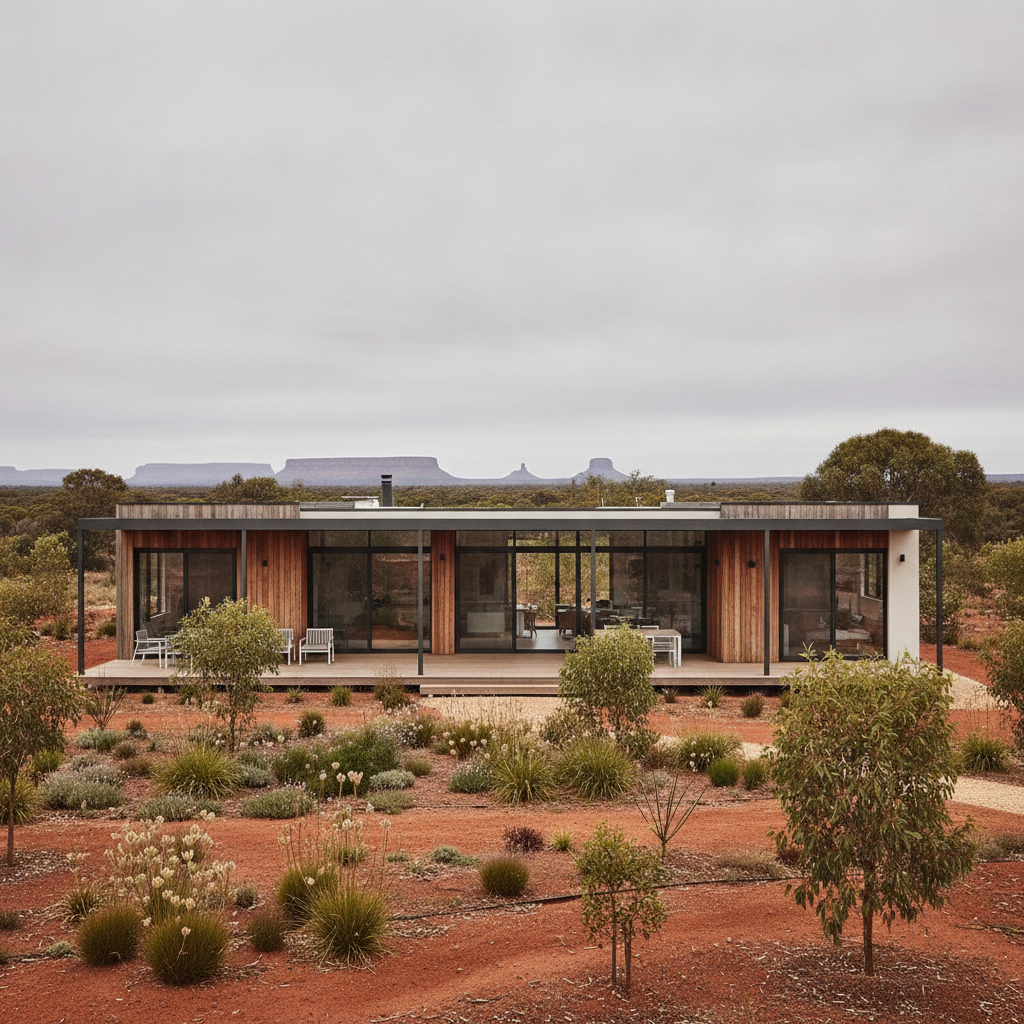
When you embark on the journey of building a kit home in Australia, your focus is often on the exciting parts: the delivery of your BlueScope steel frames, selecting your cladding colours, or envisioning that first sunset on the verandah. However, before the first steel truss is bolted into place, there is a technical hurdle that every owner builder must clear: site drainage.
Water is the silent nemesis of residential construction. In the Australian climate, we deal with extreme cycles of dry and wet. Whether it is a tropical downpour in Queensland or a persistent winter soak in Victoria, managing how water moves across and under your site is non-negotiable. Poor drainage can lead to soil movement, slab heave, or moisture ingress that compromises your home’s structural integrity. As an owner builder, understanding the technical side of drainage ensures your kit home stands the test of time.
Understanding Your Site Classification
Before you even begin digging trenches, you need to understand the dirt you are working with. Every kit home project starts with a soil test and a site classification from a geotechnical engineer. This report tells you how "reactive" your soil is, meaning how much it will expand or contract when moisture levels change.
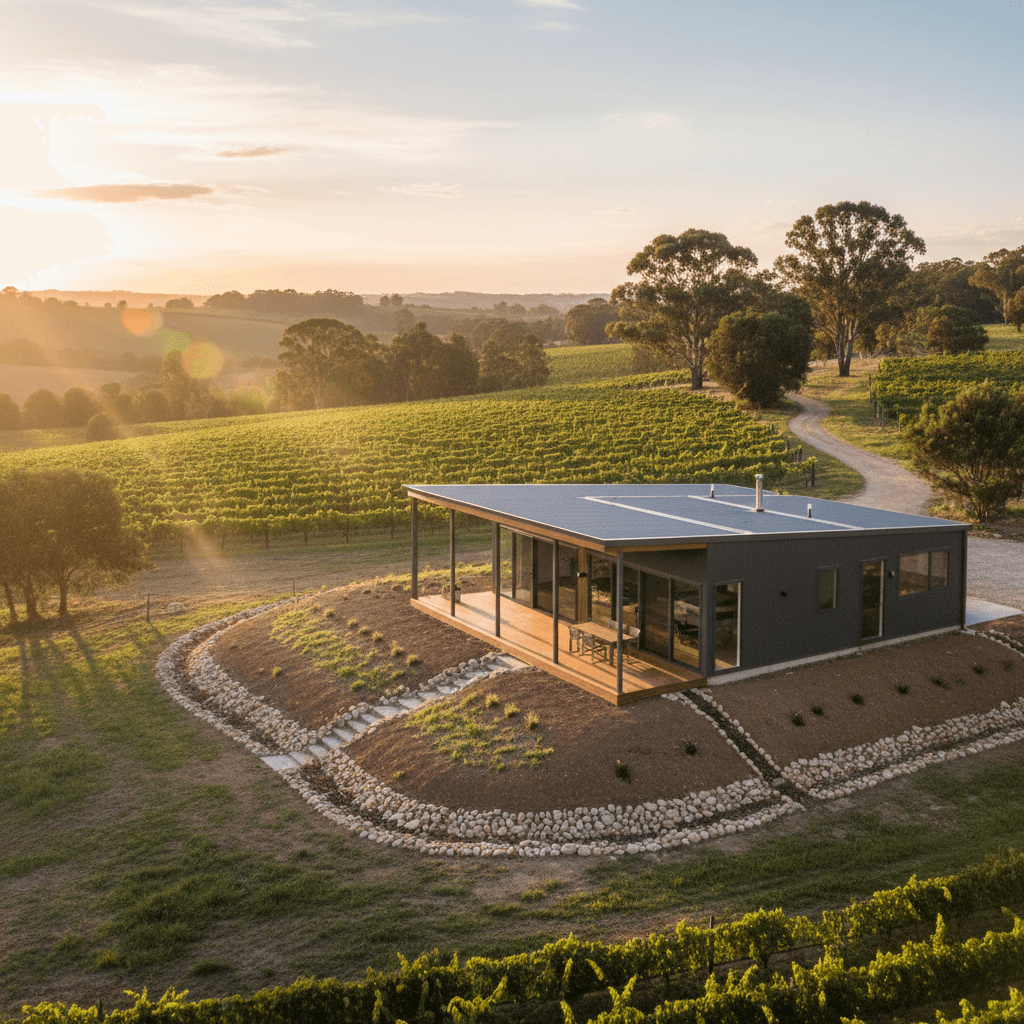
If you are building on highly reactive clay (Class H or E), drainage becomes your number one priority. In these conditions, water pooling near your slab can cause the ground to swell unevenly, putting immense pressure on the concrete. Even though your steel frames are lightweight and durable, they still rely on a stable platform. As an owner builder, you must ensure that the finished ground level falls away from the house in all directions to prevent water from soaking into the foundation zone.
Surface Drainage: The First Line of Defence
Surface drainage is about managing the water you can see. The goal is simple: capture water before it reaches the house and direct it toward a legal point of discharge, such as a street kerb or a designated soakage pit. Here are the essential techniques for your kit home site.
1. Swales and Berms
If your block has a slope that directs water toward your building envelope, you need to intercept it. A swale is a shallow, grass-lined channel designed to lead water around the house. When combined with a berm (a small raised mound of earth), you create a natural diversion system. These are often the most cost-effective solutions for large rural blocks where kit homes are popular.
2. Surface Grates and Strip Drains
For areas where your kit home meets hardscaping, such as a driveway or a paved patio, surface grates are essential. A strip drain (a long, narrow grate) installed at the edge of a garage or across a doorway prevents heavy rain from sheet-flowing into your interior spaces. Ensure these are cleared of debris regularly, as Australian eucalyptus leaves are notorious for clogging these systems during a storm.
Sub-Surface Drainage: Managing What You Cannot See
Sometimes the problem is not what is falling from the sky, but what is moving through the earth. Sub-surface drainage is critical if you have a high water table or if you are building into a slope where water seeps through the underground strata.
The French Drain (Ag-Pipe)
The staple of the owner builder’s toolkit is the Agricultural Pipe, or Ag-Pipe. This is a perforated flexible pipe wrapped in a filter fabric (often called a geofabric sock). It is laid in a trench backfilled with aggregate or blue metal. Water seeps through the gravel, into the pipe, and flows away from the site. If you are building your kit home on a cut-and-fill site, an Ag-line behind the retaining wall and around the perimeter of the high side of the slab is a technical necessity.
Maintaining the Connection
A common mistake for DIY builders is failing to provide a proper discharge point for Ag-pipes. These should never be connected directly to your roof water downpipes. Why? Because during a heavy storm, the volume of water from your roof can back up into the Ag-pipe, effectively pumping water directly into the ground next to your foundations, which is exactly what you are trying to avoid.
Roof Water Management: The Kit Home Advantage
Most Australian kit homes feature corrugated steel roofing, which is excellent for shedding high volumes of water quickly. However, that water has to go somewhere. On a standard 150 square metre roof, just 10mm of rain creates 1,500 litres of water. That is a massive amount of liquid to manage in a short window of time.
Sizing Your Gutters and Downpipes
When you receive your kit, it will include high-quality gutters and downpipes. As the owner builder, you need to ensure the storm-water pipes you lay in the ground are sized correctly to handle the output. While 90mm PVC is common, many professional builders prefer 100mm DWV (Drain, Waste, and Vent) pipe for storm-water because it is thicker and less likely to be crushed during backfilling or by future landscaping works.
Rainwater Tank Integration
In many parts of Australia, council regulations require kit home builds to include a rainwater tank. From a drainage perspective, this is a brilliant tool. It acts as a buffer, catching the initial surge of water during a downpour and reducing the load on your site’s drainage infrastructure. Tip for the owner builder: ensure your tank has a high-quality overflow pipe that is connected to your primary storm-water system.
The Importance of Termite Barriers and Drainage
You might wonder what termites have to do with drainage. In Australia, termites love moisture. A damp, dark area under a deck or against a slab edge is an open invitation for pests. By ensuring your site has excellent drainage, you keep the perimeter of your home dry, which makes it far less attractive to termites. Even with the peace of mind that comes from using termite-resistant steel frames, keeping the ground dry protects your timber skirtings, cabinetry, and floor coverings.
Practical Tips for the Owner Builder
- Inspect during rain: The best time to check your drainage plan is during a downpour. Put on your raincoat and walk the site. Look for where water is pooling and where it is flowing too fast.
- The 1:100 rule: Ensure your storm-water pipes have a minimum fall of 1:100 (1cm of drop for every metre of length). Use a laser level or a string line to get this right. Poor fall leads to sediment buildup and eventual blockages.
- Protect your pipes: Before you backfill any drainage trenches, take photos of where the pipes are located. Include a tape measure in the photo for scale. This is a lifesaver years later when you want to plant a tree or build a fence.
- Clean outs: Install "inspection openings" (IOs) at various points in your storm-water run. If a pipe ever gets blocked by roots or debris, you will be thankful for an easy access point for a plumber’s snake or jetter.
Conclusion
Building your own kit home is a rewarding way to create a high-quality, modern residence while staying hands-on with the process. While the steel frames and architectural finishes might be the stars of the show, the drainage system is the supporting cast that makes the performance possible. By taking the time to understand site levels, soil reactivity, and water flow, you protect your home from the ground up. Remember, good drainage is about working with gravity, not against it. With a solid plan and some careful trenching, you can ensure your Australian kit home remains dry, stable, and beautiful for decades to come.