The Skeleton and the Nerves: Understanding the Rough-In
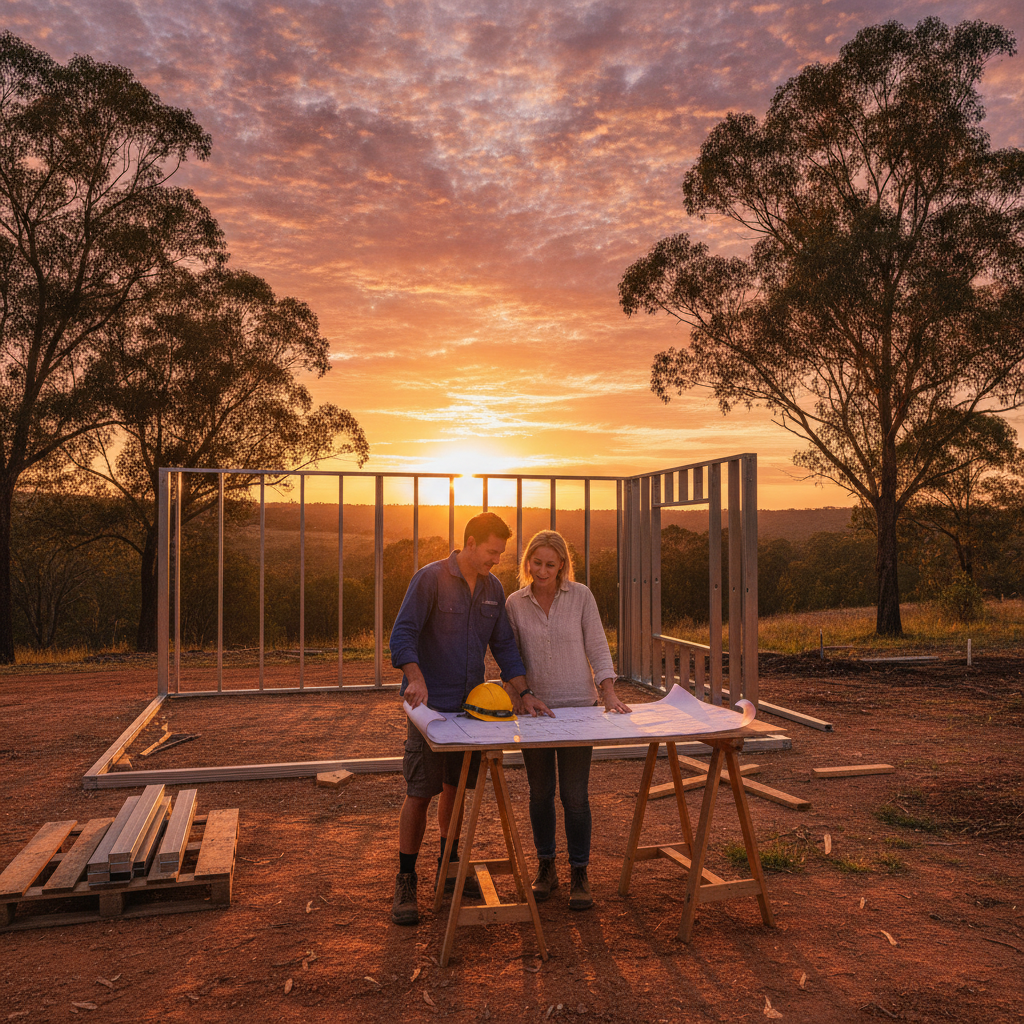
You've finally got your steel frames standing tall. It's a cracker of a day, the BlueScope steel is gleaming in the sun, and for the first time, you can actually walk through the rooms of your new home. It feels real now. But before you get too carried away thinking about paint colours or where the couch is going, there's a massive hurdle to clear. We're talking about the rough-in.
In the world of building techniques, the rough-in is that vital window of time after the frame is up but before the internal linings go on. It's when your sparky and your plumber turn up to run all the wires and pipes through the guts of the house. Get it right, and your home functions like a dream. Get it wrong? Well, you'll be ripping out plasterboard later, and nobody wants that mess.
Why Steel Frames Change the Game
Building with a steel frame kit home is a bit different to the old-school timber builds many trades grew up with. Steel frames come with pre-punched service holes. This is a massive win. It means your plumber isn't spending three days drilling out holes in studs, weakening the structure as they go. Everything is already lined up. It's clean, it's fast, and it's precision-engineered.
But there's a catch you need to keep in mind. Metal and electricity are famous for not being friends. When your sparky is pulling cables through those pre-punched holes in the TRUECORE steel, they must use plastic grommets. These little plastic rings snap into the holes to protect the cable insulation from rubbing against the sharp edges of the steel. We've seen plenty of DIYers overlook this, only to have a trade point it out later. Don't be that person. Ensure your sparky has a bag full of them before they start.
And let's not forget about the copper pipes. If you're running copper for your plumbing, you can't have it touching the steel directly because of electrolysis. It'll corrode both the pipe and the frame over time. Proper lagging or plastic clips are non-negotiable here. It's all about keeping those different materials apart so they can live in harmony for the next fifty years.
The Electrical Layout: Think Three Steps Ahead
Ever lived in a house where the only power point in the bedroom is hidden behind the bedhead? It's infuriating. Moving a power point after the walls are plastered is a nightmare, so you've got to get it sussed out now. Walk through each room with a roll of masking tape or a marker. Mark exactly where you want every switch, every socket, and every data point.
Don't just think about the basics. Think about how you actually live. Do you want a light switch right next to the bed so you don't have to get up in the cold? Are you planning a wall-mounted TV in the living room? If so, you'll want the power and data cables hidden behind it. This is your chance to customise the home to fit your lifestyle perfectly. Reckon you'll want a sensor light for the ute when you pull in late at night? Get the wire run now.
One thing that catches people off guard is the switchboard location. It needs to be accessible but you probably don't want it front and centre on your beautiful kit home's facade. Talk to your sparky about the best spot that meets Australian Standards while keeping your kerb appeal intact.
Plumbing: Getting the Fall Right
Plumbing is all about gravity. Unlike electrical wires which can be snaked around corners with ease, waste pipes need to go down. This sounds simple, but in a kit home environment, you need to be precise. If you're building on a concrete slab, your 'in-slab' plumbing should already be done, but the rough-in is where everything connects from the floor up to your sinks, toilets, and showers.
If you're using a sub-floor system with a raised deck, you've got a bit more breathing room to run pipes underneath. But regardless of the floor type, you need to ensure your plumber understands the wall thicknesses of your kit. Most steel frames are 75mm or 90mm deep. This is plenty for water lines, but it can be tight for some vent pipes. Communication is key here. Show your plumber the architectural plans early so they know exactly what they're working with.
The Shower Secret
Here's a tip from the pros: check your shower mixers. When the plumber installs the tapware during rough-in, they need to know the thickness of your future wall lining plus the tile. If they set the mixer too deep in the wall, the handle won't reach. If it's too far out, the decorative cover won't sit flush. It's a tiny detail that makes a huge difference to the finished look of your bathroom.
Soundproofing and Insulation
While the sparky and plumber are doing their thing, you should be thinking about what else goes in those walls. Once the services are in, but before the plasterboard goes up, is your chance to add acoustic insulation. This isn't just about the outside walls for temperature control. Think about the walls between the bathroom and the lounge room. Trust us, no one wants to hear the toilet flush while they're watching a movie.
Wrap your waste pipes in acoustic lagging if they run through internal walls or ceiling spaces. It's a cheap addition at this stage, but it adds heaps of value to the 'feel' of the home. It makes everything feel solid and well-built, rather than flimsy and echoing.
Working with Trades as an Owner-Builder
Managing trades can be a bit of a whirlwind. As an owner-builder in Australia, you're the project manager. It's on you to coordinate the flow of work. You don't want the plumber and the sparky trying to work in the same tiny ensuite at the same time. They'll just end up in each other's hair.
Schedule the plumber first for the big waste pipes, then get the sparky in to run the flexible wires around them. This is usually the smoothest way to play it. And always, always do a 'walk-through' with each trade before they start. Don't just hand them the plans and walk away. Talk through every single point. Ask them, "Is there a better way to do this?" Tradespeople do this every day and often have cracker ideas for saving time or improving the layout.
The Critical Photo Dump
Before the first sheet of plasterboard is screwed to those steel frames, take your phone and take a photo of every single wall in the house. Every one of them. Take a video too. You want a permanent record of exactly where every wire, pipe, and noggin is located.
Why? Because six months from now, when you want to hang a heavy mirror or install a towel rail, you'll be staring at a blank white wall wondering if you're about to drill into a water main. Those photos are like an X-ray of your house. They're golden. No worries about hitting a cable if you can see exactly where it runs.
Checklist for a Successful Rough-In
- Verify all steel frame grommets are installed for electrical runs.
- Ensure copper pipes are insulated or clipped away from direct steel contact.
- Confirm the location of all GPOs (power points), light switches, and data ports.
- Check that external tap locations are exactly where you want them for the barbie or garden.
- Install any extra noggins (horizontal wall supports) for wall-mounted TVs or heavy cabinetry.
- Test your layout. Does the bathroom door swing clear of the light switch?
- Check your waterproofing requirements for wet areas before the trades leave.
Getting the rough-in right isn't just about following the rules. It's about taking the time to envision how you'll move through the space. It's the difference between a house that just works and a home that's a joy to live in. Once those walls are closed up, the opportunity is gone. So take a breath, double-check your marks on the floor, and chat with your trades. You've got this.
Building your own kit home is a massive achievement. By paying attention to these technical building techniques during the rough-in, you're ensuring that the 'invisible' parts of your home are just as high-quality as the steel frames holding it up. Fair dinkum, you'll thank yourself later when you're sitting on the deck with a cold one, knowing everything behind the walls is spot on.