Standing on a vacant block of land in the Hunter Valley or the outskirts of Gin Gin with a set of council approved plans in your hand is a specific kind of rush. It's the moment the reality of being an owner builder finally sinks in. You aren't just a homeowner anymore. You're the project manager, the site supervisor, and for better or worse, the person responsible when the plumber doesn't show up on a Tuesday morning. Most people get into the kit home world because they want a house that doesn't cost the earth, and they've got enough gumption to do some of the heavy lifting themselves. But gumption doesn't always equal technical skill. Knowing which tools to pick up and which ones to leave to the licensed pros is the most important decision you'll make before the first truck arrives on site.
The Steel Frame Advantage for DIYers
There's a reason we use BlueScope TRUECORE steel for our frames. If you've ever tried to straighten a warped piece of pine in 35 degree heat, you'll know why steel wins for an owner builder project. Steel frames show up straight. They stay straight. This is a massive win when you're the one bolting things together. Because the components are precision engineered, you aren't out there with a hand saw trying to shave off three millimeters so a stud fits into a channel. It's more like a giant, structural version of a kids construction set. You can genuinely tackle the frame assembly yourself if you've got a couple of fit mates and a bit of common sense. But, and this is a big one, don't think you can just wing it. You need to follow the layout drawings to the letter. AS 4100 is the standard for steel structures in Australia, and while you don't need to memorize the code, you do need to respect that every screw specified in your kit serves a purpose. Don't go swapping out tek screws for something you found at a garage sale. Use the hardware provided. It's rated for the load.
Where to Draw the Line: The Licensed Trades
I've seen blokes try to wire their own sheds to save a few hundred bucks. Don't be that person. In Australia, the line for owner builders is drawn pretty clearly by state regulators like the VBA or NSW Fair Trading. Electrical and plumbing are non negotiable. You cannot touch them. You need a certificate of compliance for your occupancy permit, and more importantly, you don't want your new home burning down or flooding because you thought a YouTube tutorial made you a sparky. Beyond the legal stuff, think about your slab. You might reckon you can screed a floor, but if that concrete goes off on a hot windy afternoon before you've got it level, you're stuck with a mess that will haunt every floorboard or tile you lay for the next thirty years. Hire a pro for the pour. Give them a dead flat finish. It makes every single step that follows ten times easier. Trust me on that.
The Middle Ground: Cladding and Roofing
This is where the real savings happen for a motivated owner builder. Once the steel frame is standing and braced, the house feels real. It's a skeleton. Now you've got to skin it. Fixing your own cladding and laying the roof sheets is definitely within the realm of a handy DIYer. If you're using Colorbond cladding, it's a matter of patience and measuring twice. Actually, measure four times. You'll be working at height, so get proper scaffolding. Don't try to save money by balancing on a shaky ladder while holding a six meter length of iron. It's stupid and it's how accidents happen on site. If you're in a high wind zone or a BAL-29 area, pay extra attention to your flashing and seals. The kit comes with the materials, but the weatherproofing depends on how you install them. Use the right sealants. Don't skimp on the insulation blankets under the roof sheets either. It's the difference between a house that's a sauna in January and one that stays decent.
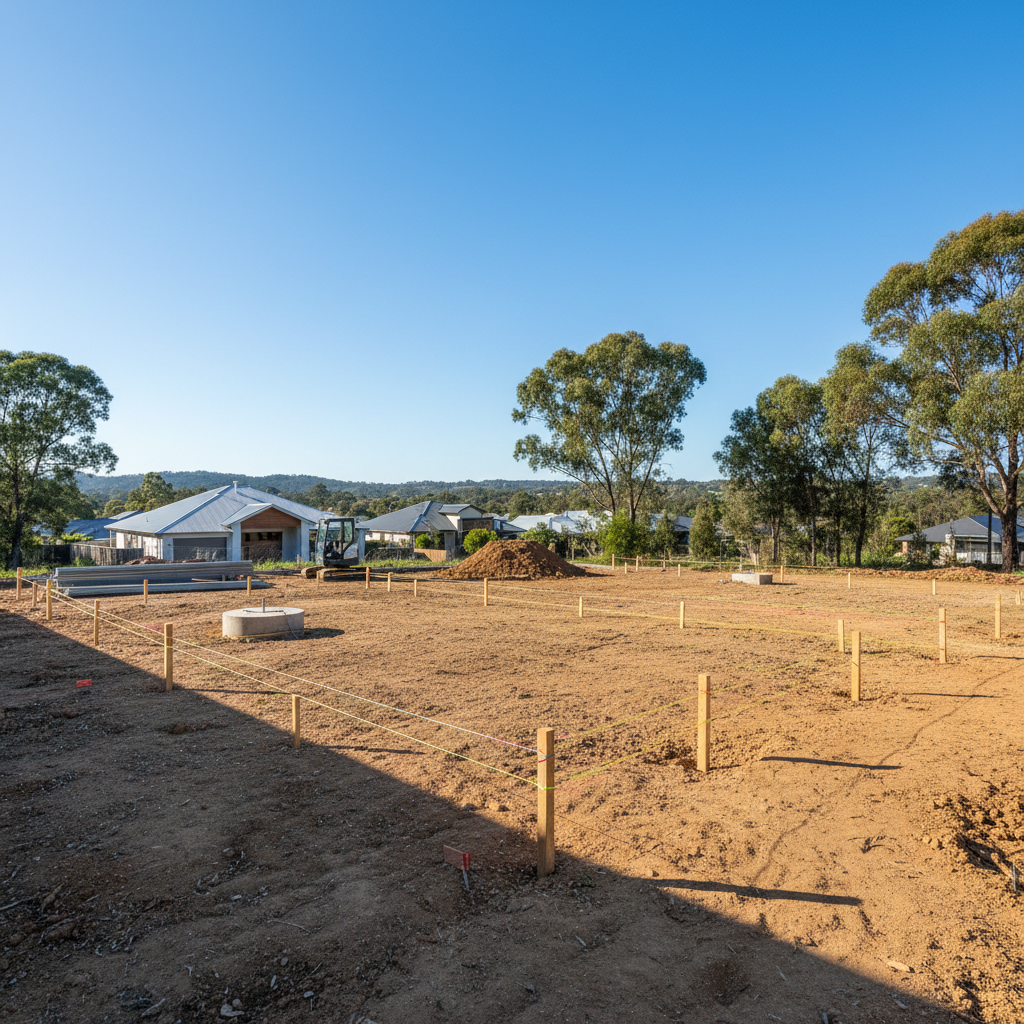
The Hidden Work: Site Management
Being an owner builder is 30 percent swinging a hammer and 70 percent on the phone. You'll spend your arvos chasing deliveries and making sure the skip bin gets emptied before the weekend. You need to manage the sequence. Common mistake? Ordering the windows before the frames are even up and having them sit in the weather for three months getting scratched. Or worse, having the plasterboard delivered before the roof is watertight. You've got to coordinate. Get your plumber in to do the rough-in after the steel frames are standing but before you start the internal lining. If you're using steel frames, the holes for your services are usually pre-punched, which the plumbers usually love because they don't have to spend all day drilling through timber studs. It makes the trade price a bit more competitive if you point that out to them during the quoting stage.
Internal Fit-Out: Your Time to Shine
Once the shell is locked up and the trades have done the guts of the house, you can really get stuck in. This is where the sweat equity adds up. Tiling, painting, hanging doors, and installing the kitchen are all jobs that take a lot of time but don't necessarily require a four year apprenticeship if you're meticulous. If you're painting, don't buy the cheapest gear. Get a good quality 63mm sash cutter brush and a decent roller. It makes a massive difference to the finish. For the kitchen, take your time getting the base cabinets perfectly level. If the base is out by even two millimeters, your stone or laminate benchtop won't sit right, and you'll be looking at that gap every time you make a cuppa. It's the little things that scream 'DIY' if you rush them. Take your time. You've gotten this far.
A Note on Tools
If you're going to build a kit home, stop buying cheap tools from the bargain bin. You'll need a high quality impact driver for those steel frame screws. A cheap one will burn out by lunchtime or strip the heads off your fasteners. Get yourself a decent laser level, a chalk line, and a heavy duty tin snips for those cladding adjustments. And buy a proper tool belt. You'll be climbing up and down ladders all day, and there's nothing more frustrating than getting to the top and realizing your bits are on the ground. It's about being efficient. An owner builder project is a marathon, not a sprint. If you burn yourself out in the first month because you're fighting with bad tools, the rest of the build will be a slog.
Check Your Regulations
Every council in Australia has their own little quirks. Before you even crack a beer to celebrate your kit arriving, make sure you've sussed out your local requirements for an Owner Builder permit. In most states, like Queensland or Victoria, you'll need to do a short course. Don't see it as a hurdle. It actually teaches you about your legal liabilities and site safety. It's worth its weight in gold when it comes to understanding insurance. You need owner builder insurance before anyone sets foot on your block. If a delivery driver trips over a stack of steel frames and breaks an ankle, you're the one on the hook. Get the paperwork sorted first. Then get to the fun part of actually building the thing. It's a massive undertaking, but there's nothing quite like the feeling of sitting on your finished deck knowing you put the screws in yourself.


