Stop building for the weather you want, start building for the weather we actually have.
Down in the Gippsland region last February, I watched a bloke try to install his window flashings upside down. He thought it looked cleaner that way. Ten minutes later, a storm rolled through and showed him exactly why Australian Standards exist. Water doesn't care about your aesthetic. It only cares about gravity and finding the path of least resistance into your wall cavity. Building a kit home as an owner-builder gives you a massive sense of pride, but it also puts the target squarely on your back when the sky opens up. You've got to be smarter than the rain.
Most people get obsessed with the floor plan or what colour the kitchen island is going to be. That's fine for later. Right now, we need to talk about the envelope. In Australia, we don't just get rain; we get sideways, high-pressure water blasting that can find a pinhole in a heartbeat. Whether you're up in the humid tropics of Cairns or dealing with the freezing winds of the Blue Mountains, your kit needs to be a sealed unit. It's about more than just slapping some tin on a frame. It's about moisture management and thermal breaks.
The Backbone: Why Steel Frames Don't Warp in the Humidity
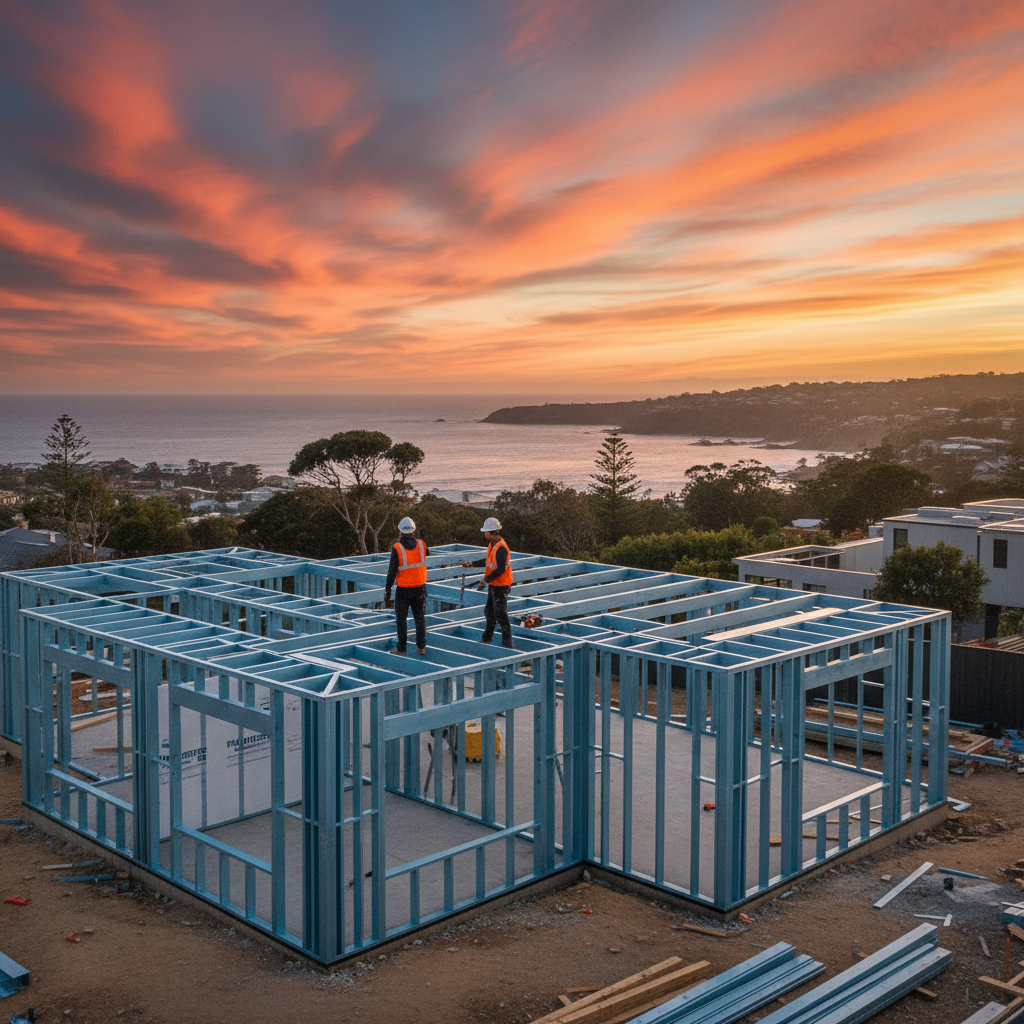
I've seen timber frames sit out on a slab for three weeks during a wet season and come out looking like a dry piece of spaghetti that's been dipped in water. They twist. They bow. They develop a mind of their own. This is why we use BlueScope TRUECORE steel. It stays straight. When you're trying to get your window seals tight, having a frame that doesn't expand and contract with every humidity spike is a godsend. Plus, termites can't eat steel. That’s not just a marketing line; it’s a reality when you’re building in the bush. If a termite gets into a timber kit, you’re looking at structural failure. If they get into a steel kit, they’ll just get a headache trying to find something to chew on.
But steel frames have a quirk. They’re highly conductive. If you just screw your cladding directly to the steel studs without a thermal break, you’re essentially inviting the outside temperature into your living room. It's called thermal bridging. You need that 10mm to 12mm shimmer or thermal strip between the frame and the cladding. It stops the heat transfer and prevents condensation from forming on the inside of your walls. Because wet insulation is basically useless. It’s like wearing a wet woollen jumper in a gale.
Flashing: The Dark Art of Keeping Dry
Window and door openings are where most owner-builders mess up. They think the silicone gun is a magic wand. It's not. If you're relying on a bead of sealant to keep the water out, you've already lost the battle. You need proper head flashings, sill flashings, and jamb flashings. And they need to overlap the right way. Think of it like shingles on a roof; the top layer always goes over the bottom layer. Always.
When you're installing your windows in a kit home, make sure your sarking (that reflective foil wrap) is integrated into the window opening. We see too many people cut the sarking flush with the frame. Don't do that. Fold it into the opening, tape it with high-quality weatherproofing tape, and make sure any moisture that hits that wrap can drain out over the flashing and away from the slab. In high-wind areas, this is non-negotiable. AS 2047 dictates how these windows should perform, but the installation is on you. If the wind is blowing at 80km/h, it will push water uphill. Seriously. It'll force rain up under a poorly designed lap and into your plasterboard. Use the foam seals provided in your kit. Don't leave them in the box thinking they're just packing material.
Roofing and the 5-Degree Rule
A lot of kit homes use a skillion roof or a low-pitch gable. They look sharp. But low-pitch roofs are fussy. If you’re running a pitch lower than 5 degrees, you can't just use standard corrugated iron. You’ll need a profile like Trimdek or something specifically rated for low slopes. Why? Because water pools. And when water pools on a seam, it eventually seeps through via capillary action. It’s like a paper towel dipping into a glass of water; the moisture just climbs up.
Check your turn-downs and turn-ups. At the top of your roof sheets (the ridge), you need to use a turn-up tool to bend the valleys of the sheets upward. This stops wind-driven rain from being blown over the top of the sheet and under your ridge capping. At the gutter end, you do the opposite. You turn the valleys down so the water drips into the gutter rather than tracking back along the underside of the sheet. It takes five seconds per rib, but most DIYers skip it because they're tired and want a beer. Don't be that person. Your ceiling will thank you in five years.
The Slab Edge and Retaining Walls
I stood on a site in Toowoomba once where the owner had perfectly waterproofed his walls, but his slab was level with the dirt outside. First big storm, the water just flowed right under the bottom plate. Your finished floor level (FFL) needs to be significantly higher than the external ground level. Usually, we're talking a 150mm drop to soil or 50mm to paved surfaces, depending on your local council requirements and the NCC.
If you're on a sloping block, you need a cut-off drain. Don't just rely on the house to act as a dam wall. Dig a trench at least a metre away from the windward side of the house, chuck in some ag-pipe and gravel, and divert that surface water before it even touches your kit. Ground moisture is the silent killer of floors and bottom plates. It leads to mould, and once mould gets into your wall cavities, you're looking at a massive strip-out job that costs more than the kit did in the first place.
Practical Tips for the Owner-Builder
- Buy the good tape. Don't use cheap duct tape on your sarking. It’ll peel off in three months. Get the proper silver foil tape or the blue weatherproofing tape designed for Australian UV conditions.
- Ventilation isn't a luxury. If you seal your house too tight without thinking about airflow, you'll turn it into a terrarium. Use eave vents or ridge vents to let the roof cavity breathe.
- Check your screws. Ensure you're using Class 4 treated screws for any external cladding. If you use cheap fasteners, they’ll rust out within five years, especially if you're within 5km of the coast.
- Seal the bottom plate. Use a closed-cell foam gasket or a heavy bead of bitumen-based sealant between your bottom steel track and the concrete slab. This stops drafts and prevents water from seeping under the wall during heavy rain.
Building your own place isn't just about following the manual. It's about looking at the clouds on the horizon and knowing your house can take whatever they're carrying. Most of this stuff isn't hard, it's just tedious. But when you’re lying in bed during a midnight cyclone and the inside of your house is bone-dry and silent, you’ll be glad you spent that extra Saturday afternoon obsessing over the flashings. It’s your home. Protect it like you mean it.


