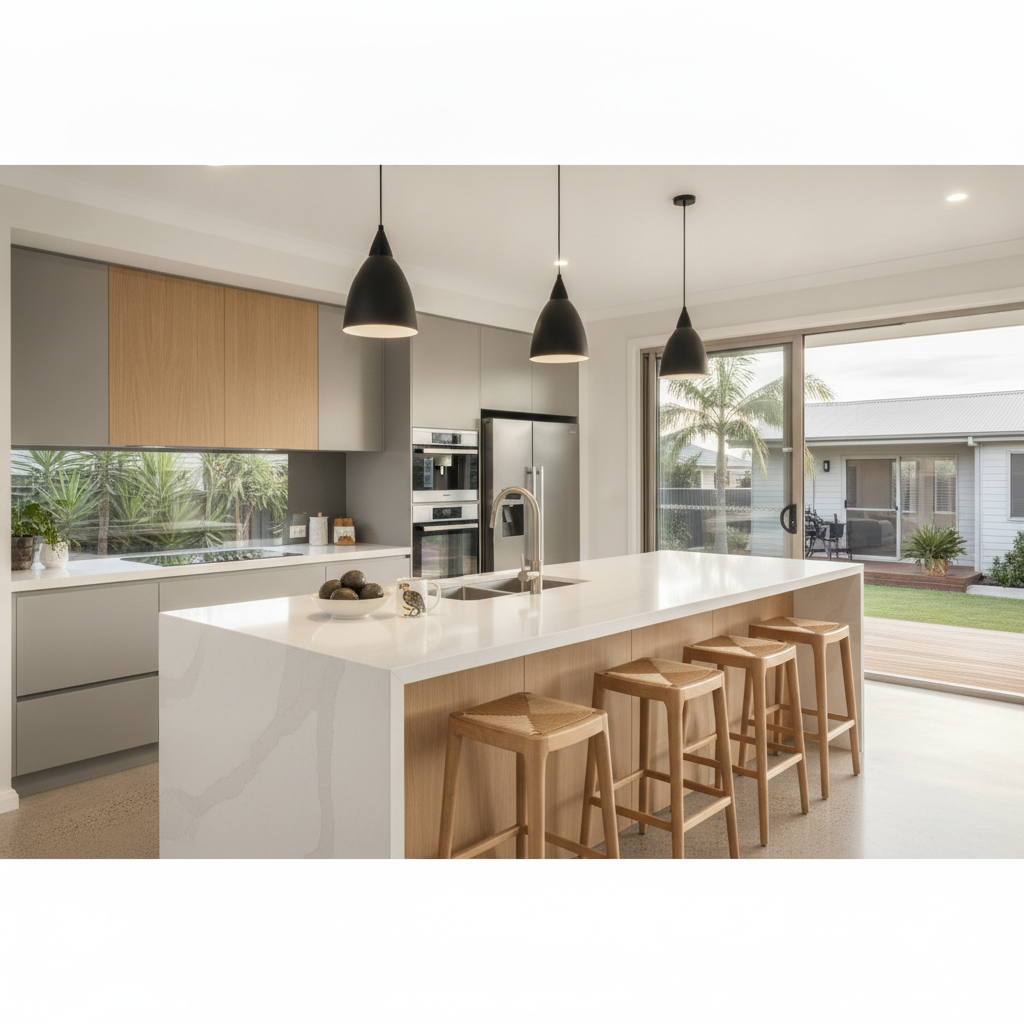
The Critical Middle: Why the Rough-In Stage Defines Your Build
For the Australian owner-builder, the journey of constructing a kit home often feels like a series of major milestones: the slab pour, the 'frame-up' moment when the structure finally takes shape, and the final coat of paint. However, tucked between the structural framing and the internal lining is perhaps the most technical and critical phase of the entire project: the 'rough-in'.
In the world of building techniques, the rough-in refers to the installation of all electrical wiring and plumbing pipes before the walls are closed up with plasterboard. When you’re working with modern steel-framed kit homes or modular-style builds, getting this stage right isn't just about functionality-it’s about future-proofing your home and avoiding incredibly expensive 're-work' later on. In this guide, we’ll dive deep into the technicalities of electrical and plumbing rough-ins, tailored specifically for the Australian kit home environment.
Understanding the Kit Home Workflow
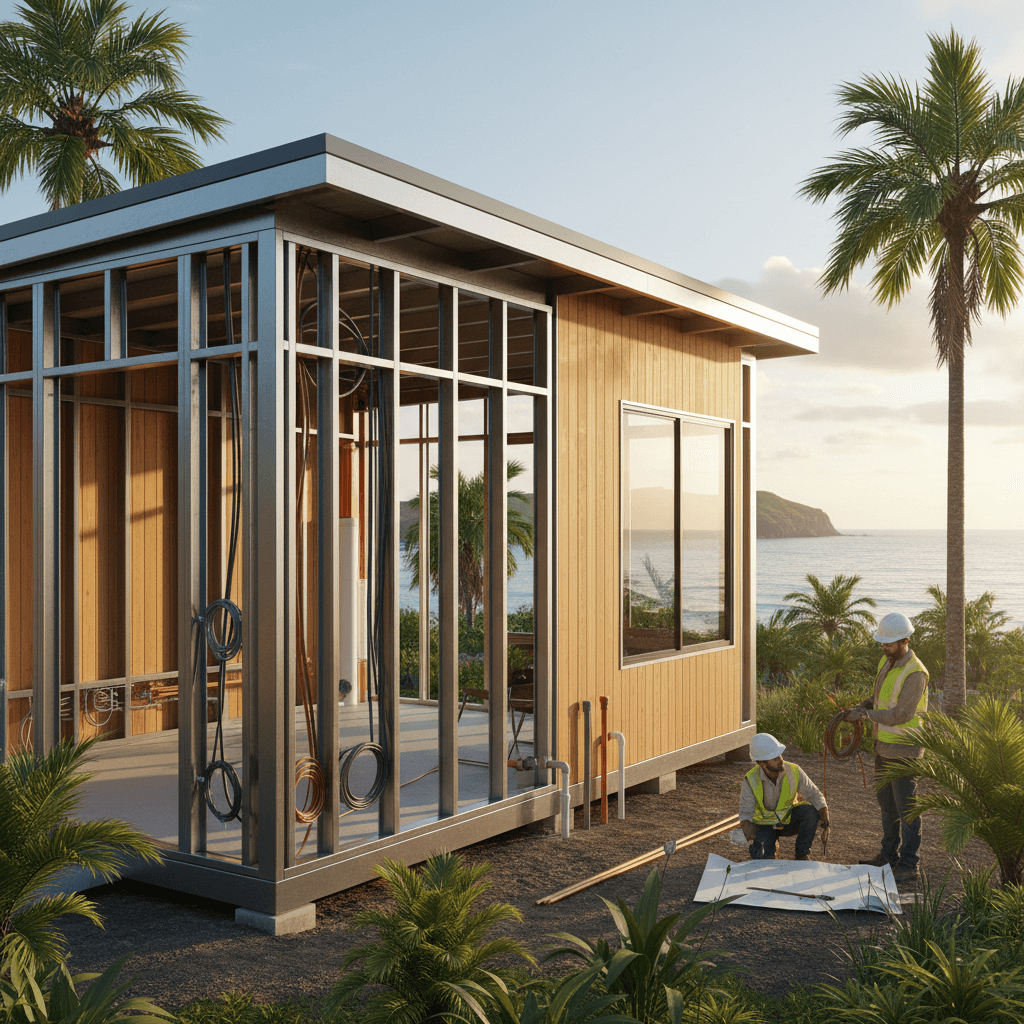
Unlike a traditional volume build where a project manager handles every micro-decision, as an owner-builder, you are the conductor of this orchestra. Your kit home-supplied with its high-quality BlueScope TRUECORE® steel frames, cladding, and roofing-provides the skeletal structure. But the 'veins' (plumbing) and 'nerves' (electrical) are your responsibility to coordinate.
In a modular or kit context, the precision of steel frames is an advantage. Steel doesn't warp or twist like timber, meaning your plumbing runs and electrical paths stay true. However, because steel is conductive and rigid, it requires specific techniques to ensure safety and ease of installation.
Electrical Rough-In: Precision in Every Circuit
1. The Advantage of Pre-Punched Holes
One of the biggest technical benefits of modern steel kit homes is the inclusion of pre-punched service holes. When your steel frames are manufactured, the CNC machines punch holes specifically designed for electrical conduits and plumbing pipes.
Pro Tip: Before your sparky arrives on-site, walk through the frame with your electrical plan. Ensure the pre-punched holes align with where you want your switches and power points. If you need to create additional holes, you must use a stepped drill bit and-crucially-install plastic grommets. In steel framing, these grommets prevent the sharp edges of the steel from chaffing the wire insulation over time, which is a significant safety requirement under Australian Standard AS/NZS 3000.
2. Planning for Smart Technology
The rough-in is your only chance to cost-effectively install data cabling. Even in our wireless world, 'hard-wiring' essential components like security cameras, mesh Wi-Fi access points, and home office hubs is best practice. If you’re building a modular-style house with potential for future extensions, run 'chase' conduits into the ceiling space now so you can pull through more cables later without ripping out gyprock.
Plumbing Rough-In: Gravity and Gradients
Plumbing requires a different level of foresight because, unlike flexible electrical wires, pipes rely on gravity and rigid pathways.
1. Wet Area Setup
In a kit home, your plumbing rough-in usually happens in two stages: 'in-slab' (before the concrete is poured) and 'internal' (within the frames). For the internal stage, ensure your plumber is aware they are working with steel frames. Modern plumbing uses PEX (cross-linked polyethylene) piping, which is flexible and durable. However, where pipes pass through steel studs, they must be secured with plastic clips to prevent 'water hammer'-that annoying knocking sound when you turn off a tap. Because steel frames don't dampen sound as naturally as thick timber, securing these pipes is vital for a quiet home.
2. Modular Considerations
If you are exploring modular construction techniques-where sections of the home are built somewhat independently-the connection points (the 'marriage lines') between modules are critical. Ensure your plumber has a clear plan for how the main stack will connect across these sections. Consistency in the height of your fixtures across all 'pods' or sections is what makes a kit home feel like a high-end custom build.
The Owner-Builder’s Checklist for Trade Coordination
Managing trades during the rough-in is where many owner-builders feel the heat. Here is a technical checklist to keep your project on track:
- Finalise the Floor Plan: Do not start a rough-in until you have 100% decided on the location of your kitchen island, the height of your vanity, and the position of your fridge (does it need a water point?). Moving a pipe by 10cm after the plaster is up can cost thousands.
- The 'Noggin' Factor: If you plan on hanging heavy items like a wall-mounted TV or floating vanities, you need to install extra 'noggins' (horizontal bracing) in the steel frame during the rough-in. It’s significantly easier to screw into a pre-planned steel noggin than to hunt for a stud later.
- Documentation: Before the insulation and plasterboard go on, take 360-degree photos and videos of every single wall in the house. If you ever need to hang a picture or repair a leak in five years, you’ll know exactly where every wire and pipe sits.
Safety and Australian Standards
In Australia, you cannot legally perform your own electrical or plumbing rough-in work. You must use licensed tradespeople who will provide you with a Certificate of Compliance. However, your role as the owner-builder is to ensure they understand the nuances of the kit home system you’ve chosen.
For instance, ensure your electrician is grounded correctly. Steel frames are required to be bonded to the earth system. This is a standard procedure, but it's one of those technical details that separates a DIY-look project from a professional-grade steel home.
Integrating Insulation
The rough-in stage isn't complete until the insulation is considered. Once the pipes and wires are in, you’ll be installing your batts. Ensure that your trades have left enough space for the insulation to sit flush without being compressed. Compressed insulation loses its R-value (thermal resistance). In a steel frame, thermal bridging-where heat travels through the steel-is managed by the combination of your external cladding, thermal breaks, and the internal batts installed around your services.
Conclusion: A Foundation for Success
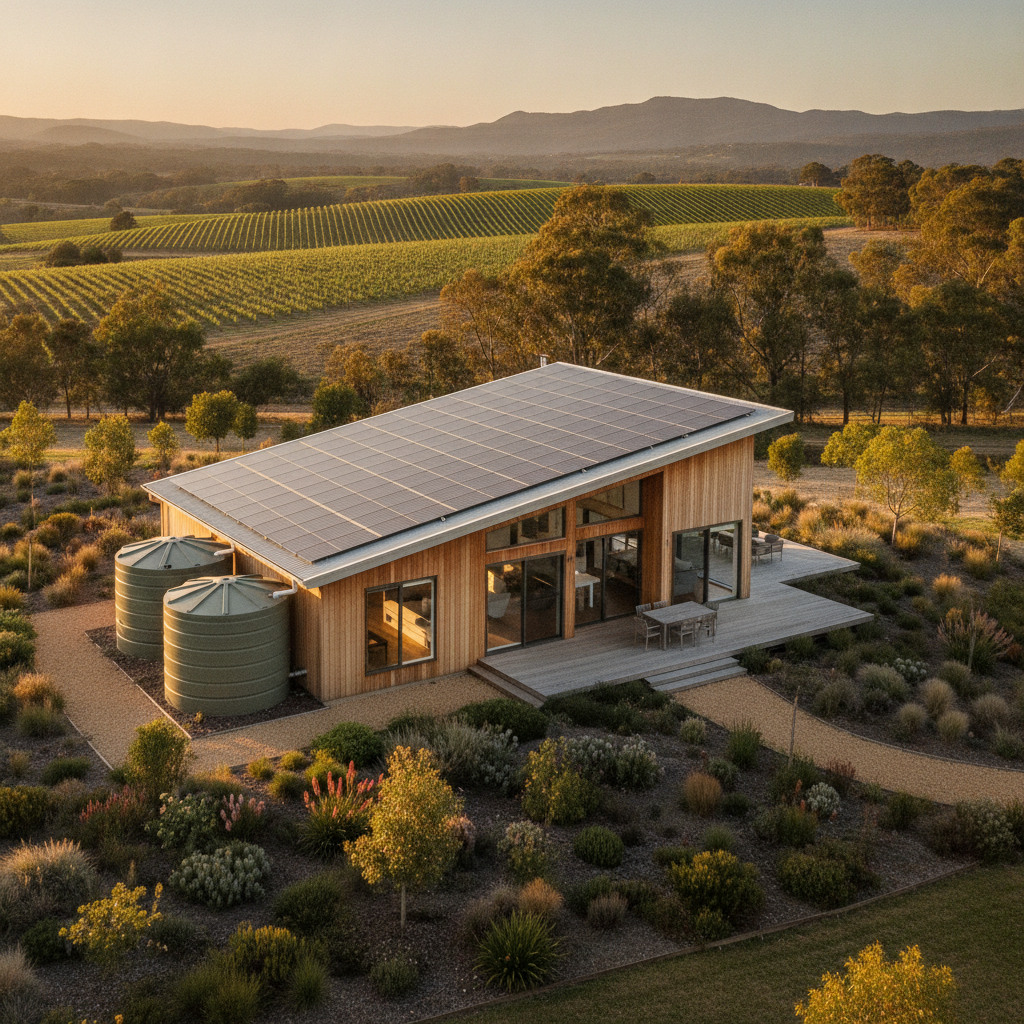
The rough-in stage of a kit home build is the ultimate test of your planning and technical oversight. By leveraging the precision of steel frames-like those made from TRUECORE® steel-and coordinating your plumbing and electrical trades with an eye for detail, you set the stage for a smooth finishing phase.
Remember, a kit home offers the thrill of building your own space, but the 'Building Techniques' you employ behind the walls are what truly make it a home that stands the test of time. Take the time to get your conduits straight, your pipes secured, and your grommets in place. Your future self, sitting in a perfectly lit, climate-controlled, and quiet home, will thank you for it.