The Critical Importance of a Watertight Kit Home
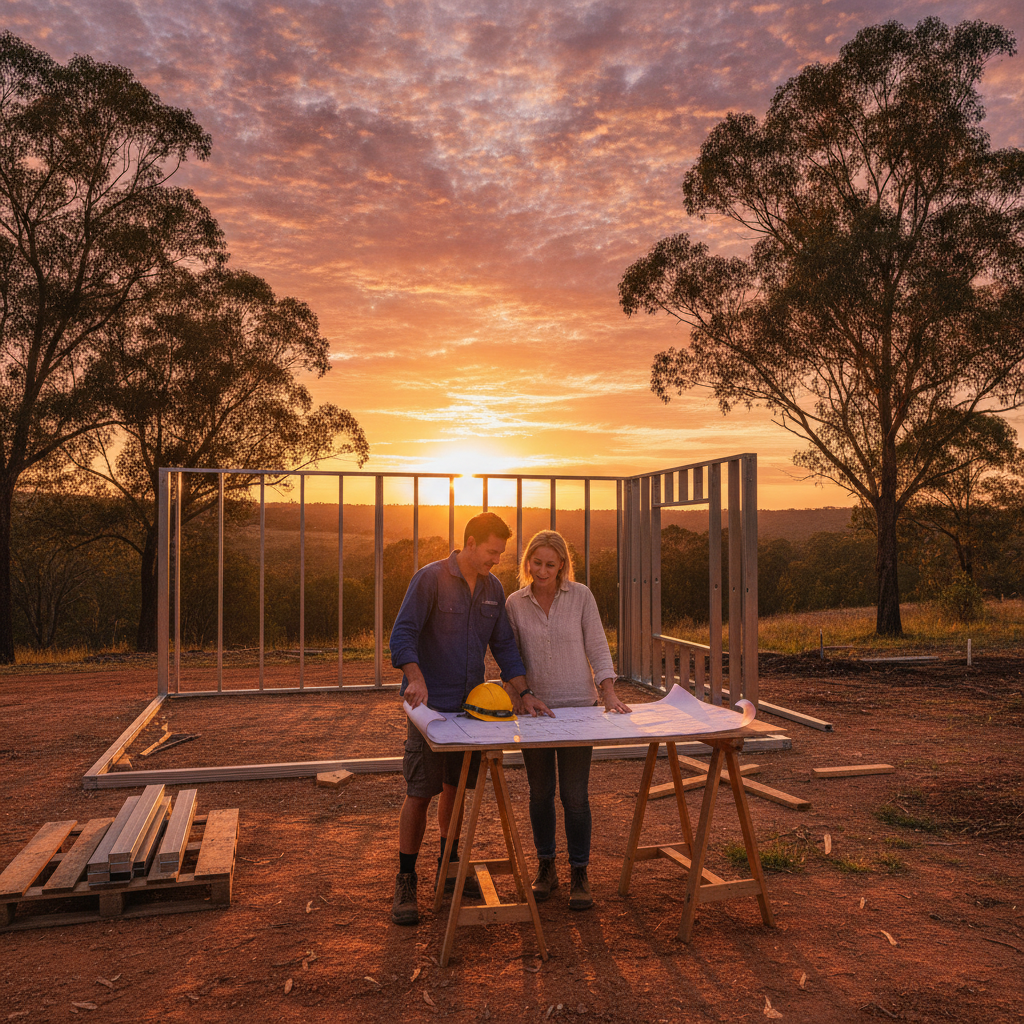
For many Australian owner-builders, the journey of constructing a kit home is one of the most rewarding challenges they will ever undertake. There is a unique sense of pride in seeing a BlueScope steel frame rise from a concrete slab, knowing that the skeleton of your future home is termite-proof and straight as a die. However, as the project progresses from the structural phase to the internal fit-out, the focus shifts from strength to protection. Nowhere is this more critical than in your wet areas.
Water damage is one of the leading causes of building failure in Australia. Even the smallest leak behind a tile can rot timber skirting, damage plasterboard, and, in extreme cases, lead to expensive structural repairs. When you are building with a precision-engineered steel frame, you have the advantage of a stable, non-warping surface, but the waterproofing membrane itself must be flawless. In this guide, we will dive deep into the professional techniques required to waterproof bathrooms, ensuites, and laundries to ensure your kit home remains pristine for decades to come.
Understanding the Australian Standard: AS 3740
Before you pick up a brush or a tube of sealant, you need to understand the rules of the game. In Australia, all residential waterproofing must comply with AS 3740 (Waterproofing of domestic wet areas). This standard dictates exactly where waterproofing is required and how high it must go up the walls.
For a standard shower, the regulations typically require waterproofing of the floor and the wall-to-floor junctions. Additionally, the walls inside the shower recess must be waterproofed to at least 1800mm from the floor, and the area around the bath or vanity must also meet specific height requirements. As an owner-builder, it is your responsibility to ensure these standards are met or exceeded. Remember, while you are doing the work yourself, a building surveyor or certifier will need to sign off on this stage, so precision is your best friend.
Step 1: Preparing the Steel Frame and Substrate
One of the great benefits of a steel frame kit home is that the walls are perfectly straight. Unlike timber, which can twist or shrink as it seasons, TRUECORE steel provides a dimensionally stable surface. This is a huge win for waterproofing, as it reduces the risk of the membrane cracking due to structural movement.
Start by ensuring your wall linings, usually moisture-resistant plasterboard or fibre cement sheeting, are installed correctly according to the manufacturer's instructions. All screws must be driven flush with the surface. If you are working on a concrete slab, ensure the surface is clean, dry, and free of dust or oils. Any laitance (a weak layer of cement and sand on the surface) should be ground back or scrubbed off. If your kit home is on a raised floor system with structural flooring, ensure the sheets are glued and screwed tightly to prevent any bounce.
Step 2: Priming and Bond Breakers
A professional finish starts with a primer. Many DIYers skip this step, but it is essential for ensuring the waterproofing membrane adheres properly to the substrate. Use a primer that is compatible with your chosen waterproofing system and apply it generously to all wall and floor surfaces that will be treated.
Once the primer is dry, it is time to install the bond breaker. This is perhaps the most technical part of the process. A bond breaker is usually a specialized silicone or a flexible tape applied to all internal corners where two surfaces meet (such as wall-to-floor and wall-to-wall junctions). The purpose of the bond breaker is to allow the building to move slightly without tearing the waterproofing membrane. Think of it like a rubber band that can stretch. Without a bond breaker, the membrane is stuck tight to the corner and will snap if there is even a millimetre of movement.
Step 3: Managing Penetrations and Water Stops
Every hole you cut into your walls or floor is a potential leak point. This includes shower roses, mixer taps, and floor wastes. Pros use specialized puddle flanges for floor wastes. The puddle flange sits flush with the floor, and the waterproofing membrane is dressed down into the flange, ensuring any water that finds its way under the tiles is directed into the drain rather than into the slab or floor framing.
Don't forget the water stop. A water stop is a small metal or plastic angle installed across the door opening or the edge of the shower screen. This creates a physical barrier that prevents water from traveling horizontally through the tile adhesive into the carpeted or timber-floored areas of the rest of your home. It should be glued to the floor and have the waterproofing membrane applied over and around it.
Step 4: Applying the Waterproofing Membrane
Now comes the main event. Most modern kit home builders use a liquid-applied membrane. It is usually a bright colour, like blue or pink, so you can easily see where you have applied it. The key here is thickness and coats. A single thin coat is not enough.
Using a brush for corners and a roller for flat areas, apply the first coat. Work the membrane into the bond breakers and around the puddle flanges. Once the first coat is dry (refer to the manufacturer's drying times, which vary depending on humidity), apply a second coat at right angles to the first. This cross-hatching technique ensures total coverage with no pinholes. If you can see the colour of the wall sheeting through the membrane, it is too thin. Professionals often use a dry film thickness gauge to ensure they have met the required specifications.
Common Pitfalls for Owner-Builders to Avoid
Even with the best intentions, mistakes happen. Here are a few tips to keep your kit home project on track:
- Rushing the process: Never apply the second coat while the first is still tacky. If moisture is trapped between coats, the membrane can bubble and fail.
- Neglecting external corners: While internal corners get all the attention, external corners (like the edge of a walk-in shower) also need careful treatment to prevent water from wicking around the side.
- Incompatible products: Stick to one brand for your primer, bond breaker, and membrane. These systems are chemically designed to work together.
- Skipping the flood test: If you want absolute peace of mind, perform a flood test. Plug the drains and fill the shower base with an inch of water for 24 hours. If the water level stays the same and there are no damp spots underneath, you have nailed it.
Technical Benefits of Steel Frames in Wet Areas
While the waterproofing membrane is the primary line of defence, the structure underneath plays a supportive role. Using steel frames in your kit home offers a distinct advantage in wet areas. Steel does not absorb moisture. In the unlikely event that a small amount of moisture bypasses the membrane, a steel frame will not swell or encourage the growth of mould and rot within the wall cavity. This resilience provides an extra layer of durability for your home, ensuring that the high-quality finish you have worked so hard to achieve remains stable for the long haul.
Conclusion
Waterproofing your kit home wet areas is a task that requires patience, attention to detail, and a commitment to doing things the right way rather than the fast way. By following Australian standards and taking the time to prepare your surfaces correctly, you are protecting your investment and your family's comfort. Whether you are building an ensuite for your master bedroom or a functional laundry, the professional techniques outlined here will help you achieve a result that is as solid and reliable as the steel frame itself. Take pride in the process, and soon you will be enjoying a beautiful, leak-free home that you helped build with your own two hands.