Taking the Mystery Out of Council Inspections
For many Australians embarking on an owner-builder journey, the phrase "council inspection" can stir up a bit of anxiety. It feels like a test where the examiner is looking for any excuse to stall your progress. However, when you are building a kit home, inspections are actually your best friend. They serve as a professional safety net, ensuring that your technical execution matches the high standards of Australian building codes.
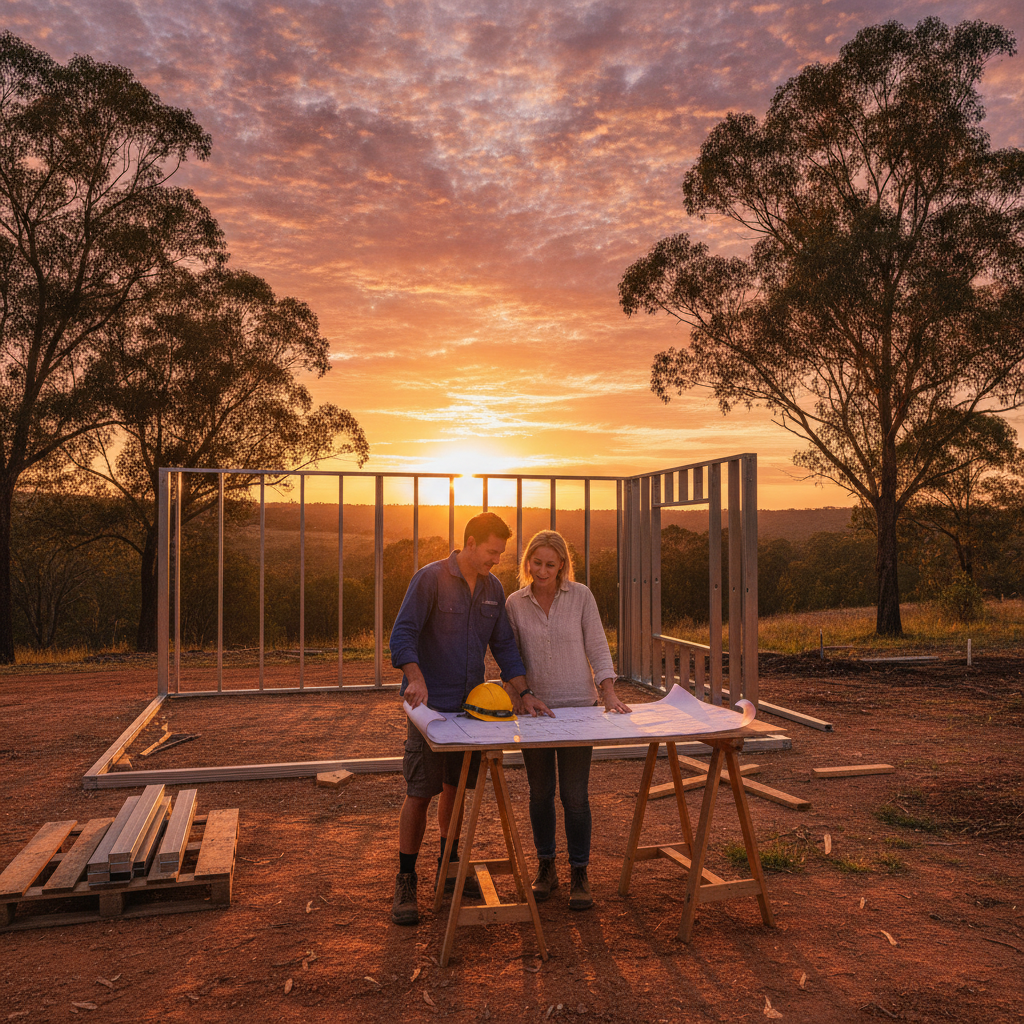
In the world of kit home construction, the process is streamlined because the structural components, like high quality steel frames made from BlueScope TRUECORE steel, arrive pre-engineered to meet specific standards. But even with the best materials, the way they are assembled on-site must be verified. This guide breaks down the technical stages of inspections so you can approach your build with confidence and clarity.
The Role of the Building Surveyor
Before we dive into the specific inspections, it is important to understand who is doing the looking. In most parts of Australia, you will deal with either a municipal building surveyor (at the council) or a private building surveyor. Both have the legal authority to approve your work. Their job is to ensure your kit home is safe, accessible, and energy-efficient.
As an owner-builder, you are responsible for notifying the surveyor at specific milestones. Missing an inspection can lead to costly delays, as you might be asked to pull down finished work so the surveyor can see what is underneath. Managing this schedule is one of the most critical technical skills you will develop during your build.
Stage 1: Footings and Foundation Inspection
Everything starts with the ground. Before a single drop of concrete is poured, an inspector must visit the site. This is often called the "trench" or "footing" inspection. The surveyor will check that your excavations match the structural engineering plans provided with your kit home.
They are looking for several key technical details:
- Soil Connection: Ensuring the footings are deep enough to reach the specified founding material.
- Reinforcement: Verifying that the steel mesh and bars are positioned correctly with the right "chairs" to provide adequate cover from the concrete.
- Slab Prep: If you are building on a raft slab, they will check the moisture barrier (the plastic membrane) is intact and properly taped.
Tip for owner-builders: Always have your engineering drawings on-site and ready for the surveyor to reference. Don't let the concrete truck arrive until the surveyor has signed off on the steelwork.
Stage 2: The Slab or Sub-Floor Inspection
If you are building on a concrete slab, this is often combined with the footing inspection. However, if your kit home is being built on a raised floor system with steel stumps or piers, you will need an inspection once the sub-floor framing is in place but before the flooring sheets are laid down. The inspector will check the connection points between the piers and the floor joists to ensure the house is properly anchored against wind uplift forces.
Stage 3: Frame Inspection (The Big One)
For kit home builders, this is the most rewarding stage. This is when your steel frames are standing and the skeleton of your home is visible. The frame inspection occurs once the entire structural shell is complete, including the roof trusses and wall bracing, but before the external cladding or internal plasterboard is installed.
During a frame inspection for a steel frame kit home, the surveyor is looking for technical precision:
- Tie-Downs: They will check that the frames are bolted to the slab or sub-floor according to the specific wind rating of your site (e.g., N2, N3, or C-class ratings).
- Bracing: Ensuring all temporary and permanent bracing is installed as per the engineering plan to prevent the building from racking.
- Plumb and Level: Verifying that the walls are vertical and the roof lines are straight.
- Service Holes: Ensuring that any holes drilled for electrical or plumbing do not compromise the structural integrity of the steel studs.
Because kit homes use precision-engineered steel, they are often much easier to pass at this stage compared to traditional timber frames which can warp or shrink. Steel stays straight and true, which surveyors generally appreciate.
Stage 4: Lock-Up and Waterproofing
This stage involves checking that the building is weather-tight. One of the most critical technical aspects here is the wet area waterproofing. Before you lay tiles in bathrooms or laundries, an inspection of the waterproofing membrane is usually required. This is a common point of failure in Australian homes, so surveyors take it very seriously. They will check that the membrane is applied at the correct height up the wall and that all corners are reinforced with high-quality sealant or tape.
Stage 5: Final Inspection and Occupancy
The final inspection is the culmination of all your hard work. This isn't just about the structure, it is about making the home habitable and safe. By this point, your kit home should look like a completed house. The surveyor will look at:
- Safety Barriers: Handrails on stairs and decks, and fencing if you have a pool.
- Hardwired Smoke Alarms: Checking they are installed in the correct locations and are functional.
- Energy Efficiency: Verifying that the insulation, glazing, and sealing match the energy rating report (often called a NatHERS or Basix report).
- External Drainage: Ensuring water flows away from the building foundations and into the legal point of discharge.
At this stage, you will also need to provide certificates of compliance from your licensed trades. Even though you are the owner-builder, your plumber and electrician must provide paperwork stating that their work meets Australian Standards. You cannot get your final Certificate of Occupancy without these documents.
Practical Tips for a Smooth Inspection Process
Building a kit home is a technical process, but managing the inspections is a communication process. Here are some actionable tips for owner-builders:
1. Build a Rapport: Treat your surveyor as a consultant, not a policeman. If you are unsure about a technical detail, like how to flash a window or anchor a specific brace, call them before you do the work. They would much rather explain it over the phone than fail you on-site.
2. The Paperwork Trail: Keep a dedicated folder for your build. This should include your building permit, approved plans, engineering drawings for your steel kits, and all trade certificates. Having this organized when the inspector arrives shows that you are a diligent owner-builder.
3. Clean Site, Clear Mind: A messy site sends a signal that the builder is disorganized. Ensure the area the inspector needs to see is clear of debris and safe to access. If they have to climb over piles of timber or steel offcuts to see a footing, they may start looking more critically at your work.
4. Use the Kit Home Manual: Your kit home provider should supply detailed assembly instructions. Follow these to the letter. These manuals are designed to ensure your build meets the engineering requirements that the surveyor will be checking against.
Common Technical Pitfalls to Avoid
In Australian kit home construction, there are a few areas where DIY builders often get caught out. One is the installation of damp proof courses and termite barriers. Modern steel frames are resistant to termites, but your kit home must still prevent termites from entering the building to reach other components like cabinetry or flooring. Ensure your termite management system is installed by a pro and that you have the certificate ready.
Another common issue is the flashing around windows and doors. If the flashing is not tucked correctly behind the building wrap or steel cladding, it can lead to water ingress. Surveyors will look closely at these junctions during the lock-up inspection.
The Reward of Compliance
While the inspection process might seem like a series of hurdles, it is actually the ultimate validation of your skills as an owner-builder. Every passed inspection is a milestone that increases the value and safety of your investment. When you choose a kit home that utilizes high quality components like BlueScope steel frames, you are already starting with a system designed for accuracy. By pairing that quality material with a disciplined approach to council inspections, you ensure that your Australian dream is built on a solid, legal, and safe foundation.
In conclusion, don't fear the inspector. Embrace the process as a way to ensure your kit home stands the test of time in the harsh Australian climate. With the right preparation, a clear understanding of the technical requirements, and a proactive attitude, you will find that council inspections are simply another manageable part of the rewarding journey of building your own home.