Standing on a vacant block of dirt in the pouring rain with a roll of soaked Council plans is a rite of passage for the Australian owner builder. It's not like the TV shows. There's no dramatic music, just you, a tape measure, and the realization that the setback you thought was three metres is actually four. Building your own kit home is about grit. It's about waking up at 5am to meet the concretor because you know if you aren't there, he'll probably pour the slab 20mm out of square and your steel frames won't fit.
The Paperwork Slog
Before you even touch a shovel, you've got to deal with the local Council. It's a grind. You'll need your Development Application (DA) or a Complying Development Certificate (CDC) if you're lucky enough to live in a zone that allows it. Don't forget the Section 68 for plumbing and drainage. Because if you don't get those pipes inspected before the slab goes down, you're in a world of hurt. You'll also need to get your Owner Builder permit. In states like NSW or QLD, this involves a short course. Do it. It teaches you about site safety and insurance, which sounds boring until a subbie trips over a star picket and looks for someone to blame.
Basix certificates in NSW or energy ratings in other states are part of the deal now. You can't just slap up any old shack. You need to prove the thing won't be a furnace in summer. This usually involves specifying the right insulation and making sure those windows aren't just giant glass heaters. We use TRUECORE steel because it's straight as a die, which helps when you're trying to meet those strict energy sealing requirements. If the frame is wonky, the insulation has gaps. Gaps mean failed inspections.
Site Prep and the Slab
Get a surveyor. I've seen blokes try to string out a site using a cheap laser level from the hardware store and end up building half their garage on the neighbour's land. A professional peg-out costs a bit, but it saves you a fortune in legal fees or demolition costs later. Once the pegs are in, the earthworks start. This is where most owner builders get nervous. You're paying an excavator operator by the hour, and if he's just sitting there smoking, you're bleeding cash. Make sure your site access is clear. If a semi-trailer turning up with your steel frames can't get up the driveway because of a low-hanging gum tree or a muddy bog, it's your problem, not the driver's.
Your slab is the most important day of the build. Period. Kit homes rely on millimetre-perfect foundations. If your slab is 50mm too wide, your cladding won't hang right. If it's got a hump in the middle, your internal walls will have gaps under them. Real talk? Get a pro concretor. Don't try to screed a whole house slab with your cousins on a Saturday arvo. Pay someone who owns a power trowel. Make sure they've seen the slab plan for your specific kit, including the thickening edges where the load-bearing steel columns sit.
Standing the Frames
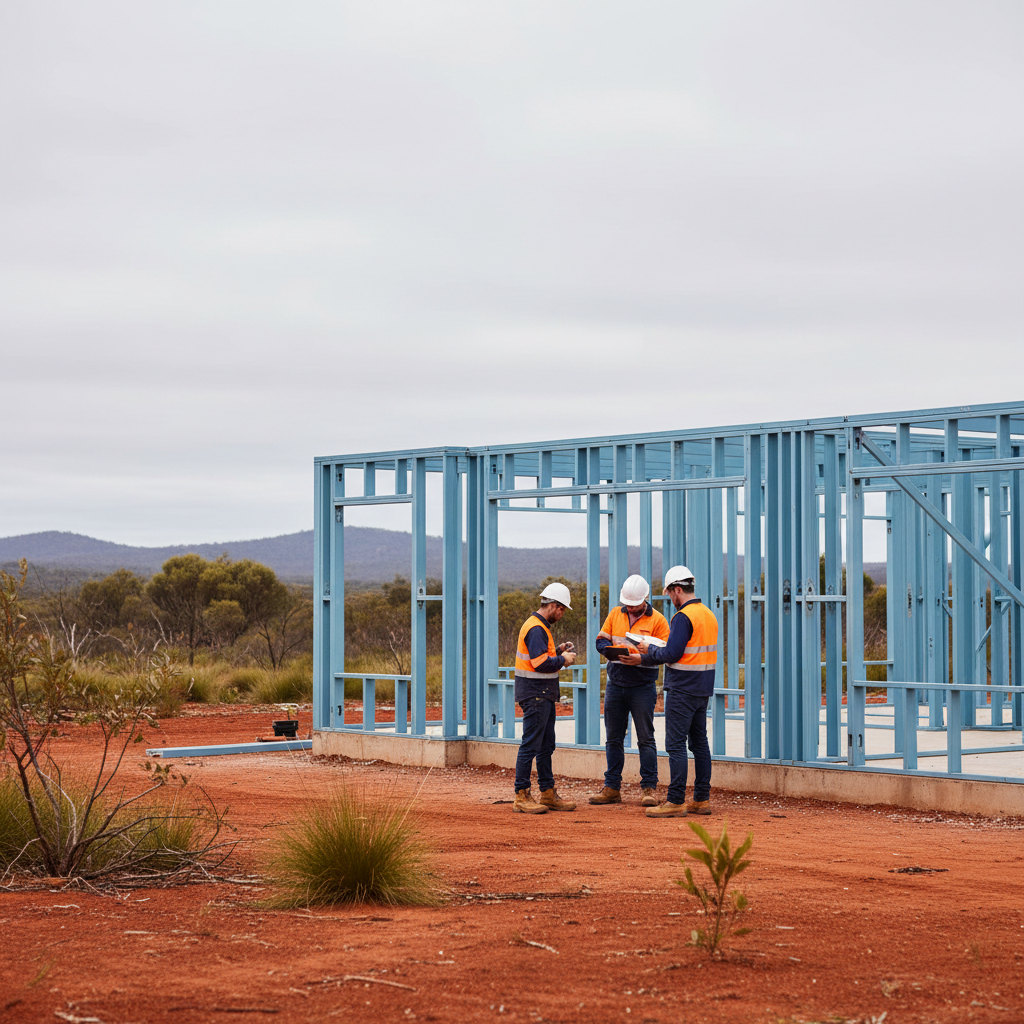
This is the fun bit. When the truck pulls up and drops off the packs of blue-tinted steel, it feels real. Steel frames are a godsend for owner builders because they're light. You aren't lugging heavy wet timber around. Plus, horses for courses, but I'll take a steel frame over timber any day in termite country. Those little wreckers can't eat BlueScope steel.
One tip: get yourself a high-quality impact driver. Not the $80 special. You'll be driving thousands of screws into those frames. If your battery dies every twenty minutes, you'll be ready to throw the tool across the paddock. Start with your corner panels. Brace them back to the slab using temporary props. Once the corners are plumb, the rest starts to chain together. It's like a giant Meccano set for grown-ups. But don't tighten everything until you've checked the diagonal measurements of every room. If the diagonals match, the room is square. If they don't, give it a nudge before you tech-screw the top plates.
Roofing and Cladding
Once the skeleton is up, you want to get dry as quick as possible. Getting the roof on is a massive psychological win. Most kits come with Colorbond roofing. It's tough, it handles the Aussie sun, and it looks the business. Just watch the wind. Handling a six-metre sheet of trimdek when a southerly buster kicks up is a recipe for a bad time. Have a couple of mates on hand specifically for roof day.
Windows and doors go in next. Use plenty of flashing tape. Water is the enemy of any build, and most leaks happen around window sills because someone got lazy with the sealant. When you're choosing your cladding, think about the BAL (Bushfire Attack Level) rating of your land. If you're in a BAL-29 or BAL-40 zone, you can't just use any old timber weatherboards. Steel cladding or fibre cement are usually the go-to here. They don't just stop the house from burning; they require zero maintenance. No painting every five years while standing on a ladder in the sun.
Managing the Trades
As an owner builder, you're the boss. You're the project manager. You need to schedule the sparky, the plumber, and the plasterer so they aren't tripping over each other. A common mistake is calling the plasterer before the sparky has finished his rough-in. You'll end up paying the plasterer to sit in his ute while the sparky finishes pulling cables through the wall studs. Steel frames have pre-punched holes for wiring and pipes, which the trades love, but you still need to be on their backs about timing.
Keep a clean site. It sounds like something a nagging foreman would say, but a messy site is a slow site. If there's offcuts and rubbish everywhere, the trades will hate coming to your job. They’ll put your house at the bottom of the list. A clean slab and organized materials mean they can get in, do their job, and get out. You want to be the person they like working for.
The Practical Checklist
- Get your White Card first. You can't legally be on a construction site without it.
- Check your delivery. When the kit arrives, tick everything off the packing list immediately. If a bag of screws or a flashing is missing, you want to know now, not on Sunday morning when the shops are shut.
- Buy a proper first aid kit. Band-aids don't cut it when you've caught a finger in a steel plate.
- Talk to your neighbors. A slab pour at 7am makes a lot of noise. A six-pack of beer or a nice chat goes a long way in preventing noise complaints to Council.
- Hire a skip bin earlier than you think you need one. Rubbish piles up ridiculously fast.
Final Inspections and Occupation
The finish line isn't when the kitchen goes in. It's when the Certifier signs off on the Occupation Certificate (OC). You'll need certificates from your plumber (Form 16 in QLD) and your sparky to prove everything is up to code. Don't lose these papers. Shove them in a dedicated folder the second they're handed to you. Without that OC, you can't legally live there, and you might have drama with insurance later on.
Building your own place is stressful. You'll have days where you regret ever looking at a floor plan. But when you're sitting on the deck with a cold drink, looking at a house you actually put together with your own hands, it's worth it. You know every screw, every stud, and every pipe in that building. That’s a feeling you just don't get when you buy something off the shelf from a volume builder.


