Taking the Lead on Your New Home Build
There is something uniquely Australian about the desire to roll up your sleeves and build something yourself. For many, the path to home ownership is found through the owner builder route. It offers a level of creative control and personal satisfaction that you simply cannot get when buying an existing house or hiring a turnkey builder. However, managing your own project is a marathon, not a sprint. It requires meticulous planning, a thick skin, and a very reliable checklist.
Choosing a kit home is a brilliant strategy for owner builders. It provides a structured starting point with high quality components, like precision engineered steel frames, while leaving the execution and finishing touches in your hands. But where do you actually start? And how do you ensure you do not miss a critical step that could stall your progress later? This guide breaks down the owner builder journey into manageable phases to help you stay on track from day one.
Phase 1: Research and Regulatory Foundations
Before you even think about swinging a hammer or ordering a delivery, you need to navigate the world of Australian building regulations. This is often the most daunting part for new owner builders, but getting it right early saves countless headaches.
Check Your Eligibility
Every state and territory in Australia has different rules regarding who can be an owner builder. In most regions, like NSW, Queensland, and Victoria, you will need to complete a mandatory Owner Builder Course to obtain a permit. This course covers your legal responsibilities, safety requirements (White Card), and basic project management. Check with your local building authority (such as the VBA or Fair Trading) for the specific requirements in your area.
Land and Site Assessment
Every piece of land has its quirks. Before selecting a home design, you need a site survey and a soil test (Classification Report). This tells you what kind of foundation or slab you will need. Additionally, check for easements, bushfire attack levels (BAL ratings), and flood overlays. If your land is in a bushfire prone area, your kit home components, such as the cladding and window specifications, will need to meet specific safety standards.
Council Approvals
You cannot build anything without Development Application (DA) or Complying Development Certificate (CDC) approval. This involves submitting your architectural plans, site plans, and engineering documents. When you work with a kit home provider, they typically provide the structural engineering drawings for the steel frames and trusses, which facilitates a smoother approval process with your local council or private certifier.
Phase 2: Pre-Construction Preparation
Once you have your permits in hand, it is time to set up your site. A well organized site is a safe and efficient site.
Insurance and Safety
As an owner builder, you are effectively the principal contractor. This means you are responsible for site safety and insurance. You must have Owner Builder Construction and Public Liability Insurance. This protects you against damage to the build, theft of materials, and injuries that might occur on your property. Do not skip this step, it is your primary safety net.
Selecting Your Trades
Unless you are a licensed plumber or electrician, you will need to hire qualified trades for specific tasks. Start sourcing quotes early. Look for local tradespeople who have experience working with owner builders and steel frame construction. Reliability is just as important as price, so ask for references or look at their previous projects.
Phase 3: The Slab and Site Works
The slab is the most permanent part of your home, so accuracy is vital. Most kit homes are designed to sit on either a concrete slab on ground or a raised floor system.
Site Leveling and Plumbing Rough-in
The ground must be leveled and prepared according to your engineering plans. This is also when your plumber will lay the "rough-in" pipes that go under the slab. Once the concrete is poured, moving a toilet or a drain is a costly and difficult mistake to fix, so double check your floor plan measurements against the pipe locations before the truck arrives.
The Pour
Ensure your slab is square and level. Steel frame kit homes rely on a precise base. If the slab is out of square by even a few centimeters, it can make standing your wall frames significantly more challenging. Use a reputable concreter who understands the tolerances required for steel construction.
Phase 4: Lock-Up Stage
This is the most exciting phase for many owner builders, as the skeleton of the house finally rises from the ground. This is where your kit home components come into play.
Standing the Frames
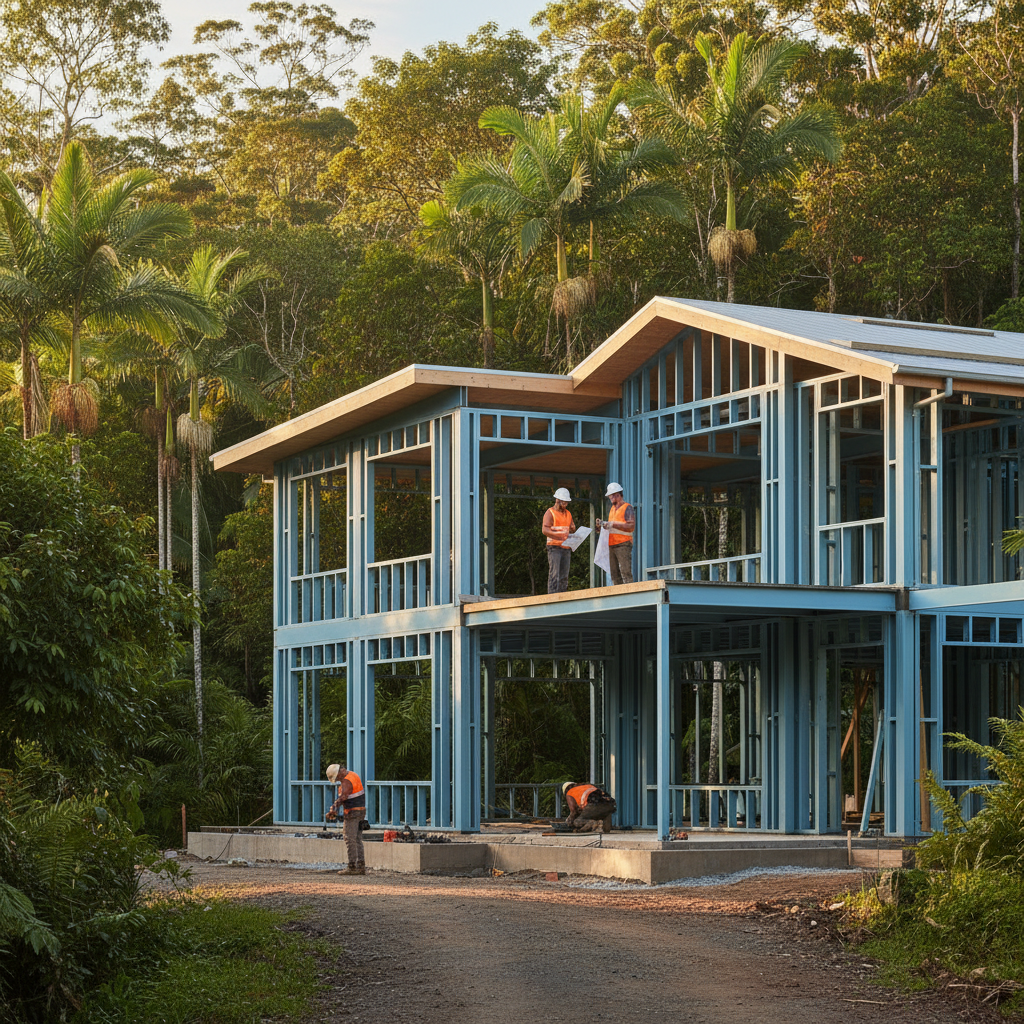
Steel frames, often made from high quality TRUECORE steel, arrive pre-assembled or in easy to bolt together sections. They are lightweight. This makes them much easier for an owner builder to handle compared to traditional timber. Follow the layout floor plans provided by the manufacturer. Once the wall frames are up and braced, the roof trusses follow.
Roofing and Cladding
With the structure standing, the next goal is to get the building "watertight." This involves installing the roof sheets, guttering, and external cladding. Most kit packages include insulation and vapor barriers, which must be installed correctly to ensure the home is energy efficient and protected from moisture. Once the windows and external doors are fitted, you have reached the "lock-up" stage.
Phase 5: Internal Fit-Out and Finishes
Now that the weather is kept outside, you can focus on the interior. This is where your personal style really gets to shine.
Electrical and Internal Plumbing
Your sparky and plumber will return to run wiring and pipes through the wall cavities. One of the major benefits of steel frames is the pre-punched holes in the studs, which make it incredibly easy for trades to pull cables and pipes through without the need for drilling or chiseling.
Insulation and Plastering
Once the internal services are inspected, you can install your wall insulation. Following this, the internal wall linings, usually gypsum plasterboard, are fixed to the steel studs using specialized screws. Take your time with the plastering and sanding, a smooth finish here makes a massive difference to the final look of your home.
Kitchen, Bathrooms, and Flooring
This is often the most time consuming part of the build. It involves tiling, installing cabinetry, and fitting out your kitchen and bathrooms. As an owner builder, you can choose to do much of this yourself or hire specialized installers. Finally, your flooring goes down, followed by skirting boards and architraves.
Phase 6: Final Inspections and Completion
Before you can move in, you need to cross the finish line legally. This involves a final site inspection by your building certifier to ensure everything meets the National Construction Code (NCC) and the conditions of your permit.
- Certificate of Occupancy: This is the document that officially makes your house a home. It is issued after all final inspections are passed.
- Termite Protection: Ensure you have the required termite barriers and a certificate of installation.
- Water and Electrical Certificates: Your licensed trades must provide compliance certificates for their work.
Practical Tips for Success
To keep your sanity intact throughout the process, keep these tips in mind:
- Stay Organized: Keep a dedicated folder for all your permits, receipts, and warranties. Digital apps for project management can also be a lifesaver for tracking timelines and communication with trades.
- Don't Be Afraid to Ask: If you are unsure about a step in the assembly of your kit, call your provider. It is better to ask a "silly" question than to fix an expensive error.
- Manage Your Waste: Construction creates a lot of debris. Hire a skip bin and keep your site tidy to prevent accidents and maintain a professional working environment.
- Patience is Key: Delays happen, whether it is due to weather or trade availability. Build some buffer time into your schedule to account for the unexpected.
The Reward of the Owner Builder Path
Building your own kit home in Australia is a challenging but incredibly rewarding endeavor. By acting as your own project manager and owner builder, you gain an intimate knowledge of your home that most people never experience. By using a structured kit system with durable steel frames, you provide yourself with a solid foundation and a clear roadmap for success. When you finally turn the key and walk into a space you helped create, you will know every bolt, every screw, and every hard earned win that went into making it a reality.


