Taking the Reins: Your Journey as an Australian Owner Builder
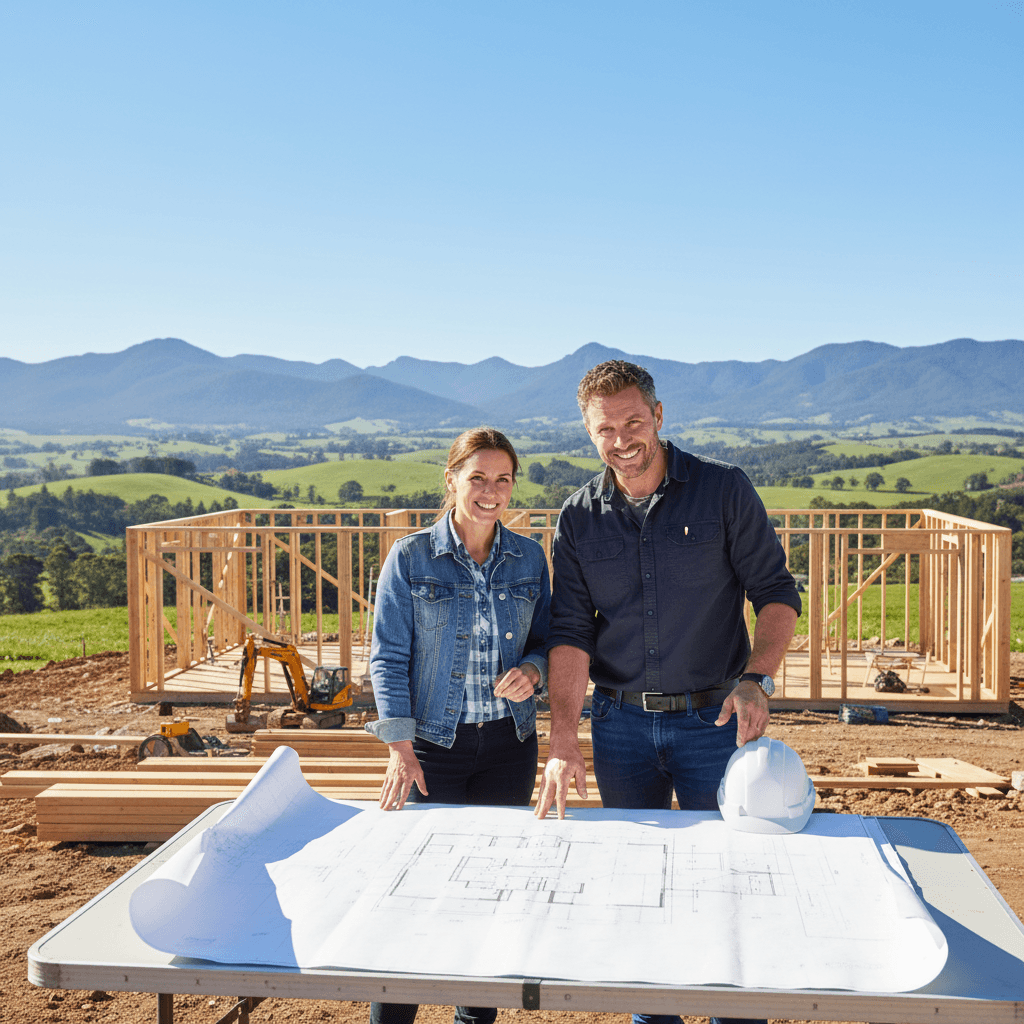
There is something uniquely Australian about the desire to build your own home. Whether it is a weekend getaway in the bush, a secondary dwelling for family, or a primary residence on a quiet suburban block, the owner builder path offers a level of creative control and personal satisfaction that project home builders simply cannot match. However, stepping into the shoes of a project manager requires more than just a tool belt and a vision. It requires a roadmap.
When you choose a kit home, you are choosing a system that simplifies the structural phase of construction. By using precision-engineered steel frames, you bypass much of the guesswork associated with traditional timber framing. But the kit is only one part of the puzzle. As the owner builder, you are the conductor of the orchestra. This guide provides a comprehensive checklist to help you manage the process from the first permit application to the moment you turn the key in the lock.
Phase 1: Knowledge and Legal Foundations
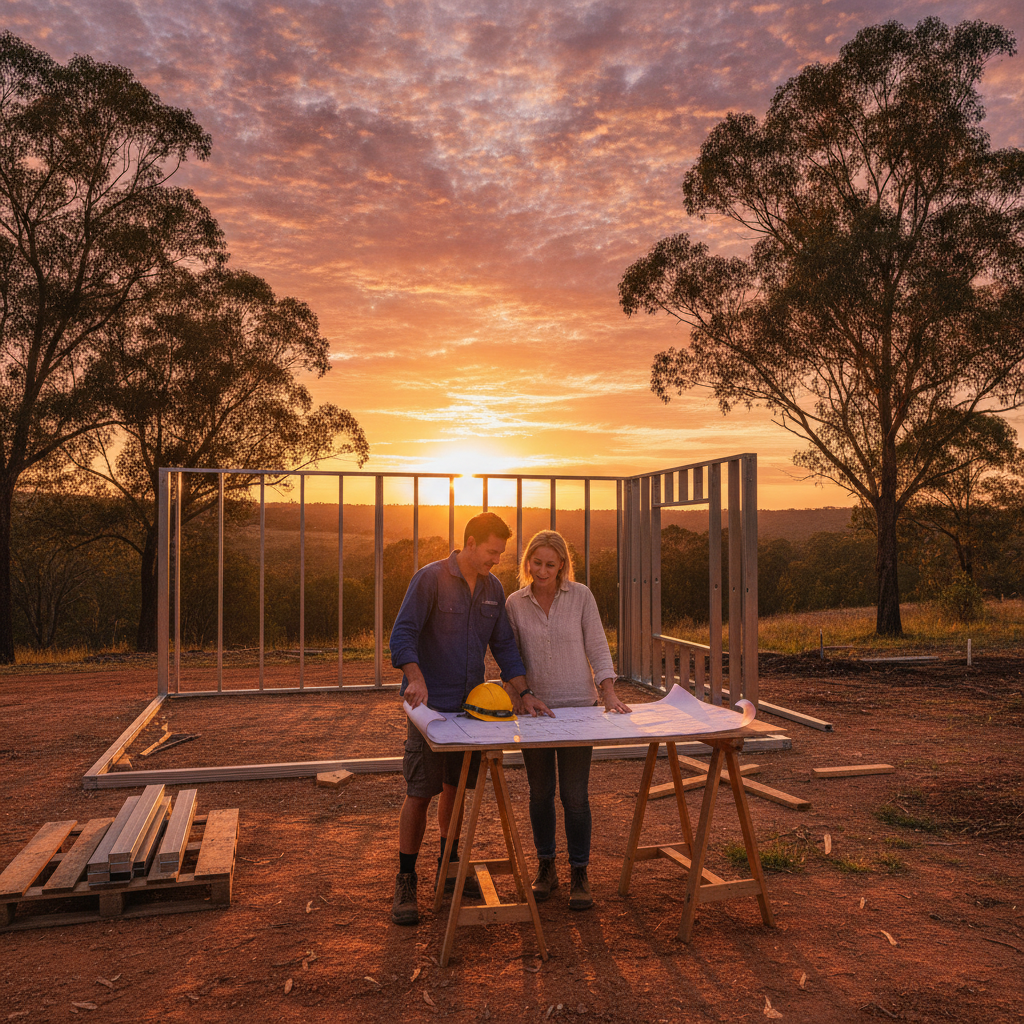
Before any dirt is moved, you must ensure you are legally permitted to oversee the works. In Australia, the requirements for becoming an owner builder vary significantly between states like New South Wales, Queensland, and Victoria. Your first task is to visit your state’s building authority website to understand your obligations.
The Owner Builder Permit
In most jurisdictions, if the value of your domestic building work exceeds a certain threshold, you must obtain an owner builder permit. This usually involves completing a short course that covers site safety, legal responsibilities, and basic project management. This permit is your golden ticket, it allows you to act as the head contractor and engage sub-builders and tradespeople.
Council Approvals and Checklists
Every local council has a Local Environmental Plan (LEP) and Development Control Plan (DCP). You will need to submit a Development Application (DA) or, in some cases, a Complying Development Certificate (CDC) for faster approval. This stage involves providing site plans, floor plans, and elevation drawings. When you work with a kit provider using BlueScope TRUECORE steel, you often receive the structural drawings needed for these submissions, which can save a significant amount of time and stress.
Phase 2: Site Preparation and the Slab
Once your permits are in hand, the physical work begins. Even though your home arrives as a kit, the foundation it sits on must be flawless. Think of this as the stage where you set the stage for everything that follows.
Soil Testing and Site Clearance
A geotechnical engineer will need to conduct a soil test. This determines the reactivity of the earth and dictates the type of slab or footing system required. Once the report is back, your earthmovers can clear the site, leveling the building pad and ensuring proper drainage is in place to prevent water from pooling around your future home.
Under-Slab Services
Before the concrete is poured, your plumber and electrician must install the "rough-in" services. This includes sewer pipes, water inlets, and electrical conduits. Accuracy is critical here. Because your steel frames are manufactured to millimetre precision, your plumbing points must be exactly where the floor plan dictates.
Phase 3: Receiving and Inspecting Your Kit
The arrival of your kit is one of the most exciting days of the build. It is the moment your project stops being a set of drawings and starts becoming a physical structure. However, it requires careful logistical management.
Delivery and On-Site Storage
Ensure you have clear truck access to your site. Large delivery vehicles need space to turn and unload. Once the kit arrives, inspect the delivery against the packing list. Your kit typically includes the steel frames, trusses, roofing, external cladding, windows, doors, and insulation. Store these materials off the ground and cover them with waterproof tarps to protect any non-steel components from the elements.
Phase 4: The Structural Shell (The Lock-Up Phase)
This is where the owner builder’s management skills really shine. You can choose to erect the frames yourself with a couple of handy helpers or hire a carpenter or specialist frame setter to do it for you.
Standing the Steel Frames
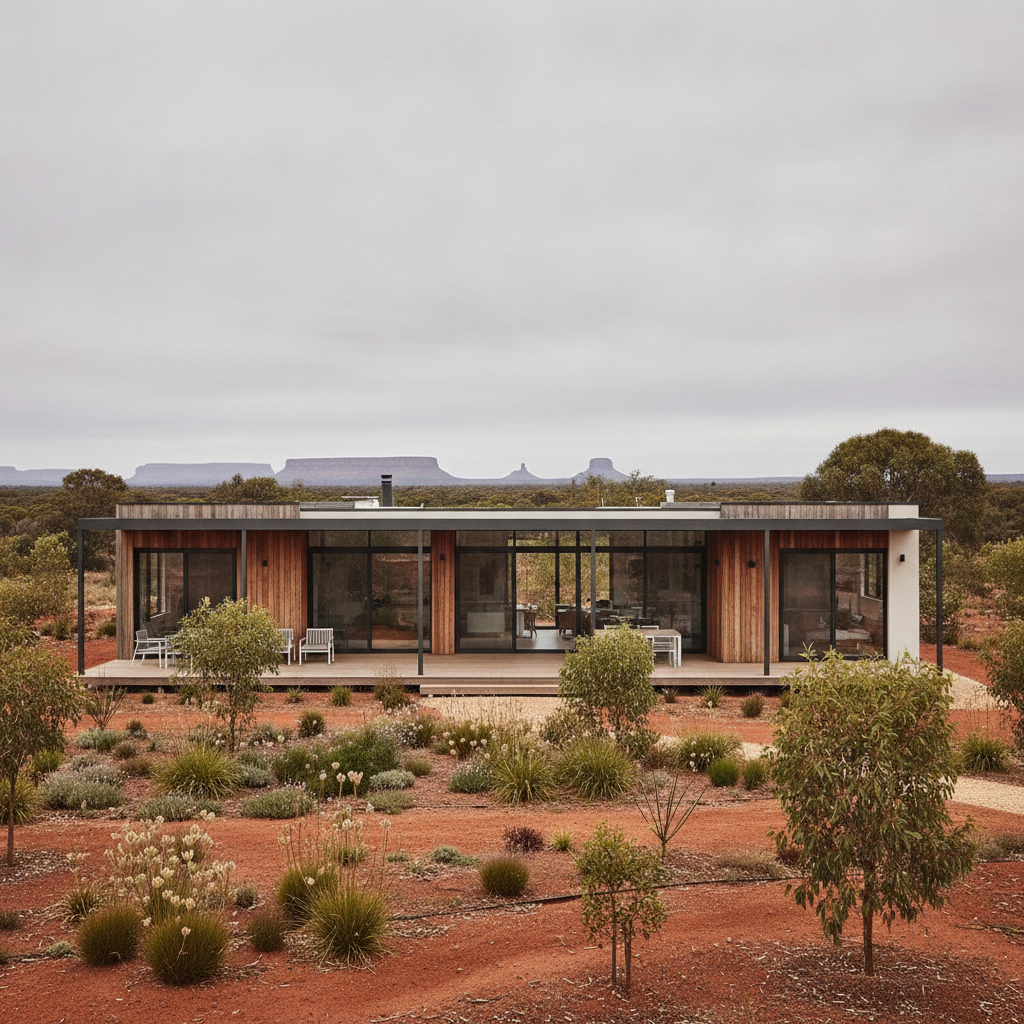
Working with steel frames offers a distinct advantage: they are lightweight, perfectly straight, and won't warp or twist. This makes the assembly process feel more like a high-stakes construction set rather than a traditional build. Use the manufacturer’s layout drawings to guide the placement of each wall section. Ensure every wall is plumb and level before permanently fixing it to the slab.
Roofing and Cladding
Once the frames and trusses are secured, the home needs to be made watertight. Installing the roof sheets and wall cladding is a satisfying process that defines the aesthetic of the home. This is also when your windows and external doors are installed. At this point, your home has reached the "lock-up" stage, a major milestone where the interior is protected from the weather.
Phase 5: Internal Rough-In and Insulation
With the exterior finished, the focus shifts inward. This is the time to bring your trades back. Your electrician will pull wires through the pre-punched holes in the steel frames, and your plumber will run the internal lines for taps and showers.
The Importance of Insulation
Australian climates can be harsh, so never skimp on insulation. Install high-quality batts in the walls and ceiling before the internal linings go on. Because steel is an excellent conductor of heat, ensure you have used a thermal break where required by the building code to maintain a comfortable indoor temperature year-round.
Phase 6: Internal Linings and Fit-Out
Now the home starts to feel like a living space. This phase involves a lot of coordination between different trades, and the order of operations is vital.
- Plasterboarding: Fixing the internal wall linings and ceiling. Professional plasterers can achieve a seamless finish that is difficult for beginners to replicate.
- Waterproofing: A critical step in wet areas like bathrooms and laundries. This must be done to Australian Standards and usually requires a certificate from the installer.
- Tiling and Flooring: Laying your chosen tiles, floorboards, or carpets.
- Joinery and Cabinetry: Installing the kitchen, wardrobes, and bathroom vanities.
Phase 7: The Final Flourishes and Compliance
The last 10 percent of the build often takes the most patience. This is where you focus on the details that make the house a home: painting, installing light fixtures, fitting off taps, and landscaping.
Final Inspection and Occupation Certificate
Before you can legally move in, your building certifier must conduct a final inspection. They will check that the home is safe, compliant with the approved plans, and that all necessary trade certificates (electrical, plumbing, waterproofing, glazing) have been provided. Once they are satisfied, they will issue an Occupation Certificate (OC).
Top Tips for Success from Veteran Owner Builders
Building a kit home is a marathon, not a sprint. Here are some hard-earned tips to keep your project on track:
- Maintain an Organized Site: A messy site leads to accidents and lost items. Dedicate time at the end of every day to clean up and organize your materials.
- Communicate Clearly with Trades: Don’t assume anything. Provide your trades with clear copies of the plans and be available to answer questions. They are used to working with big building companies, so they will appreciate an owner builder who is organized.
- Document Everything: Keep a digital and physical folder of every receipt, certificate, and communication. This is vital for your final certification and for future warranty claims.
- Build a Relationship with Your Local Council: If you are unsure about a regulation, call the duty planner or building surveyor. It is much easier to fix an issue on paper than in concrete and steel.
Conclusion: The Reward of Building It Yourself
The journey of an owner builder is filled with challenges, learning curves, and eventual triumphs. While the checklist may seem long, breaking it down into manageable phases makes the dream of a custom home achievable. By utilizing a high-quality kit home system featuring durable steel frames and reputable Australian materials, you are already starting from a position of strength.
There is a profound sense of pride that comes from walking through the front door of a home you managed and built yourself. It is more than just a house, it is a testament to your hard work and vision. So, grab your notebook, start your research, and take that first step toward becoming an Australian owner builder today.