Don't Fail Your Kit Home Inspections: A Tradesman's Guide to Owner-Builder Approvals
Alright, so you’ve ordered your kit home, it’s landed on site, and the first few piles of timber or stacks of steel frames are starting to look like a house. Good on ya. But before you get too far ahead, let’s talk about something nobody really loves but everyone absolutely needs: council inspections. Or, more accurately, inspections by your principal certifying authority (PCA). These aren't just a formality. Miss something, try to skimp, and you're not just getting a red sticker; you're looking at tearing out work, redoing it, and paying for another inspection. Trust me, I’ve seen it happen. It’s a costly lesson.
For owner-builders, especially, understanding what your certifier is actually looking for at each stage is half the battle. This isn't about trying to pull a fast one; it's about doing the job right the first time and knowing the rules. Because if you don't know the rules, you can't play the game. And building a kit home in Australia, mate, is definitely a game with rules.
Getting Your Head Around the PCA and the Rules
First up, your PCA. This is the fella (or firm) who issues your construction certificate and ultimately signs off on your occupation certificate. They’re the ones making sure your build meets the National Construction Code (NCC) and all those Australian Standards, plus your approved plans. They aren’t there to hold your hand, they're there to inspect.
Before you even break ground, you should have your construction certificate and a clear list of required inspections from your PCA. This list will vary slightly depending on your state, your specific build, and even your certifier, but there's a core set that pretty much everyone hits. Get that list. Pin it to the site shed. Read it. Understand it.
The Big Inspections: What to Expect and How to Ace Them
There are typically five to eight main inspection stages for a standard build, from the dirt to the final paint. Here's what you need to be ready for:
1. Footings / Slab Reinforcement Inspection (Pre-Pour)
This is your first big hurdle. Before any concrete gets poured for your slab or footings, the certifier needs to check the trenching, formwork, and crucially, the steel reinforcement (reo). They're looking for:
- Trench Dimensions: Are they to the engineer's drawings? Right depth? Correct width?
- Site Preparation: Is the ground clean, free of loose soil, and properly compacted? Any tree roots removed?
- Damp-Proof Membrane (DPM): Is it laid correctly, lapped, and taped? No holes, no tears?
- Reinforcement: This is a big one. Is the reo the right size (diameter)? Is it spaced correctly? Are the bar chairs holding it up off the DPM at the specified cover? Are the laps correct? All those stirrups or ligatures in the right spot? Seriously, they’ll bring out a tape measure for this. They'll check the N12 bars, the trench mesh, the SL82 mesh – whatever the engineer specified.
- Termite Protection: If you’re in a termite-prone area (which is most of Australia), they’ll check your physical or chemical barrier system. This needs to be installed according to the product specifications and AS 3660.1.
- Under-Slab Services: All your plumbing pipes, electrical conduits, and stormwater lines that run under the slab. Are they laid correctly, sleeved where needed, and pressure tested (for plumbing)?
Owner-Builder Tip: Get your concrete pump organised, but don't schedule the pour until you've got the tick from your PCA. If you have to cancel a concrete truck because your reo isn't right, that's real money down the drain. Have your engineer's drawings on site. Mark out your reo spacing with chalk or spray paint before the certifier arrives, it makes it easier for everyone.
2. Structural Frame Inspection
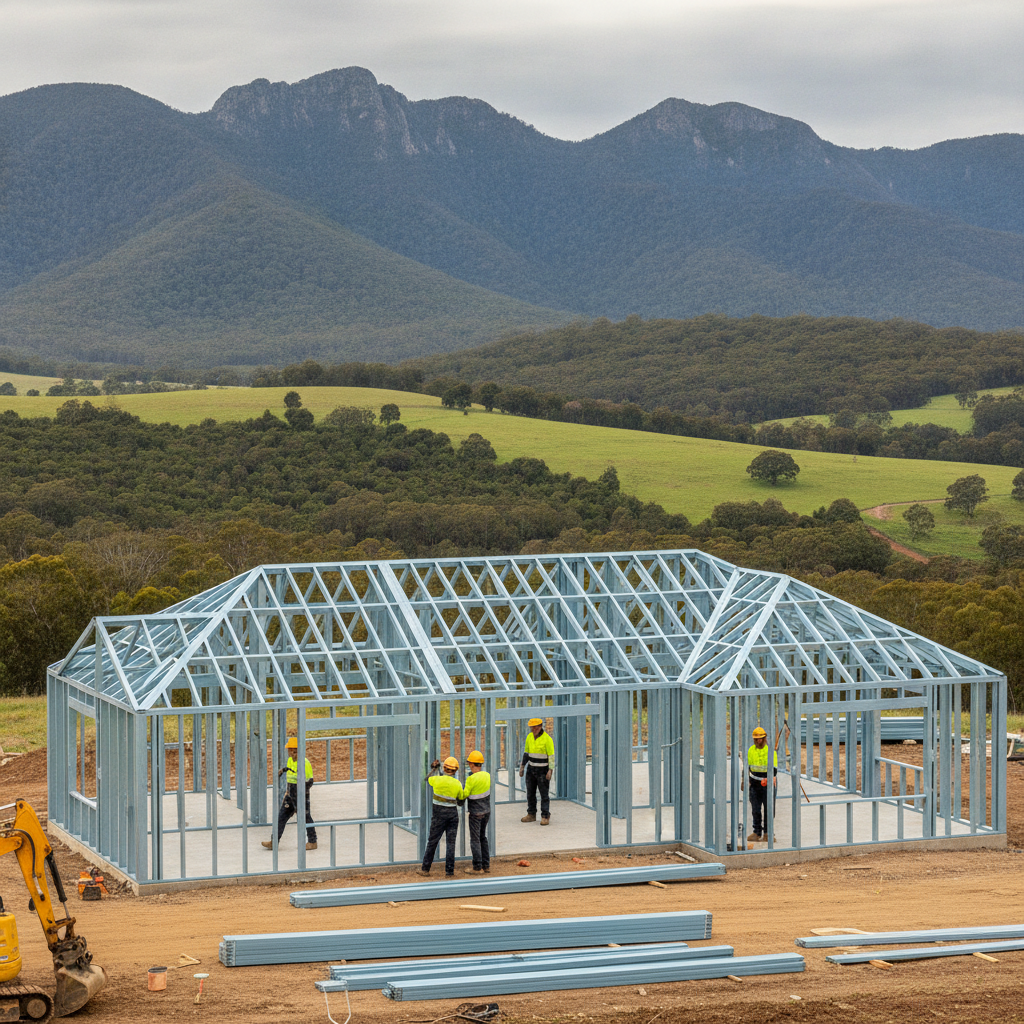
This is where your kit home really starts to take shape. For us, this means the BlueScope Steel TRUECORE frames are up. The certifier will be checking for:
- Compliance with Plans: Are walls where they should be? Are window and door openings the right size and in the right spot?
- Frame Straightness and Plumbing: Are the walls plumb (vertical) and straight? This is especially critical with steel frames, as they are manufactured precisely, and any issues usually come down to how they were installed, not the frame itself.
- Bracing: Is all the required bracing installed as per the engineering? With steel frames, this might be steel strapping, diagonal members, or specific panel bracing. Check every bay.
- Connections: Are all the frame connections complete? All screws, bolts, and fixings as specified? If you're building with steel, are the specific steel-to-steel connections done properly, typically with self-drilling screws or bolts?
- Truss Installation: If your roof trusses are up, are they correctly positioned, braced, and tied down as per the truss manufacturers’ and engineer’s diagrams? Are all temporary braces still in place if needed?
- Tie-Downs: Are all the hold-downs from the frame to the slab, and roof to wall, correctly installed for your wind rating (e.g., cyclone rods, strap bracing)? This is big in a lot of Australia.
Owner-Builder Tip: Have your frame erection manual, engineer's drawings, and your structural bracing diagrams ready. Walk through the house yourself first with a level and tape measure. Don't hide anything. If something looks a bit off, get it fixed before the certifier shows up. They'll spot it.
3. Pre-Lining / Services Rough-In Inspection
Before you cover anything up with plasterboard or cladding, the certifier needs to see all the hidden stuff. This is where your plumbers and electricians have been busy. They're checking:
- Plumbing Rough-In: All water supply lines, waste pipes, and vents are installed correctly and pressure tested. No leaks. No dodgy connections.
- Electrical Rough-In: All wiring, switch boxes, power points, and light fittings are correctly positioned and installed to AS/NZS 3000 (the Wiring Rules). Cable protection where needed.
- Fire Separation: If you have specific fire-rated walls (e.g., between an attached garage and living area), they’ll check the fire-rated plasterboard, sealants, and penetration methods.
- Insulation: Is your wall and ceiling insulation installed correctly? No gaps, no squishing? Proper R-values?
- Blocking/Noggins: Are there adequate noggins or blocking for fixing heavy items like TVs, handrails, or even towel rails? This isn't strictly an NCC item, but good certifiers will often check for practicalities, and it saves you grief later.
Owner-Builder Tip: Ensure all your licensed trades have issued their compliance certificates (e.g., plumbing 'form 4' or electrical 'certificate of compliance'). You'll need these to get your occupation certificate. Don't let them leave site until you have them. Walk through with your plumber and electrician before the certifier arrives to catch any last-minute fixes.
4. Waterproofing Inspection
Usually done after the wet areas (bathrooms, laundries) have been prepared for tiling, but before the tiles go on. The certifier checks:
- Membrane Application: Is the waterproofing membrane applied correctly, to the right heights, and with proper overlaps?
- Floor Wastes and Corners: Proper detailing around drains, in corners, and at wall-floor junctions.
- Shower Niches and Hobs: Are these properly waterproofed?
Owner-Builder Tip: Get a licensed waterproofer. This isn’t a DIY job, seriously. Get their certificate of compliance. A leaky shower is one of the biggest headaches you can have in a house, and it's a huge cause of defects down the track.
5. Final Inspection (Occupancy Certificate)
This is the big one. Your home is essentially complete. The certifier checks everything from top to bottom, making sure it aligns with your approved plans and meets all relevant standards. They're looking for:
- Finishes: All internal and external finishes complete, safe, and up to scratch.
- Safety Barriers: Handrails, balustrades, pool fences (if applicable) – do they meet height and gap requirements?
- Smoke Alarms: Are they installed correctly and operational?
- Glazing: Correct glass types in wet areas or near doors? Safety glass where required?
- Ventilation: Proper ventilation in bathrooms, laundries, and kitchens.
- Stormwater: Is your stormwater drainage system complete and functional? Directing water away from the house?
- Site Cleanup: Often overlooked, but the site should be generally clean and tidy.
- All Compliance Certificates: Have you submitted all your electrical, plumbing, waterproofing, and termite certificates?
Owner-Builder Tip: Don't call for the final inspection until you are genuinely finished. I mean finished. If there are outstanding items, the certifier will issue a 'notice of incomplete work' or a 'list of defects,' and you'll have to get them back out, incurring more fees and delays. Clean the place. Mop the floors. Make it look like a home, not a construction site. It makes a good impression, and sometimes, that actually counts.
Communicating with Your PCA
Keep the lines of communication open. If you're unsure about something, ask them. It's better to ask a 'stupid' question upfront than to build something wrong and have to fix it. Provide them with as much information as possible: plans, engineering certs, product data sheets. The more organised you are, the smoother the process will be. And be on site for the inspections, if you can. It's your house, after all, and you'll learn a heap.
Building your own kit home is a massive effort, a huge achievement. But don't let the paperwork and inspections trip you up at the finish line. Do the prep, know what’s expected, and you'll get that occupation certificate with no dramas. It’s all part of the job, and a well-built home starts with knowing these rules back to front.