Sun Smart Kit Homes: Building Passive Solar in Rural Australia
Listen, if you're building out in the sticks, especially with a kit home, you've got to get smart about the sun. And I don't just mean whacking a few solar panels on the roof after it's all done. Nah, we're talking about baking solar passive design right into the plans from the get-go. This isn't some hippy, granola-crunching idea, either. It's just good, common sense building, saving you a heap on power bills down the track, and making your place actually liveable without running the air con 24/7. Especially in rural Australia, where power can be dodgy and expensive, this stuff is gold. Seriously.
I've seen too many good kit homes turn into sweatboxes or iceboxes because no one thought about how the sun tracks across the sky. You get a kit, you think you're saving money, then you spend more than you saved trying to heat or cool the darn thing. That's a fail. A big one.
Orientation: Your House, the Compass, and the Sun
The first rule of solar passive design is this: get your orientation right. It's the absolute foundation. You can have the best insulation and the fanciest windows, but if your main living areas are facing west in Queensland, you're fighting a losing battle. The sun sets in the west, right? And that afternoon sun, she's a killer. Hot, direct, and just bakes everything.
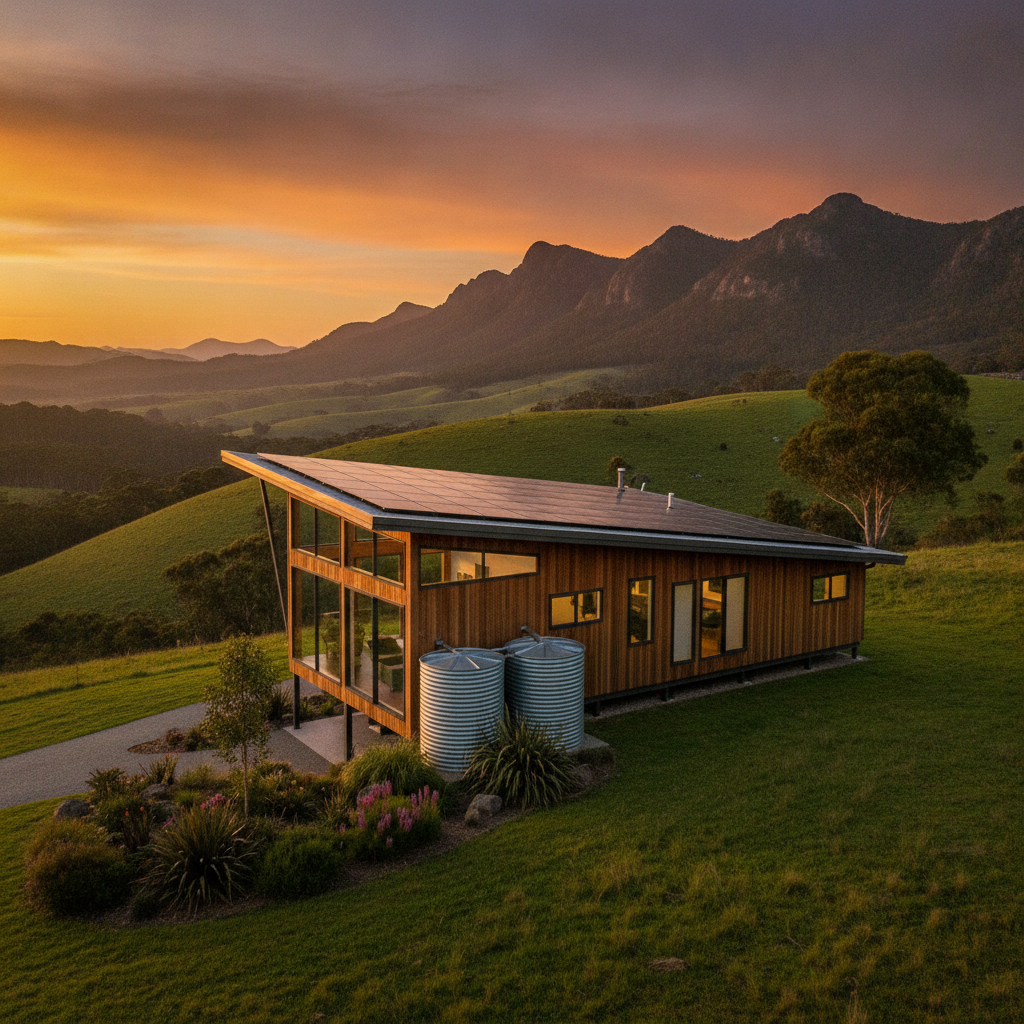
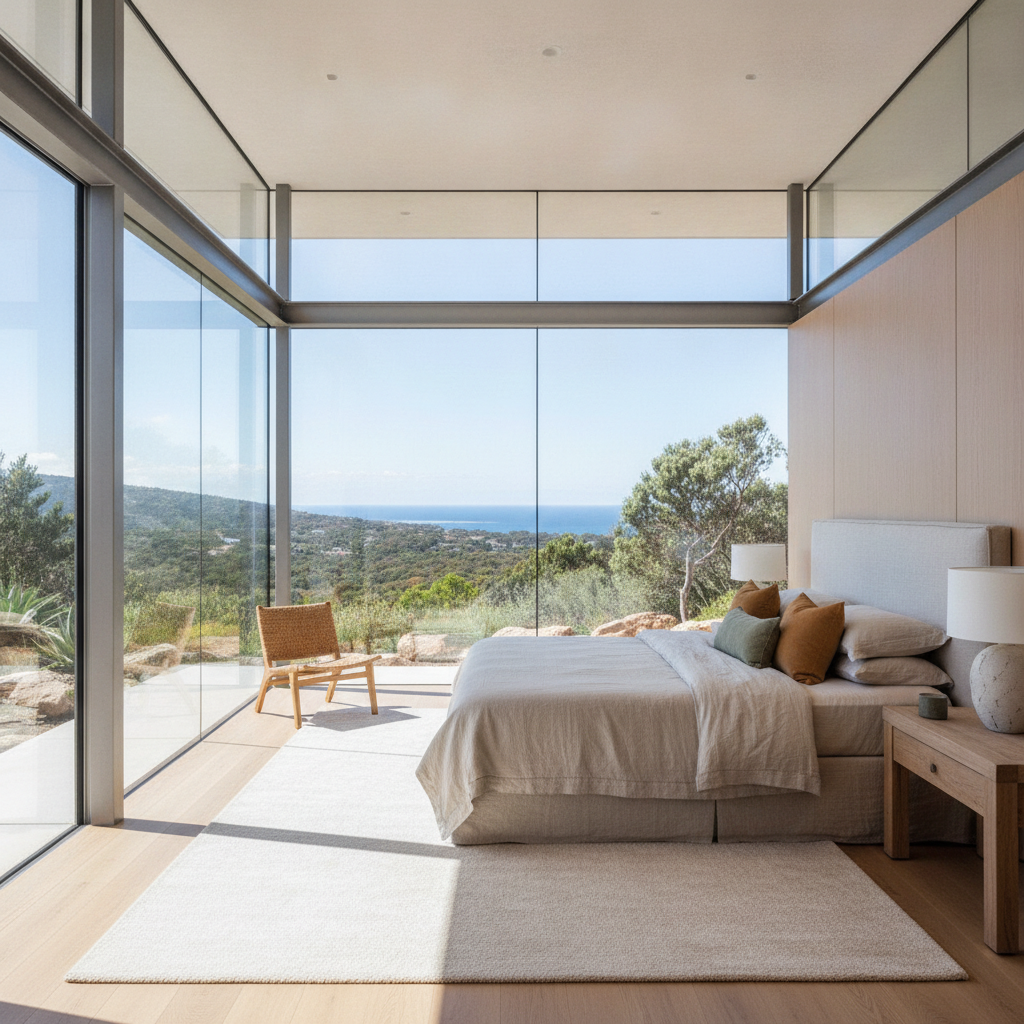
The ideal setup, for most of Australia, is to get your long side of the house, where your main living rooms and bedrooms are, facing north. North-facing windows let in plenty of light and warmth in winter when the sun is lower in the sky, but with a properly designed eave, they're shaded from the high summer sun. It's a natural climate control system, simple as that.
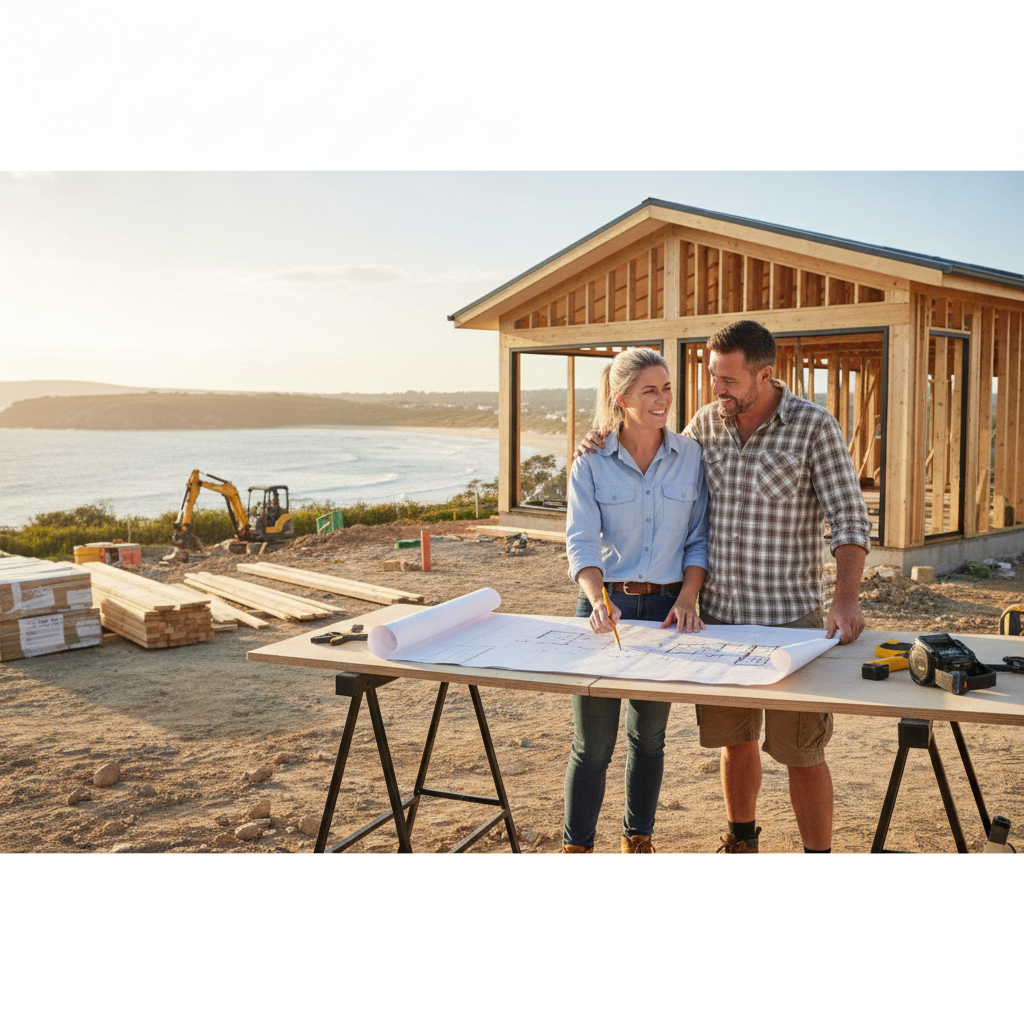
When you're laying out your kit home plans on the block, pull out a compass. Know where true north is, not just magnetic north. It matters. Then, think about how the house sits on the land. Sometimes, the best view isn't the best orientation. You've got to make a call. Do you want to look at the nice view while sweating buckets, or have a slightly less dramatic outlook but a comfortable house? Usually, comfort wins. And there are always ways to frame a view with clever landscaping later on.
Dealing with East and West: The Tricky Bits
East and west-facing walls and windows? Minimize 'em. Seriously. The east sun is harsh first thing in the morning, and the west sun is a killer in the afternoon. If you have to have windows on these sides, make them small. And make sure they've got good shading. Think external blinds, pergolas, or verandas. Deep eaves might help a bit on the east, but the west sun is so low in the afternoon, it'll sneak right under most standard eaves.
Consider placing utility rooms, laundries, bathrooms, or garages on the east and west sides. They act as thermal buffers. Less critical rooms, less heat transfer into your main living zones. It's a simple trick, but effective.
Thermal Mass: Storing the Warmth (or Coolth)
Okay, so you've got your orientation sorted. Next up is thermal mass. What's that? It's basically anything heavy in your house that can absorb and store heat. Think concrete slabs, brick walls, even water tanks if they're inside the thermal envelope. During the day, especially in winter, the sun warms up these heavy materials. Then, as the air cools down at night, the thermal mass slowly releases that stored heat back into the house. Flip that for summer: the mass absorbs heat from the air during the day, keeping things cooler, and then cools down at night when you can ventilate.
With kit homes, a concrete slab is your best friend for thermal mass. Most owner-builders pour one anyway. But you can do more. Exposed concrete floors, internal brick feature walls (even if they're just single skin), or even a masonry fireplace can all contribute. The key is that the thermal mass needs to be directly exposed to sunlight in winter and shaded in summer. If you carpet over your slab, you're defeating the purpose.
And remember, too much thermal mass can be a problem in very humid climates or places with consistently cool days. It's a balance. But for most of rural Australia, especially where you get clear, sunny days and cool nights, thermal mass is a huge win.
Insulation: Keep the Inside In, the Outside Out
This sounds obvious, right? But you'd be surprised how many people skimp here. Insulation is your house's doona. It keeps the warmth in when it's cold and keeps the heat out when it's hot. Your kit home usually comes with a decent insulation package for walls and ceilings, but don't just stop there.
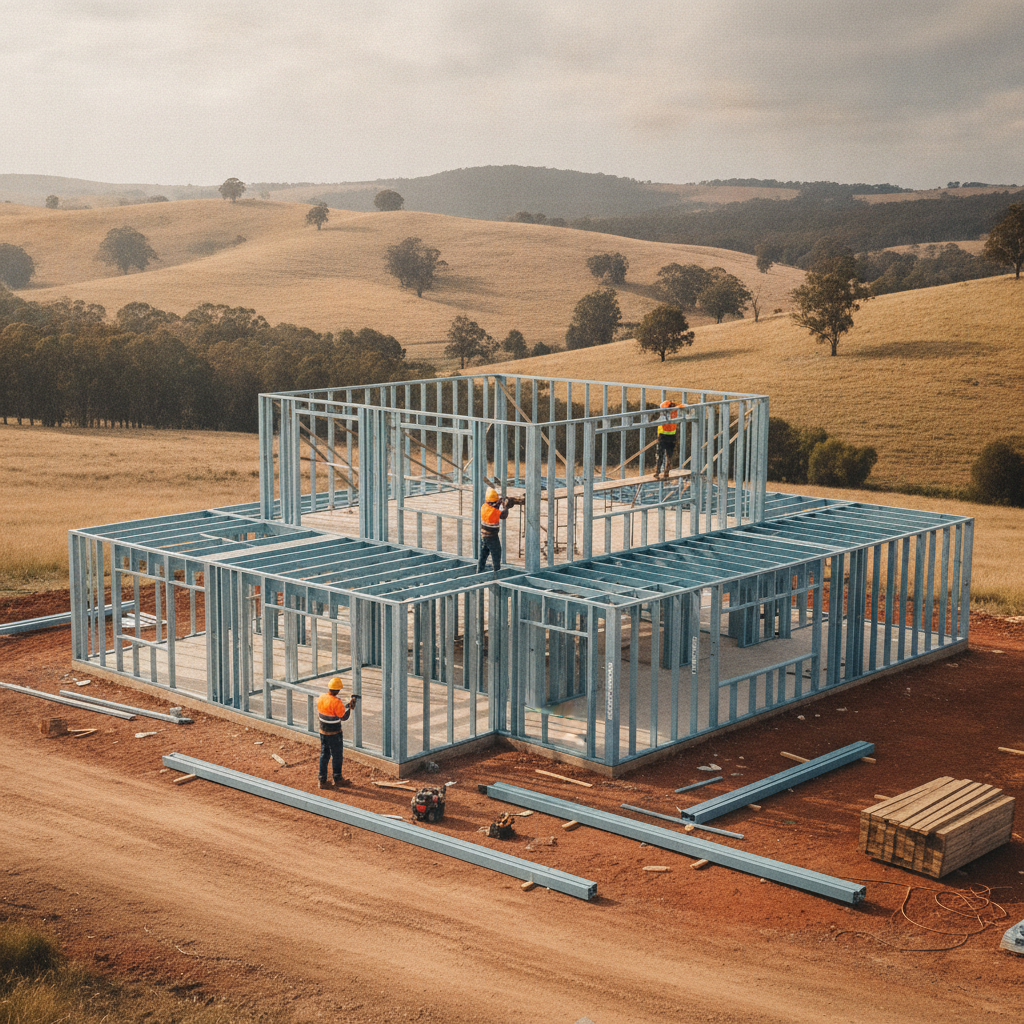
Think about the floor. If you're on stumps or piers, underslab insulation or insulation between floor joists is non-negotiable. Cold floors make for cold feet, and cold feet make for a cold house. The NCC (National Construction Code) sets minimum R-values, but often, going above these minimums pays off big time in comfort and energy savings. Plus, with steel frames from BlueScope Steel's TRUECORE brand, you get really straight walls, which means your insulation batts fit snug. No gaps, no drafts, no thermal bridging. That's a big deal for keeping your R-value consistent.
And don't forget windows. They're usually the weakest link. Double glazing is a no-brainer in many parts of rural Australia now. It adds cost upfront, sure, but it's a massive performance booster. If double glazing is pushing the budget, at least consider good quality curtains or external shading. Anything to stop that direct sun blazing in or that precious heat escaping.
Ventilation: Let the Air Flow
Cross-ventilation is critical, especially through those long, hot Australian summers. Design your kit home so you can open windows on opposite sides of the house, allowing breezes to flow straight through. Think about prevailing winds in your area. Where does the cool evening breeze usually come from?
High-level windows or louvres can also help with 'stack effect' ventilation. Hot air rises, right? So, if you have openings high up, the hot air escapes, drawing cooler air in through lower windows. It's like a natural chimney. Even something as simple as a well-placed ceiling fan can make a huge difference, moving that air around. You'd be surprised how much better 28 degrees feels with a good breeze than still, stagnant 28 degrees. It makes a massive difference to comfort and reduces reliance on air conditioning.
Shading: Block that Sun When You Don't Want It
Eaves, verandas, pergolas, external blinds, trees - these are all your mates when it comes to shading. We touched on this with orientation, but it deserves its own shout-out. Overhangs on your kit home's roof are crucial for shading those north-facing windows in summer. Get the depth right. Usually, an eave depth around 600-900mm will do the trick for most north-facing windows in our latitudes.
For east and west windows, you'll need vertical shading or something that blocks the low-angle sun. Think external blinds that can be pulled down or screens. Trees, too, are fantastic. Deciduous trees on the north side can provide shade in summer when they're leafy and then let the sun through in winter when they've dropped their leaves. Strategic planting on the west can block that brutal afternoon sun. Just make sure they're not too close to the house, especially with fire danger in mind.
Sealing and Draught Proofing: The Hidden Wins
All the good design in the world won't help if your house leaks like a sieve. Draughts are absolute energy killers. Spend time sealing up every little gap. Around windows and doors, plumbing penetrations, electrical outlets - anywhere air can sneak in or out. Good quality seals on your windows and doors are a must. Weather stripping might seem like a small detail, but it adds up.
When you're putting your kit home together, pay attention to the flashing and sealing around the roofline and junctions. With a steel frame, everything's precise, so you've got a great base. But the onus is on the owner-builder to make sure all those external layers - cladding, roofing, windows - are installed properly to create an airtight envelope. Get it right, and your heating and cooling systems will work heaps more efficiently. Plus, no cold breezes sneaking in when you're trying to watch the footy.
Water Harvesting and Re-use: The Rural Essential
While not strictly a 'solar passive' principle, any owner-builder out in a rural setting needs to factor in water. Solar passive is about reducing energy, and often, pump energy is a big one for water. If you're relying on tanks, consider how you can minimise pumping. Gravity fed systems from tanks on a hill, or even just keeping tanks close to the house. Rainwater harvesting for household use is almost a given. Black water systems, grey water recycling for gardens - these aren't just eco-friendly choices; they're often necessities for country living.
The Owner-Builder Advantage: Doing it Right
As an owner-builder, you've got the biggest advantage of all: control. You're the boss. You can make these decisions from the very start, rather than being stuck with someone else's less-than-ideal choices. You choose where the house sits, you choose the insulation, you suss out the window types. It's a fair bit of extra thinking, sure, but the payback in comfort and lower bills is huge. You’ll be living in this place for years, so a few extra weeks of planning at the beginning is well worth it. You can specify deep eaves, ensure appropriate window sizes for each orientation, and make sure your slab is ready to be an exposed, polished thermal mass. Nobody else cares as much as you do about the finished product.
So, when you're flipping through those kit home designs, or sketching out your own changes, don't just look at the pretty pictures. Think about the sun. Think about the wind. Think about how your house is going to breathe and live with the Australian climate. Get those solar passive principles locked in, and your kit home won't just be a house, it'll be a smart, comfortable, energy-efficient home that works for you, all year round. And that, mate, is a build you can be proud of.