Your Ultimate Owner-Builder Checklist for Kit Homes: Permits to Practical Completion
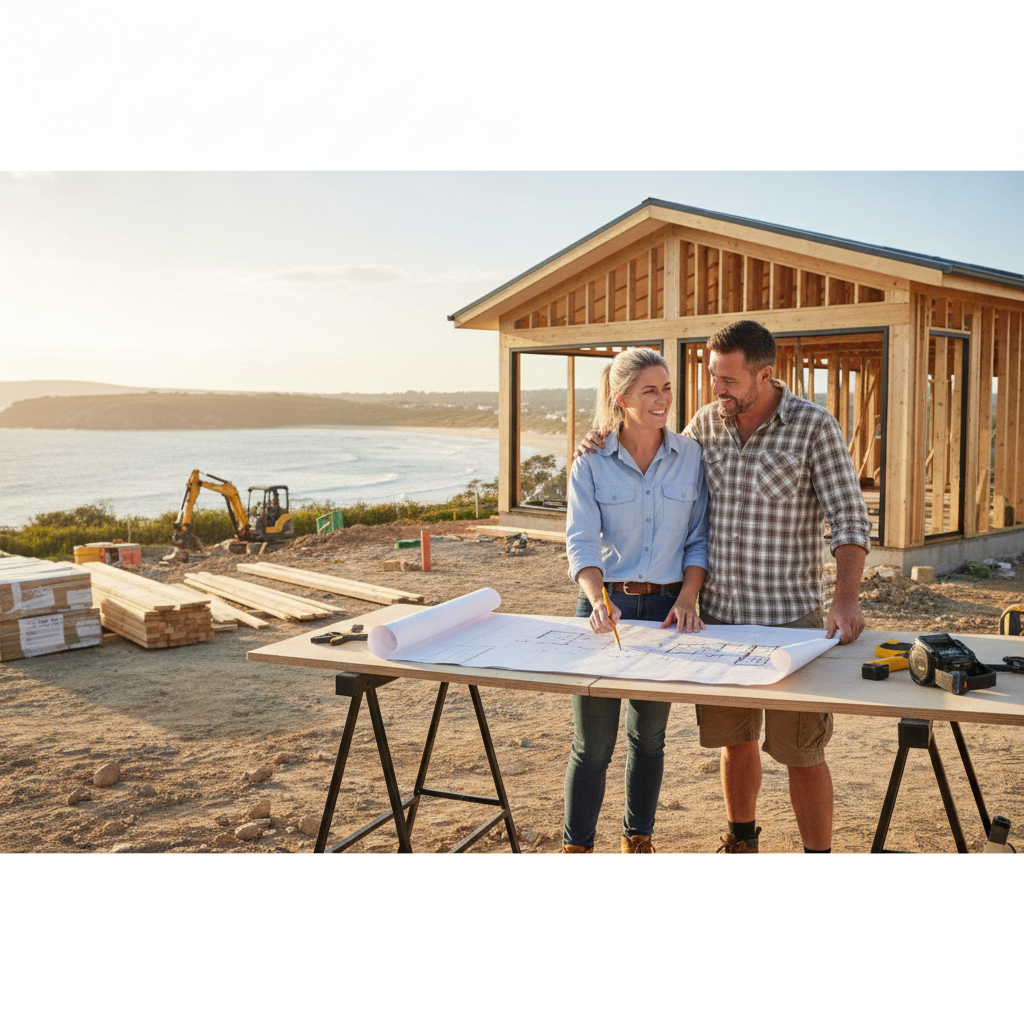
Right, so you've been eyeing off those kit homes, haven't you? Dreaming about that acreage, or maybe just getting a decent new place without selling a kidney. Good on ya. Being an owner-builder with a kit home is probably one of the smartest ways to get exactly what you want, built your way. But it ain't a picnic. It's a heap of work, and if you don't know what you're doing, it'll chew you up and spit you out. I've seen it happen. That's why we're going through this checklist, step by bloody step. From getting the green light from the council to that last lick of paint, we're covering it.
This isn't some fluffy marketing piece. This is real talk, based on 15 years watching owner-builders succeed, and sometimes, stumble. We sell steel frame kits, yeah, and they're bloody good, but a kit is just a start. The rest is on you. And that's where this guide comes in.
Step 1: The Paperwork - Before a Shovel Hits Dirt
Getting Your Owner-Builder Permit sorted
First up, you can't just rock up with a hammer. You need an owner-builder permit. This isn't optional. Every state and territory has slightly different rules, so you'll need to check with your local authority. NSW Fair Trading, Queensland Building and Construction Commission (QBCC), Victorian Building Authority (VBA) - they all have their own hoops. Often, it involves a short course, showing you understand your responsibilities for workplace health and safety (WHS), and knowing a bit about contracts. It's usually straightforward, but don't put it off. Get it done early, because nothing else moves until this is in hand.
Council Approval - The Development Application (DA) or Complying Development Certificate (CDC)
This is where things can get bogged down. Your kit home supplier, like us, will give you plans. But you still need your local council to sign off. Are you going for a Development Application (DA)? Or can you squeeze in under a Complying Development Certificate (CDC)? A CDC is quicker, often a few weeks, sometimes less. A DA? That's the long haul. Months, mate. Seriously, months. It depends on your block, the zoning, how close you are to neighbours, and if your design ticks all their boxes for things like setbacks, height limits, and even the colour of your roof in some heritage zones.
Our steel frames are designed to meet all the relevant Australian Standards. That's AS 4100 for steel structures, and they conform to the National Construction Code (NCC) Volume 2. But the council doesn't care if it's steel or sticks - they care if it fits their planning scheme. They'll look at your bushfire attack level (BAL) rating. If you're in a BAL-29 zone, you'll need specific windows, external cladding, and possibly even a different roof material. We account for this in our kits, but it's crucial to confirm during council submissions. Get your site survey, soil test, and any environmental reports they demand. Water run-off, easements, septic tank approvals if you're out of town - all of it needs to be sorted here. Don't skimp on this part. A rejected DA can set you back thousands and ages.
Step 2: Site Preparation - Getting Ready for the Build
Clearing and Earthworks
You've got your approvals. Finally. Now, the real work starts. Is your block flat? Unlikely. You'll need an excavator. Get someone experienced. You don't want a bloke who just bought his first digger chewing up your site. They need to clear the vegetation, level the pad, and get it ready for the slab. Make sure the levels are right - you don't want water pooling under your house later on.
Services Connection
Water, power, sewerage or septic. Gas, maybe. These need to be connected. Get a licensed plumber and electrician in early to plan this. Running temporary power for the build is a good idea. You'll thank yourself when you're not tripping over extension cords trying to cut steel on a generator.
Slab Down!
This is critical. A bad slab means a bad house. Full stop. Get a reputable concreter. They'll need our engineering plans for the footings and the slab. Make sure they understand the loads and the layout for the steel frame. You'll need to coordinate with them for steel reo (reinforcement), vapor barriers, and the pour itself. Watch them like a hawk. The slab needs to be spot-on level, or your steel frame, while accurate, will highlight every single deviation. Our frames are precision-rolled from BlueScope Steel's TRUECORE product, so they go together like Meccano, but if your base is off, everything else will be too. And then it's a nightmare correcting it.
Step 3: Erecting the Kit - Bringing the Walls Up
Receiving Your Kit
Your kit arrives on a truck, usually flat-packed. We're talking steel frames, roofing, cladding, windows, doors, and insulation. Make sure you have a safe, dry place to store everything. Check the delivery against the manifest. Any missing bits? Call us straight away. Don't wait until you're halfway through framing.
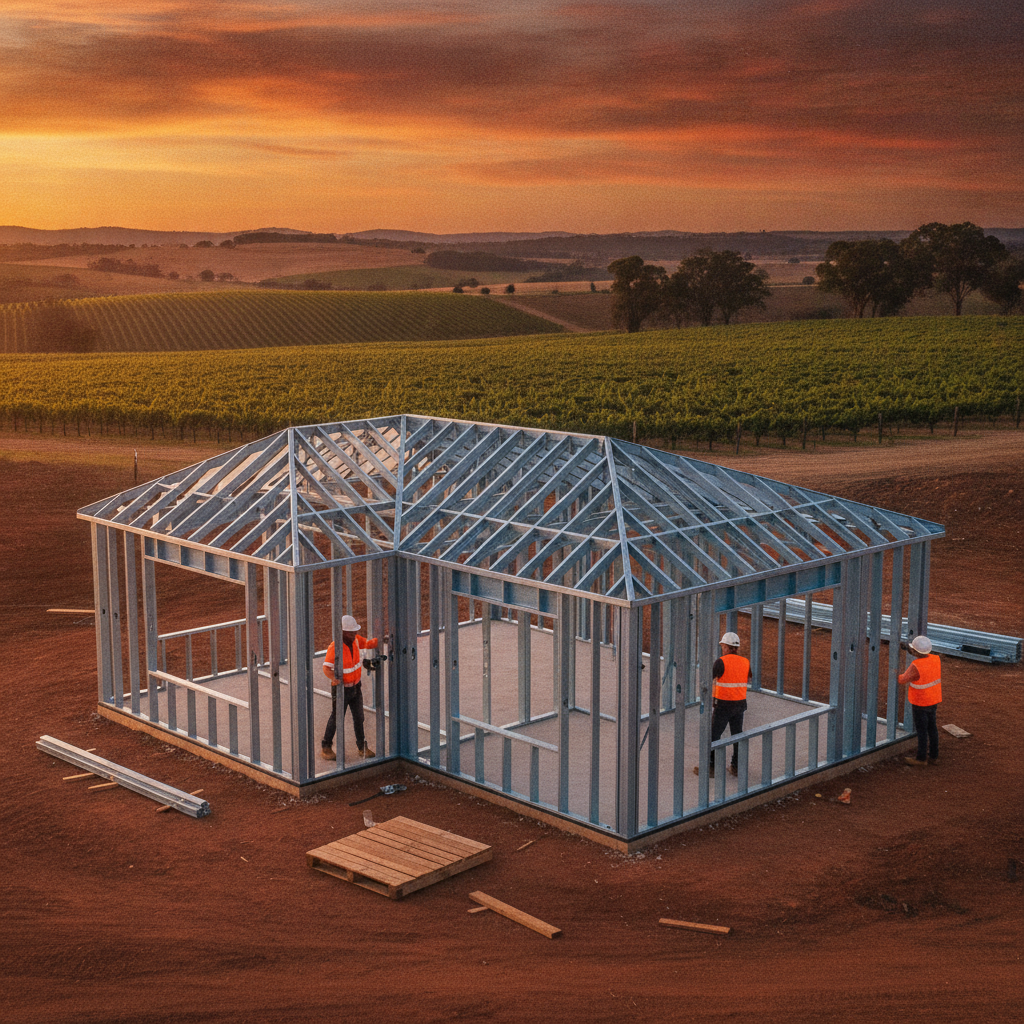
The Steel Frame Erection
This is where the magic happens. Our steel frames are lightweight and designed for easy assembly. You'll get detailed plans. Read them. Then read them again. Get a few mates, or hire a couple of labourers. You'll need a good impact driver, a spirit level, and some patience. Because it's steel, it's straight, and it stays straight. No warping, shrinking, or twisting like timber. That means your windows and doors will fit perfectly later. This is a massive plus for an owner-builder – fewer headaches trying to square up a wonky frame. And termites? Forget about 'em. They don't chew steel.
One thing about steel framing: running services can be a bit different. You don't just drill through a stud like timber. Our frames come with service holes, but plan your plumbing and electrical runs carefully with your tradespeople. They need to understand steel frames.
Roofing and External Cladding
Once the frame is up, get that roof on. Get it weatherproof ASAP. Our kits include the roofing material, usually Colorbond. You'll need to follow the installation guides carefully. Safety first here – working at heights is no joke. After the roof, it's the external cladding. This could be anything from Colorbond sheeting to fibre cement boards or even bricks (though bricks aren't typically in our kits, but you can add them). The key is getting it sealed up. Keep the weather out.
Windows and Doors
Install your windows and doors. Again, our frames are precise, so these should slot in nicely. Ensure they're sealed properly. Leaks are a pain to fix later. Think about security too – you don't want your tools walking off site overnight.
Step 4: The Internal Fit-out - Making it a Home
Plumbing and Electrical Rough-in
Get your licensed plumber and electrician in to do the 'rough-in'. This is where all the pipes and wires go into the walls and ceiling before the plasterboard. This is not a DIY job. Seriously. Water and electricity are unforgiving. Make sure they understand your layout, where power points, light switches, and taps go. Check their work against your plans.
Insulation and Plasterboard
Our kits include insulation. Get it in there properly. Gaps mean draughts and higher power bills. Then comes the plasterboard. This is another job many owner-builders try to tackle themselves. It's doable, but it's fiddly, dusty, and requires a good eye for detail, especially with the setting. If you're not confident, get a professional. A poor plaster job looks terrible.
Flooring, Kitchen, Bathroom, and Finishes
Now you're getting somewhere. Flooring goes down, your kitchen cabinetry gets installed, and the bathrooms are fitted out. This is where you really start seeing your vision come to life. Paint, tiling, light fittings – all the little things that make it your home. Don't rush these last bits. It's the finish that everyone sees. Take your time, get it right.
Step 5: Final Inspections and Handover
Practical Completion Inspection
Once you reckon it's all done, you'll have a final inspection by your building certifier. They'll check everything against the approved plans and the NCC. They'll look at safety, structure, and compliance. There's often a 'punch list' of minor things to fix. Don't be surprised. Everyone has them.
Occupancy Certificate
Once the certifier is happy, you'll get your Occupancy Certificate. This is your golden ticket. It means you can legally live in your new kit home. Crack open a cold one. You've earned it.
Owner-Builder Pro Tips: My Two Cents
- Plan, Plan, Plan: Seriously, over-plan everything. The more you plan upfront, the fewer headaches later.
- Build a Good Team: Find reliable tradies. Ask for references. Talk to other owner-builders. A good plumber or electrician is worth their weight in gold. A bad one will cost you.
- Budget for Contingencies: Things will go wrong. They always do. Add 10-15% extra to your budget for unexpected costs. It's not if, it's when.
- Be On Site: You're the project manager. Be there. Oversee the work. Ask questions. Keep things moving.
- Safety First: You're responsible for everyone on your site. Read up on WHS. Provide basic first aid. Make sure everyone's wearing their PPE. No shortcut is worth a trip to hospital.
- Read Your Plans: Know your plans inside out. Don't rely on tradies to interpret your vision.
- Steel Frames are Brilliant: Yeah, I'm biased, but they really are. Accurate, strong, no termites, and they'll stand up to a lot. They make the framing part of an owner-builder project a good deal simpler because everything is so precise.
Building your own kit home is a massive undertaking. It'll test your patience, your marriage, and your bank account. But the satisfaction? Unbeatable. Knowing every nail, every screw, every wall went up because of your hard work. That's a feeling you won't get from buying off the plan. Stick to this checklist, be prepared, and you'll get there. Good luck, mate.